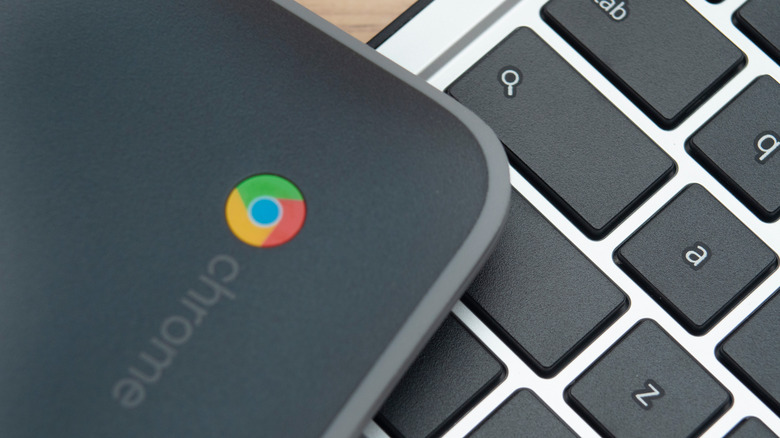
How To Enable Developer Mode On Your Chromebook

Chromebooks are known for their simplicity, reliability, and seamless integration with Google services. While these devices are perfect for everyday tasks, there are times when users may crave more customization and control over their Chromebook experience. This is where Developer Mode comes into play, providing you with the tools and freedom to unlock your device's full potential.
As the name suggests, Developer Mode is a special mode for developers and advanced users to access deeper system settings, install Linux, or run custom software on their Chromebook. By default, Chromebooks operate locked down to ensure security and stability. However, enabling Developer Mode opens the door to a wide array of possibilities, giving you the power to tweak your device to your heart's content.
It's essential to note that this feature is not for everyone, and it is crucial to understand the risks associated with venturing into this territory. Perhaps most importantly, entering and exiting Developer Mode will permanently erase your Chromebook and all its data. If you need clarification on whether this is the right decision for you or are uncomfortable with computers, you might want to skip this tutorial. However, if you are ready to take this step, here is what you need to know.
Why you might want to enable Developer Mode on your Chromebook

The allure of Developer Mode on a Chromebook stems from the countless opportunities it presents, as it allows you to fully explore the capabilities of your device. First, Developer Mode enables you to run alternative operating systems, which means that you can install Linux or other operating systems alongside Chrome OS. This can be invaluable for users who need software or tools not available on Chrome OS or those who appreciate the flexibility of a Linux environment.
Second, Developer Mode allows you to use apps from developers other than those found in the Google Play Store. It expands your software options and will allow you to experiment with apps and programs that your Chromebook may not officially support or are still in development. In addition, enabling Developer Mode can facilitate more granular control over your device's settings. Users who crave customization can adjust settings beyond what is available in the standard user interface, allowing for a more personalized experience.
Finally, Developer Mode can prove beneficial for troubleshooting and repairing your Chromebook. It allows advanced users to perform in-depth diagnostics and resolve issues that may not be possible to fix within the default Chrome OS environment.
How to turn on developer mode
Enabling Developer Mode on your Chromebook is a relatively simple process, although it varies slightly depending on the device model. Before proceeding, it's crucial to back up any critical data, as enabling Developer Mode will erase all local files on your device.
- Press and hold the Esc and Refresh (usually a circular arrow) keys simultaneously, then press the Power button. This process will prompt your Chromebook to enter Recovery Mode.
- Once you're in Recovery Model, navigate to Advanced Options using the arrow keys. If you don't see that menu, simply press the CTRL and D keys at the same time.
- Next, navigate to the option labeled Enable Developer Mode. Press Enter. You may be asked to turn OS verification off, and you can press Enter again to do so.
- You will see an option "Boot from Internal Disk" on the Developer Mode screen. Navigate to it and press Enter. Each time you turn on your Chromebook with this mode, it will automatically boot to this screen, and you will press the same button each time.
- Wait for the loading screen to signal completion. Once it is done, your Chromebook will be in Developer Mode.
It's crucial to note that Developer Mode can expose your device to potential security risks, so use caution and ensure you know the implications before proceeding. Once you've finished using this mode, switching back to Safe Mode is always best.