How To Print Screenshots From Your Android Phone
Screenshots come in handy for a lot of things. For starters, you can use it to keep records of text conversations, to show proof of payment for in-app purchases or recalling social media posts. Although you can easily share your screenshots with anyone via Bluetooth or text messages, there are times when you might need a printed copy of them instead.
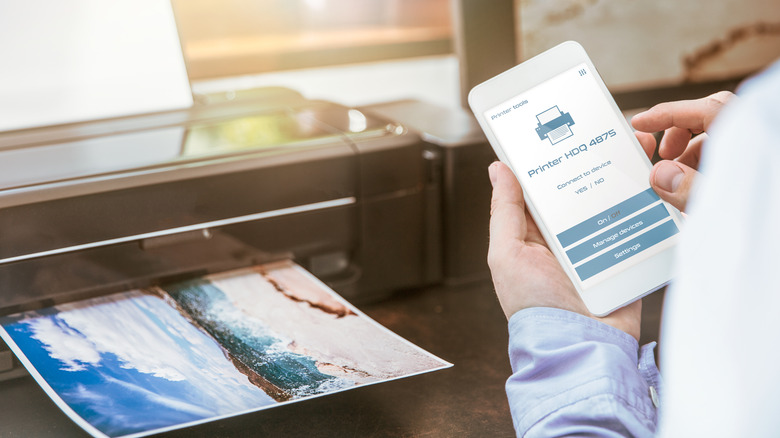
To print a screenshot, however, you'd normally have to open your laptop or desktop PC and go from there. Instead of going through that trouble, you can simply set up your printer and phone and print directly from your mobile device.
The process is fairly straightforward and can be done in a matter of minutes. However, you need to make sure you have a printer with wireless capabilities. After verifying this, you can then proceed with the steps outlined in this post.
Step 1: Setup your phone-to-printer connection
Before you can print directly from your phone, you need to set up the connection between your Android device and the wireless printer. The first step is to connect your printer to your home network. This can differ from manufacturer to manufacturer, but essentially, you will find a Wi-Fi option on your printer's settings or home panel. Click on it, and select your Wi-Fi network from the list. Then, enter the password to connect. Once you've verified that your printer is connected to your home network, follow these next steps:
- Connect your Android device to the same Wi-Fi network.
- Launch the Settings app.
- Go to Connected devices > Connection preferences > Printing. This can vary depending on your OS version and phone manufacturer. If you can't see these options, you can simply enter "print" in the search bar of your Settings app.
- Select Add service. This will redirect you to Google Play Store.
- Download and install the plugin for your specific printer. The plugin serves as the printer driver for your mobile device. This will allow your phone to find your printer and connect to it wirelessly.
Now that your phone-to-printer connection is set up, you can now start printing your screenshots.
Step 2: Print your screenshot
Here's what you need to do to print your screenshot of choice.
- If you've already taken the screenshot using your Android phone, open your Google Photos app.
- Tap on the Library tab.
- Under "Photos on device," select the Screenshots folder.
- Pick the screenshot you want to print.
- Tap on the three vertical dots in the top-right corner.
- Select Print.
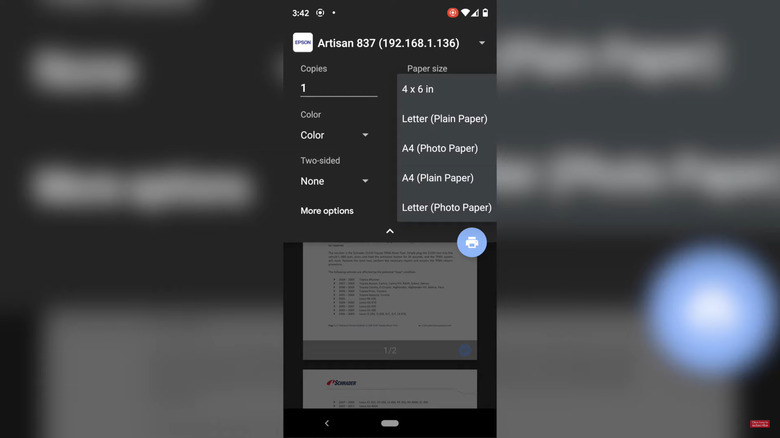
- Tap on the "Select a printer" drop-down menu.
- Choose your printer from the list. If it doesn't show up automatically, select All printers and wait for your phone to finish searching.
- Accept the Terms of Use if it pops up.
- Expand the print options menu. Here, you can change the number of copies to print, paper size, color, and orientation, among other things. A print preview will be shown as you change the options.
- Once you're happy with how your screenshot will be printed, tap on the print icon on the top-left side of the screen.
- Tap OK on the pop-up box to confirm that you want to use your printer plugin.
You should now see your printed screenshot fresh out of the printer. Apart from screenshots, you can use this method for other files as well, such as PDFs, Word documents, and pictures.