How To Clone Your Storage Disk On MacOS

We may receive a commission on purchases made from links.
Cloning a storage disk is a great way to manage your digital data. Whether you want to use the cloned disk as a backup in case of a hardware failure or transfer your data from one device to another, cloning your storage disk is the best way to ensure that your important files and data remain safe.
While many third-party applications allow you to clone your storage disk, Mac's built-in program, Disk Utility, is one of the easiest ways to complete the cloning process. In addition to cloning disks, it can also be a powerful tool for managing your disks and partitions, formatting space, and other disk-related tasks. Fortunately, Apple makes cloning your storage disk as easy as possible with this Mac-specific software, so you shouldn't need to contact your local tech expert to perform a successful clone.
Another reason you might want to clone your hard drive is if you've recently purchased an SSD to use with your Mac Pro. SSDs are the latest in cutting-edge storage technology, allowing for high-speed read and write times compared to older model storage disks. Cloning your Mac's storage disk is the fastest way to get you up and running with your new SSD.
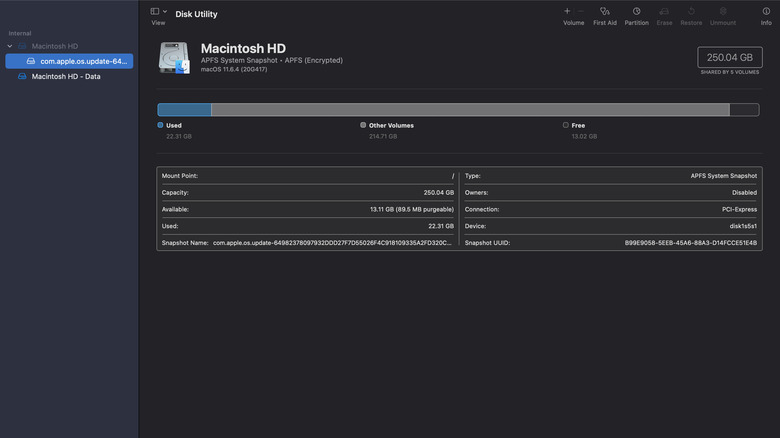
How to use Disk Utility to clone a storage disk
Before you start cloning, it's always a good idea to back up your most sensitive data to an external storage device. If you have a device that you frequently use that isn't the target disk, connect it and save your files.
You must also erase the target disk to set up the clone.
- Connect the storage device to your Mac.
- Open Disk Utility from within the Applications folder.
- From the left-hand sidebar, select the storage device you want to erase and reformat, according to Apple.
- Click on Erase in the main interface.
- Choose a format for the storage device.
After that, you'll be ready to start the cloning process.
- Connect the target disk to your Mac.
- Open Disk Utility by searching for it in Spotlight or opening it from the Applications > Utilities folder.
- Select the disk you want to clone from the list of disks on the left side of the Disk Utility window.
- Once you have selected the source disk, click on the Restore tab at the top of the Disk Utility window.
- In the Source field, select the source disk you're cloning from.
- In the Destination field, select the target disk you're cloning to.
- After you have set the source and destination disks, click on the Restore button.
- Wait for the cloning process to complete.
The time it takes for the cloning process to complete will depend on your disk's size and your Mac's speed.
How to clone a Mac storage disk to an SSD

Upgrading your Mac's storage disk to an SSD can significantly improve its performance and speed. Like the previous method, this process will allow you to transfer all your data, including your operating system, applications, and files, to the new SSD without reinstalling everything from scratch. If you consider upgrading to an SSD, ensure you purchase one compatible with your Mac.
However, instead of using Disk Utility as outlined in the previous section, you should create a Time Machine backup of your current storage disk to a backup hard drive instead of using Disk Utility. This will allow you to quickly restore your files when your SSD is ready to use and is designed for users upgrading their devices.
1. Once you've backed up your files using Time Machine, install the SSD to your Mac following the manufacturer's instructions.
2. After you've installed the SSD, you can restore your previous files using the backup drive and Time Machine.
The exact SSD installation process will depend on your Mac's model. For instance, if you have a MacBook, you can install a third-party SSD directly into your laptop with an SSD adapter. However, if you have a desktop model like a Mac Pro, Apple makes an SSD kit that you can buy from the brand. It's important to note that you'll also need to create a bootable version of MacOS on a thumb drive to launch after installing the SSD.