You Can Set A Timer On Your iPhone For Photos - Here's How

The iPhone camera is one of the best smartphone cameras on the market. Apple has consistently improved on both hardware and software to deliver a seamless, on-the-go photo capturing experience.
Armed with such a tool, it would be super frustrating if you had the opportunity to capture yourself at a memorable event or a cool location, but there was no one around to help take the picture. Sure, you could take a selfie, but everyone who has even a passing familiarity with smartphones knows that the front cameras are almost always inferior to the back cameras in terms of image quality.
Thankfully, the iPhone has a built-in timer feature that puts your camera in automatic shooting mode by delaying the shutter release. There are two interval options: you can set the shutter to go off after a three-second or a 10-second delay. What you choose depends on how far from your phone you need to move after you set the timer.
If you're taking a wide, long-distance shot, you'll need some time to position yourself within the frame and strike a pose, so the three-second option will be too short. The same thing applies if you're taking a group photo. But, of course, if you're getting a close-up shot, the three-second delay should do just fine.
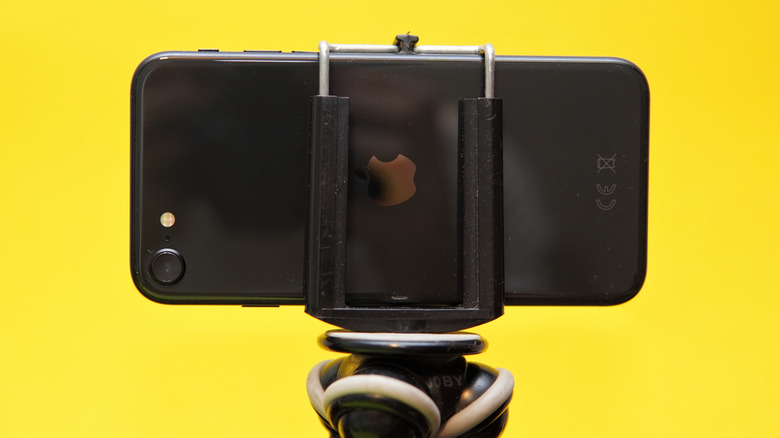
You'll need a surface on which you'll place your phone, or a tripod stand if you have one. Here's how to do it.
How to use the iPhone self-timer to take pictures
Open the Camera app on your iPhone, then position the phone in front of the scene you want to capture. If you need help with training your photographic eye and creating interesting compositions, here are some tips for taking better photos on your iPhone. After your shot is lined up, select the clock icon in the top menu of your camera.
Select a countdown option for the timer — you can choose between the three-second and the 10-second delay. The clock icon will turn yellow once the timer is activated, and it should display the countdown option you selected right next to it. Now, tap the shutter button to start the timer. If you want to stop the countdown before the shutter is released, just hit the stop button.
Next, position yourself in the frame — you'll see the flash going off in sync with the countdown to indicate how much time you have left till the shutter is released. This does not mean that your photos will be lit with the camera flash — it's merely an indicator. You can choose whether or not you want flash lighting in the menu option.
The flash will quicken pace when there's only three seconds left on the timer, and it will stop when the photo is taken. If you're taking several photos, you'd have to go back and forth to reset the timer in between shots, but you can use the opportunity to check the shots you have and adjust whatever you need to.
Tips for taking great self-timer photos on iPhone

Since there's no way to see what's in your viewfinder, it's quite tricky to get a great shot with the self-timer, but there are some more baked-in features that can make it an easier task.
You can turn on Live Photos, which is the icon with three concentric circles. Your iPhone camera will capture your shots as mini video clips, but save them in photo format frame by frame. You'll get multiple photos per shot, and you can select the best of the lot. It's a nifty little feature, especially if there's a lot of motion in the scene you're capturing or the poses you're striking.
After a Live Photo is taken, tap Edit in the top right corner, then select the Live icon in the bottom menu. You'll see a little timeline from which you can tap to select a frame you like. When you've made a choice, tap "Make Key Photo" to save the photo, then tap "Done." If you take a lot of photos and don't have a lot of storage space on your iPhone, this might not be the best option for you — Live Photos take up more space than regular ones do. But there's a more storage-efficient alternative.
If you turn off the Live Photo feature, your camera will take the shots in Burst mode. Burst mode will take 10 photos per shot, and you can scroll through the images to select the ones you want to keep. To do this, open the picture in the Photos app, then tap "Select" at the bottom. Scroll through and select all the photos you want to keep, then tap "Done" and select "Keep Only # Favorites," in the pop-up.