How To Change The Band On Your Apple Watch
The launch of the Apple Watch back in 2015 didn't just add a whole new product line to Apple's catalog, but also upended one of the biggest headaches in wristwatches: swapping out the straps. In addition to rolling out several designs and sizes of Apple Watch, the Cupertino company also launched a range of interchangeable bands, along with a simple, standardized mechanism to change them.
It means that, if you're tired of the Sport Band, Solo Loop, or whichever other band came with your Apple Watch on day one, switching it for a different strap is easier than you might expect. Apple has a wide range of official bands, but third-party accessory makers have plenty of options, too. That means finding and installing the perfect Apple Watch band to match your favorite outfits needn't be a chore.
 Chris Davies/SlashGear
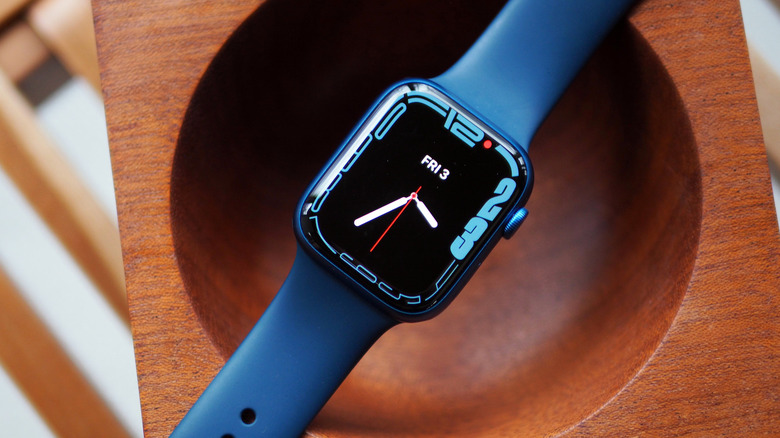
Before you start investing in Apple Watch bands, it's important to check compatibility. While Apple's smartwatch has stuck with its distinctive, square aesthetic over the years, there have been several different sizes of the wearable. As a result, not all of the bands and straps are interchangeable.
Bands for the 38mm, 40mm, and 41mm Apple Watch cases are compatible with each other. Meanwhile, bands for the 42mm, 44mm, and 45mm cases are compatible. If you have an Apple Watch Ultra, with its extra-large 49mm case, it's interchangeable with bands designed for the 44mm and 45mm Apple Watch.
Two buttons is all it takes to swap an Apple Watch band
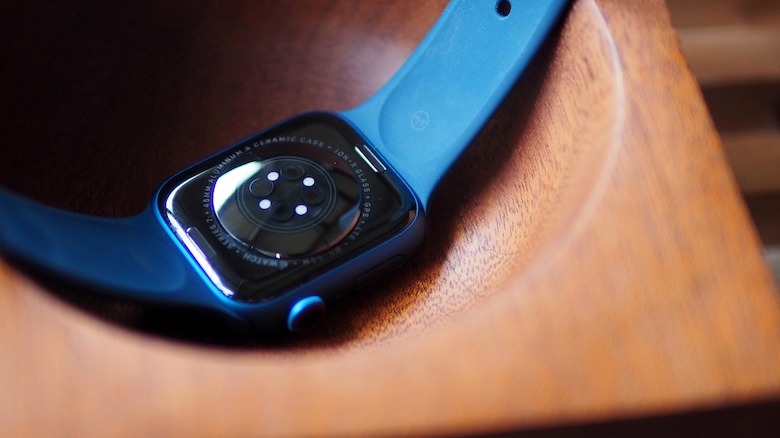
Figuring out which bands are compatible is probably the hardest part of changing your Apple Watch band. The actual process for doing it is remarkably straightforward, compared to the special pins and other hardware that traditional watches often require. In fact, the main consideration is having somewhere soft to place your Apple Watch face-down, since you don't want to scratch the cover glass. You could use Apple's own microfiber cloth, but any clean, lint-free cloth or mat should suffice.
 Chris Davies/SlashGear
On the underside, next to the edges of the bands, there are two buttons. Pressing down and holding a band release button allows you to slide the band across, out of the groove in the Apple Watch casing. It can be a snug fit, so it may take a little trial and error to get the pressure and angle right.
To install a new band, meanwhile, the important part is to make sure the text on the band is facing you: it should be facing in, toward your wrist, when you wear the Apple Watch. Then, it's just a matter of sliding in the new band until you feel it click into place; if you listen carefully, you should be able to hear that latch click, too. If your band isn't latching properly, Apple suggests gently sliding it left and right until the mechanism engages properly, or failing that, centering it in the groove and then carefully wiggling it up and down until it clicks.