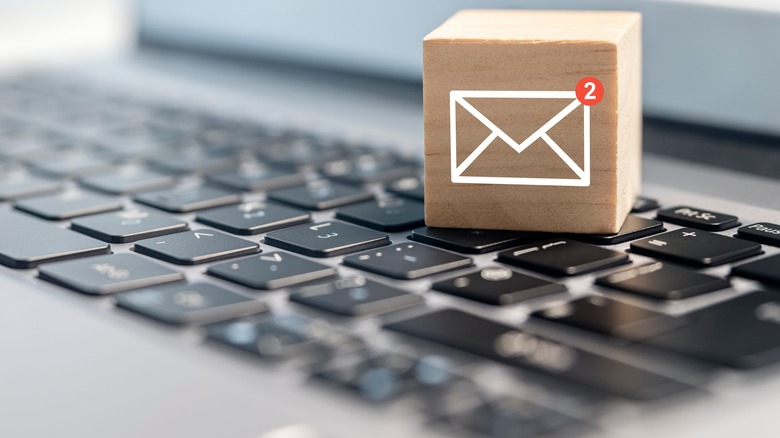
Here's How To Schedule Your Emails In MacOS Ventura

You'll be hard-pressed to find a person who doesn't have an email account these days. It's arguably the best and most professional way to get in touch with someone online. Although there are many email services out there that you can access at any time through a smartphone app or your web browser, Apple users have the option (and often prefer) to use the macOS built-in Mail app for their email needs.
Apple Mail aficionados, who mostly make use of the program on Mac computers, may be glad to know that the app has been beefed up with several new features, courtesy of macOS Ventura. Users now have the added ability to schedule emails they'd like to send out at a future date or time. They can also easily undo a sent email and take it back within a specified frame of time. Forgot to add your attachment? No problem!
More about macOS Ventura's upgrades to the Mail app
Being able to schedule an email is useful for a number of reasons. It allows you to pick the most convenient time for your message to hit the recipient's inbox — you can make sure that it lands while they have their eyes on their screen, ready to read and comprehend what you have to say. You don't want to send it when they might be busy or off work for the day.
Scheduling your emails can also maximize the relevance of a certain message. If you time an email appropriately (such as just before a certain event), then it may put you in the best possible light as far as the recipient is concerned. You can also choose to send emails scheduled years in advance to friends and loved ones who may get a kick out of a totally random note from you. In addition, as the sender of the message, it benefits you to time your emails properly. For example, you can set emails to send when you're best able to deal with any prompt replies.
Other Mail app enhancements include a more intelligent search function, a notification feature that alerts you when you leave off important parts of an email, and a reminder option that'll resurface previously opened emails that haven't been read till the end (via Apple). However, the ability to schedule emails is easily the most beneficial upgrade worth trying.
How to use the Mail app's email scheduling feature

In order to see the option to schedule a message, you first need to compose a new email. Launch the Mail app, key in the email address you'd like to send the message to, type a subject, then compose the body of the letter. Feel free to include attachments if necessary. Before hitting send, here's what you do instead to schedule the email to go out at a later time:
- Next to the Send button (it looks like a paper airplane) is a small downward arrow. Click it.
- You will be given several timeframe options to choose from. Click Send Now to send it as you would normally, pick one of the preset time options, or select Send Later to set your own custom date and time.
- If you choose Send Later, you will see a calendar and a clock within a window. Choose the date and time you would like your email to be sent by either manually typing it into the fields or manipulating the calendar or clock elements.
Once you're satisfied with your chosen parameters, simply hit Schedule to finalize (per Apple).
How to make Mail app's Send Later option more accessible and change email schedules
You can find scheduled emails filed in the sidebar folder labeled "Send Later." Just in case it's not visible, you can make it appear by clicking View from the menu bar that runs along the top of your computer screen and choosing Show Sidebar. You can also add the Send Later folder to your list of favorites by clicking on the + icon next to Favorites, then clicking Mailbox to Add > Send Later from the dropdown options. Once you click OK, you should prominently see the Send Later folder where all of your future scheduled messages are contained before they're sent out.
In case you want to move an email's send-out time earlier or later, you can modify the schedule by going to the Send Later folder, highlighting the email you wish to change, and hitting the Edit button that appears next to a blue notification outlining the current schedule. You can then pick a new date and time, and then click OK to confirm the changes.
How to unsend Mail app emails, scheduled or otherwise

Like most online tasks, it's very possible that you've made a mistake in an email. You may have typos you'd like to correct, or maybe you put in the wrong email address. If this happens with a scheduled message in the Mail app, you can correct it easily:
- Go to the Send Later folder and find the email to update.
- Double-click to open the email.
- Click on the Move to button in the top-right corner and select Drafts or another folder through All Drafts.
- Alternatively, you can also choose to delete the scheduled email by pressing the trash can icon.
Once the email is back in your drafts, you can edit the message as needed before scheduling it again.
For problems with non-scheduled emails, you can utilize Mail's new Undo Send feature found in macOS Ventura. This option only becomes available after you have just sent an email that you'd like to take back or correct. A blue Undo Send button will briefly appear at the bottom of the left sidebar after you hit send on a message. You only have a short amount of time available to press it (the default setting is 10 seconds) before the button goes away and your ability to take back the email expires. If you click this button before it goes away, you can make any necessary corrections to the email before resending it.
Important caveats to the Mail app's scheduled email-sending and unsending features
While 10 seconds is the default timeframe to take back sent emails, you may need more time to spot and click on the "Undo Send" button. The good news is you can modify the allotted time for you to unsend a message. Here's how (via Apple):
- With the Mail app open, press Mail from the top menu bar, then go to Settings.
- Navigate to the Composing section.
- Under Sending, click the dropdown next to Undo send delay and choose either 20 or 30 seconds to increase your time to take back sent emails.
There's also an Off option included that will disable the Mail app's unsend feature. Although choosing this is completely up to you, it is not advisable to do so for potentially embarrassing typo reasons.
There are a few caveats to using these new Mail app features. When sending a scheduled email, your Mac that's running macOS Ventura or newer must be powered on and connected to the internet. The Mail app also needs to be open for scheduled emails to send. Scheduled emails will send in sleep mode as long as your Mac is connected to power (via Mailbutler). Any emails that are scheduled far in advance may need to be tracked through the Send Later folder to ensure that your machine is prepared to send the scheduled message.