Here's How You Can Create Your Own Ebook In Microsoft Word
Electronic books or "eBooks" are slowly becoming a staple on every reader's device. In fact, Pew Research reports that American eBook readers have increased from 25% in 2019 to 30% in 2021. This is a noticeable change considering the number of print book and audiobook users stayed the same during that period.
The rise in popularity of eBooks is no surprise as it's one of the easiest ways to distribute information across the internet. Companies use eBooks for giving away free resources and case studies, while fiction writers use eBooks as a companion for their printed tomes. It doesn't end there, because you can also convert your academic and personal written works like essays and portfolios to eBooks for portability.
Another factor for eBooks' popularity might be how easy it is to make one. All it really takes is some knowledge of a word processor app, and you're halfway done. If you're thinking about making your own eBook using Microsoft Word, we have you covered with this step-by-step guide.
Step 1: Prepare the layout of the eBook
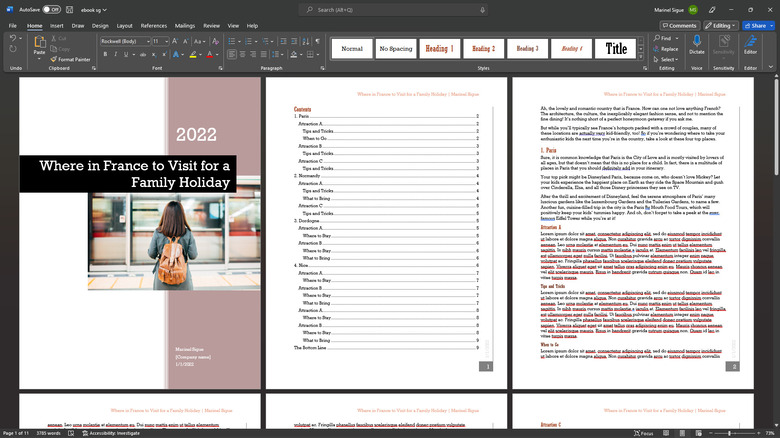
The first step to creating an eBook on Microsoft Word is to format the document before you start typing anything. This way, it will be uniform all throughout and rid you of any formatting issues at the end. There are different layouts you can use depending on your preference and topic. You can go with a portrait one like a typical document, or you can try a landscape style with two columns like a book.
If you prefer the typical portrait style, here's what you need to do (Microsoft):
- Launch your Word app.
- Create a blank document.
- Go to the Layout tab.
- In the "Page Setup" section, change the Margins and Size to your liking.
- Go to the Home tab.
- Expand the "Paragraph" section by clicking on the arrow.
- Under "Spacing," change the line spacing as desired.
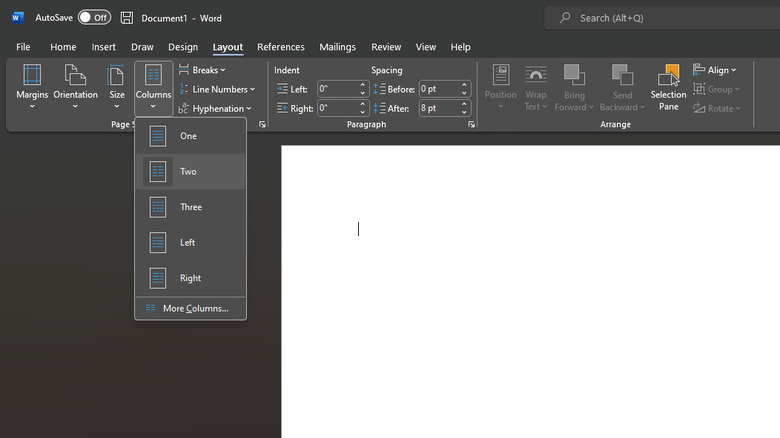
If you like the two-column landscape style, follow these steps to make one (Microsoft):
- Open your Word app.
- Make a blank document.
- Navigate to the Layout tab.
- Select Columns in the "Page Setup" section.
- Choose "More Columns."
- Select "Two" under Presets.
- Make sure "Apply to" is set as "Whole document."
- Hit OK.
- Select Orientation.
- Choose Landscape.
- Change Margins and Size as desired.
- Change to the Home tab.
- Change the Line Spacing to your liking.
Step 2: Write the content

Once you're happy with how your layout looks, it's time to start writing your eBook content. However, before you even type that first word, you need to nail down your topic. What would your eBook be about? If you're having a hard time figuring it out, you can start by identifying your target audience. List what they like reading about, and from that list, pick a topic to focus on. Whatever subject you choose, though, make sure that you know enough about it, so you can write accurately and generate a long enough eBook.
After topic selection, create an outline. Grammarly enumerates five steps to writing an outline:
- Research about the topic.
- List the subtopics you want to include. For instance, if your topic is about getting rich, your subtopics can be about investing in stocks, investing in education, and building a business.
- Organize the subtopics in a way the reader will understand better. You may have subtopics that need background information from other subtopics, so it's best to write those first.
- Add your sources and supporting details under every subtopic.
- Read and revise the outline as needed.
When you finish your outline, you can start writing it in your Word document. Then, you can make the subtopics into headings so it's easier to make a Table of Contents later on. To do so, simply highlight the text and select a heading style from the Style section in the Home tab (via Microsoft).
Step 3: Add a cover page
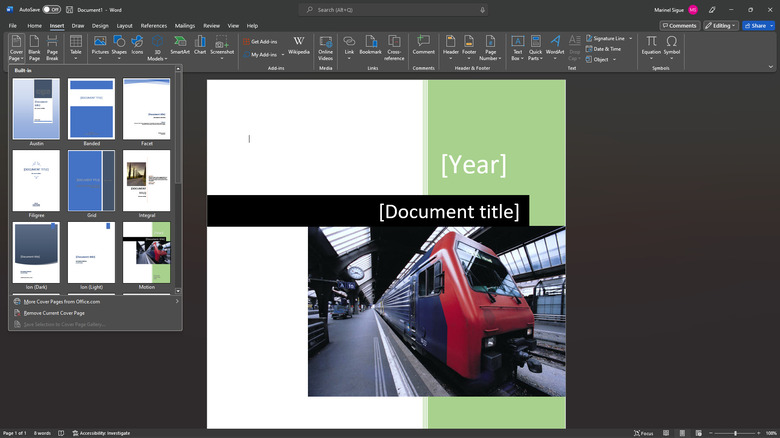
You now have the content for your eBook. The next step is to add a cover page. There are available cover page templates in Word. You can find them by going to the Insert tab and clicking on the "Cover Page" button in the "Pages" section (via Microsoft). Choose one from the options and change the relevant texts, including your eBook title, year of eBook release, and author name. You can also add other details here, such as copyright or disclaimers.
If you chose a cover page with a photo, feel free to replace it with something more appropriate to your topic. Here's how to do so (via Microsoft):
- Select the image on the cover page.
- Go to the Picture Format tab.
- In the "Adjust" section, select "Change Picture."
- From the drop-down menu, choose "This Device."
- Locate the image you want in your PC.
- Click on Insert.
Step 4: Add a Table of Contents
If you're writing about a non-fiction topic, it's best to include a "Table of Contents" in your eBook so your readers can easily get a glimpse of what subtopics you've covered. Ideally, you should add this right after the cover page or anywhere in the beginning as long as it's placed before your main content.
You can choose from two types of Table of Contents in Word. The first one, and the easiest to use, is the Automatic table. As its name implies, it scans your document for headings and automatically creates a table out of them. This is why it's important that while typing your document, you already made the subtopics into headings. The second type of Table of Contents is the Manual table. Here, you will manually type the subtopics, giving you more freedom.
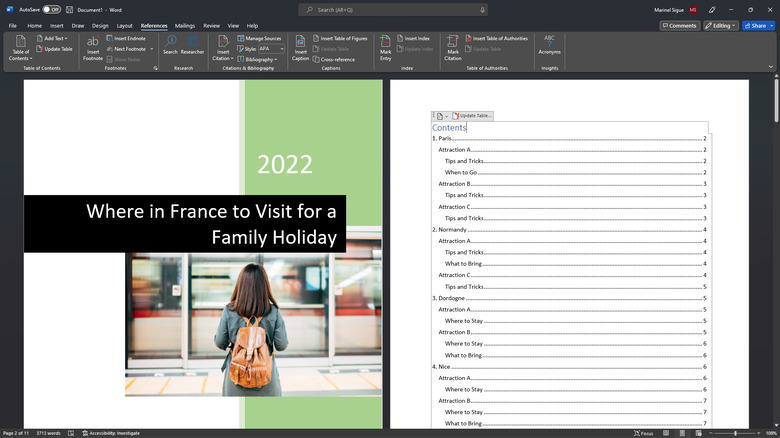
To add a Table of Contents to your eBook, follow these steps (via Microsoft):
- Add a blank page after the cover page by clicking on Insert > Blank Page.
- Place your cursor on the blank page.
- Go to the References tab.
- Select the Table of Contents button on the far left of the ribbon.
- Choose which table style you want to use.
Step 5: Add an author page
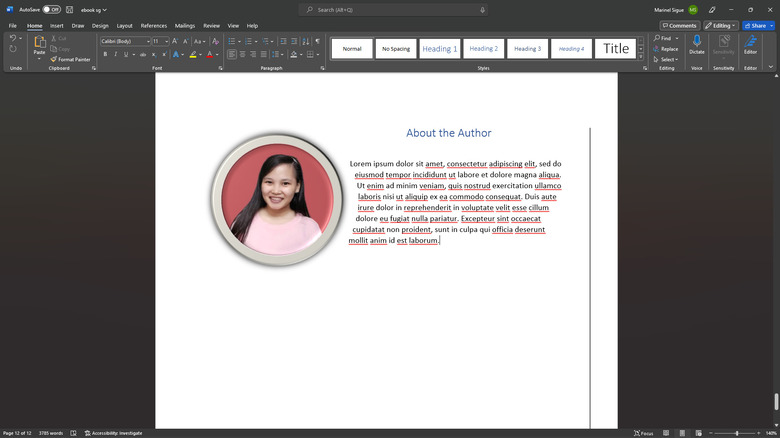
After the last page of your main content, you should add an "About the Author" page. This is where you include fun things about yourself, your career highlights, and even other eBooks you've written in the past. It's also a good idea to mention your social media links and website, so your readers can find you online easily.
When writing your author content, Rocket Expansion suggests using a tone that matches your brand. It could be witty, formal, fun, or anything else that reflects your eBook topic and previous work. For instance, if you're writing about the stock market, you should use a formal tone. If you're a fiction writer, use a witty and fun tone instead.
You might also want to add a picture to your author page. To do that in Microsoft Word, here are the steps to follow (via Microsoft):
- Click on your author page.
- Go to the Insert tab.
- In the Illustrations section, select Pictures > This Device.
- Locate the photo you want to add.
- Select Insert.
- Resize the photo how you want by dragging the corners.
- Crop and style the photo using the styles available in the "Picture Styles" section.
Step 6: Finalize the look of the eBook
Now that your eBook pages are complete, it's time to take a final look at your work and add other formatting details to make it more presentable. Start by inserting page numbers. Here's how to do so (via Microsoft):
- Navigate to the Insert tab.
- In the "Header & Footer" section, select Page Number.
- Choose whether you want the page numbers to be at the top or bottom of the page.
- Select a style from the drop-down list.
You can also add your eBook title as a header for every page. To achieve this, all you have to do is select Header in the Insert tab (via Microsoft). Then, choose a style from the menu. It will automatically apply to your entire document.
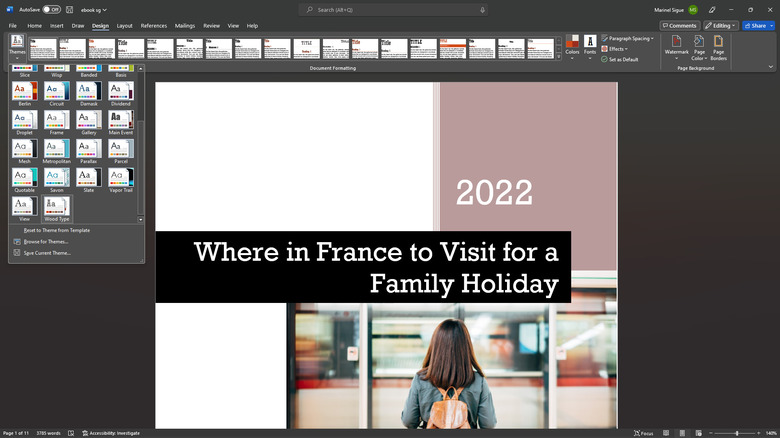
If you're not happy with the color scheme and font style of your document, you can try changing the theme, too. You can find this in the Design tab (via Microsoft). Click on "Themes" on the far-left side of the ribbon and choose your preference. This will change the colors and font of your eBook. Scroll through the document one last time before hitting Save.
Step 7: Save your eBook as a PDF
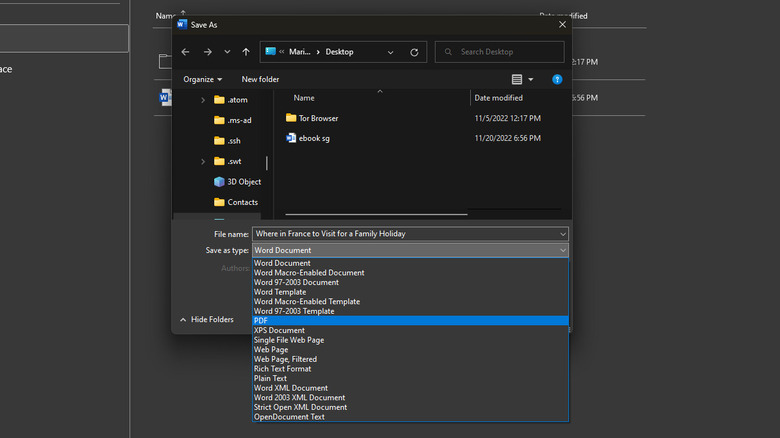
After finalizing your eBook and checking that everything is how you want it, you can convert the document to a PDF. This is one of the most common types of eBook formats you can find on the internet and one of the easiest for your readers to open on any device. PDFs can be read on mobile devices and computers by downloading a PDF reader app. You can also send PDFs to your Amazon Kindle.
To convert your Word document to PDF, here's what you need to do (via Microsoft):
- Go to the File tab.
- Select Save As on the left-side panel.
- Choose where you want to save the file.
- In the dialog box, click the drop-down menu for "Save as type."
- Click on PDF.
- Select the Save button.
Navigate to the folder where you saved the file and try opening it. Give the eBook one last look before uploading it to your website or distributing it to your readers via email or social media.