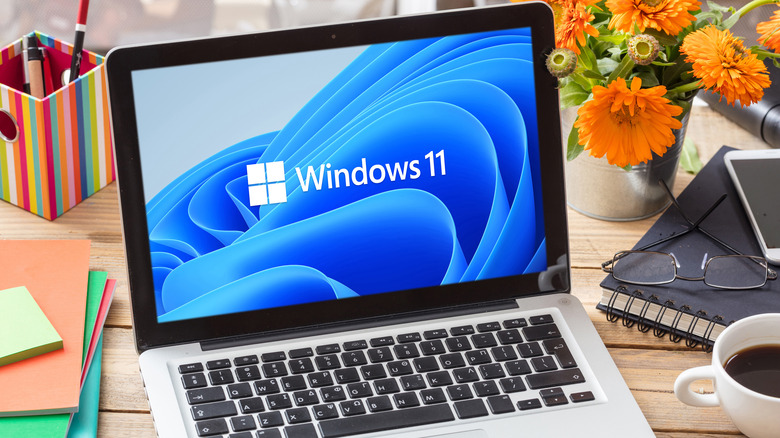
Here's How To Run Windows 11 On Your MacBook
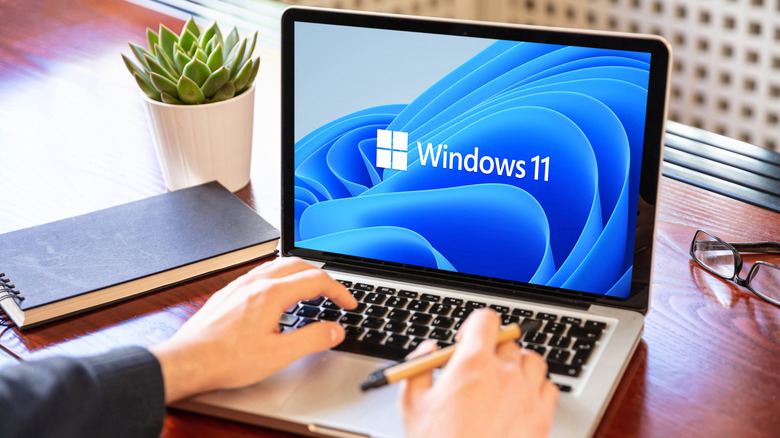
Windows 11 is the latest version of Microsoft's operating system, and it brings with it a beautiful and consistent design language, performance enhancements, a slew of new features like widget support, improved windows management, tablet mode, and more. While the operating system powers millions of PCs around the world, you might also want to try it out on your Mac. Although Mac hardware is highly optimized for macOS, there may be some occasions when you may need to use Windows, but perhaps they don't occur often enough to invest in a PC.
You may, for example, need to install and use a specific piece of software for work or school that is only available on Windows. Installing the latter OS is also useful for developers, and it gives Mac users the chance to try out Windows without buying a new laptop or desktop. Regardless of your reason for doing so, you can use a tool like Parallels Desktop to install Windows 11 on your MacBook (and the same process will work with Mac desktop computers, too).
Why it's a good idea to run Windows 11 on Mac
Both macOS and Windows operating systems have reached feature parity, and choosing between the two options today is more of personal preference. However, there are still Windows-specific apps you cannot use on Mac and vice versa. Whether your job requires you to use a particular piece of Windows software or it's your school using a Windows-only service, running Windows 11 on your MacBook still makes sense. As well, if you are a developer making apps for Windows machines, running Microsoft's operating system on your Mac will allow you to test-run your product without buying an additional Windows machine.
Another big reason why you should run Windows 11 on your Mac is gaming. While macOS has improved a lot when it comes to game support, it still lags miles behind Windows operating system when it comes to AAA titles. You cannot find most of the popular games on macOS. Even if a studio releases a Mac version of its games, Windows always gets them first. If you enjoy playing games in your free time, running Windows 11 on your Mac is a good option.
Download virtual machine software for running Windows 11 on Mac
Parallels Desktop is a virtual machine program that lets you run Windows 11 on a simulated computer on your MacBook. Since Parallels creates a virtual Windows machine, you do not have to restart your Mac to switch between the two operating systems. There are several other benefits that come with using Parallels on Mac: firstly, it allows you to run Windows 11 on Apple Silicon, which can't run Boot Camp like older Macs; and secondly, it's relatively easy to set up and offers fast performance. Parallels Desktop allows you to launch Windows apps side-by-side with Mac apps thanks to a Coherence mode, not to mention that you can also run AAA games that do not support macOS.
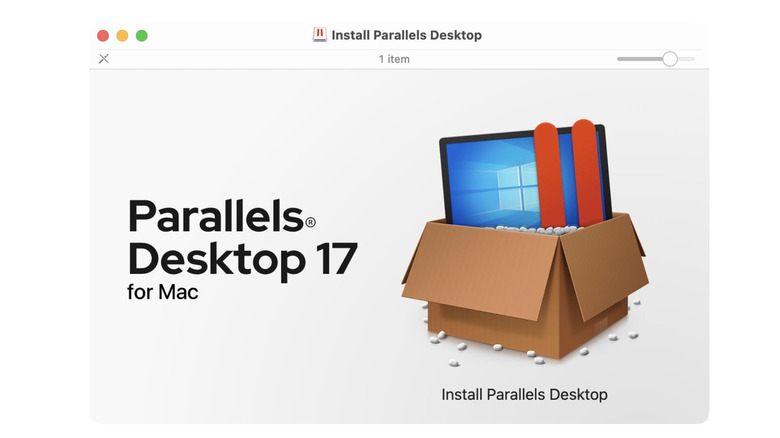
You will need to download Parallels Desktop 17, the latest version of the Parallels app, from its website. You get a 14-day free trial, after which it costs $79.99 to get the Standard Edition and $99 for the Pro Edition. For most users who only want to run Windows apps and games, a standard license will be enough. We recommend you check the feature comparison chart on the official website to see which edition is best suited for your needs.
To install Parallels 17 on your Mac, go to its official website and click the Try Now button if you haven't purchased the app. Now, click on the Parallels Desktop for Mac option to download the DMG file on your Mac.
- Locate the DMG file on your Mac and double-click to open it. Now, double-click on the Install Parallels Desktop option.
- The installer will download the full app and install it in the background. Once the installation is over, you will need to authorize the app with your admin password.
- Finally, Parallels will require access to several macOS directories to enable the full features set. Follow the on-screen instructions to grant access to all the directories and click on the Finish button.
Keep in mind that there are other virtual machine applications on the market, including free options like VirtualBox. Your experiences with them may vary, but they could be worth checking out if Parallels is outside of your budget.
How to install Windows 11 on a virtual machine on Mac
Alongside Parallels 17, you will need to download the Windows 11 installation file. If you are using an Intel-powered Mac, you need to download the Windows 11 ISO file from Microsoft's website. If you are running one of the newer Macs powered by Apple Silicon, you will need to download the Windows 11 ARM version; at the time of writing, the latter is part of the insider build program, so you will need to register for the Windows Insider Program, then download the Windows ARM64 Insider Preview installation file.
The steps for installing Windows 11 using Parallels on Mac are the same for both the X86 and X64ARM versions. After you have installed Parallels on your Mac and downloaded the requisite Windows 11 file, launch the Parallels Desktop app and follow these steps:
- Click on the Install Windows option, then click Continue.
- Parallels will now automatically find the Windows 11 installation file on your computer. If it fails to do so, you can click on the Choose Manually option and navigate to the download location to select the file. Click on Continue to go ahead with the installation process.
- Parallels will ask for your use case for the Windows 11 operating system. Choose the correct option depending on your needs and Continue.
- Now, set the name and location for the installation file and click the Create button to start the installation.
The Windows 11 installation will now begin and Parallels will handle the entire process automatically. You can see the progress in a small virtual machine window on your Mac. It takes just a few minutes to complete the installation, so you won't have to wait for long. When the process is complete, you will see a message informing you that it has finished.
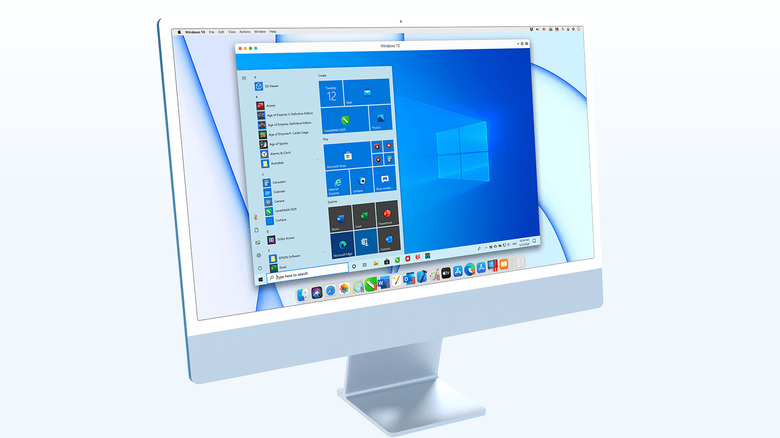
Using Windows 11 on Mac
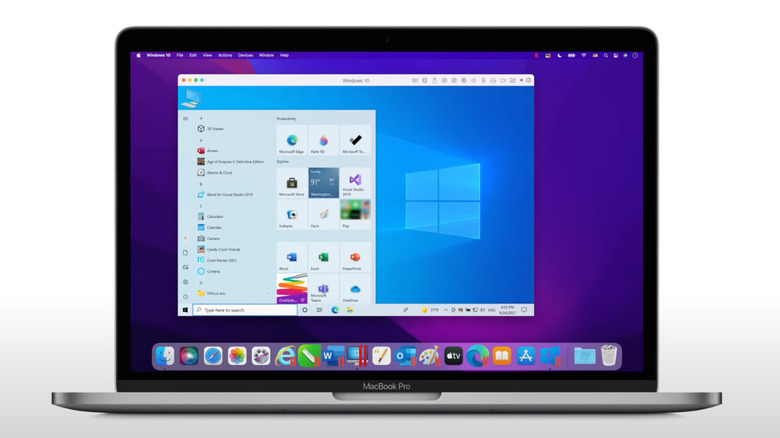
Parallels allows you to use Windows 11 in windowed and fullscreen modes on your Mac. You can resize the window as you see fit or use the green button to maximize the window to fullscreen. One of the best features of Parallels is the Coherence mode. Once you turn it on, you will be able to use both Windows and macOS apps side by side. You can enable the Coherence mode by using the Parallels Menu Bar app; alternatively, you can use the Command+Control+C keyboard shortcut.
You can shut down the virtual Windows 11 machine by using the power button and selecting the Shut Down option. You can then quit the Parallels Desktop app like any other app on your Mac. The overall experience of running Windows 11 on Mac using Parallels Desktop 17 is quite positive. The installation process is user-friendly, and the Windows 11 virtual machines perform pretty well. Of course, you will be taking a performance penalty for using a virtual machine, but you won't see the performance impact with regular office and productivity apps.