The Easiest DIY Method For Vinyl Wrapping Your Car
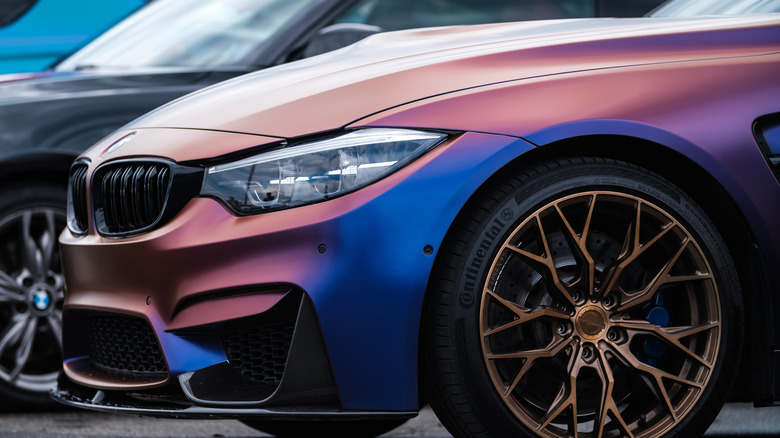
Car wrapping involves plastering your vehicle's exterior with thin, sticky vinyl sheets to give it a custom look. Although, it has had a steady resurgence in the last few decades — it is an industry that is set to explode in the coming years. With car wrapping, you no longer have stick with the typical reds, blacks and blues that typically dominate the road. Instead, you can achieve the car finish of your dreams. Whether it's a floral decal or a hot metallic finish, vinyl wrapping can give your whip a one-of-a-kind feel. But it doesn't have to be permanent. When you want a change, you can just peel it off.
In most cases, letting a professional do the work is advised. If you're up to the challenge, however, anyone with enough patience can learn to do it. According to Turtle Wax, it is entirely possible to DIY a vinyl wrap job, even if you've never done it before. While results may vary, it is definitely an option to consider if you want to save a few dollars and have extra time on your hands.
Preparation is key
To wrap your car successfully, preparation is key. Here are some steps to follow:
- Have a clean surface. You should make sure that your car's surface is smooth. Vinyl is thin, so imperfections such as chips and dents will show through or cause vinyl to bubble or tear. That's why you need to fill in dents or rough spots, so the car surface is completely flat.
- Choose a clean environment or workspace. Before you start wrapping, check for dust or debris as anything floating around can ruin the job.
- Don't wrap on a too-cold or too-hot day. The best days to wrap your car is when the temperature is between 60℉ to 80℉. You want the plastic to be the same temperature as your work area (via TKO Graphix).
- Collect the tools you need. To start, you would need about a 25 foot roll of 60 inch wide vinyl wrap for the average vehicle (via Jerry). You may want to buy at least five to ten feet extra just in case you make mistakes. You also need to have the proper tools including isopropyl alcohol, a squeegee, lint-free wipes, exacto knife, knifeless tape, heat gun, and a laser thermometer (via Dorotape and VVid Vinyls).
It's time to wrap
You always want to give yourself extra wiggle room in case of errors. For beginners it's useful to take a scrap piece of vinyl to play around with so you can get used to it before you start. After, you should be comfortable enough to jump right in and follow these steps.
-
Measure each section that you want to wrap, making sure to add a little extra so you have the room you need if you make a mistake.
-
Tackle smaller areas of the car such as doors and the hood before you attempt larger swathes.
-
With a friend, remove the adhesive backing while holding it taut to remove unwanted wrinkles and creases. Then, lay the vinyl flat on the surface, leaving a little extra so you can fix it.
-
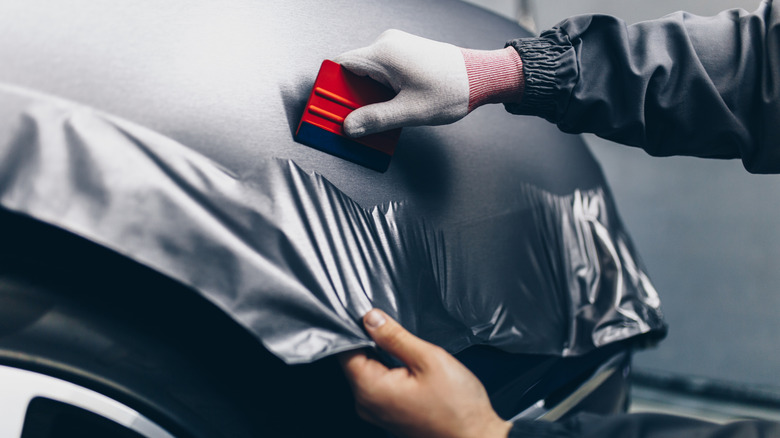
Starting from the middle, press the vinyl to smooth it out. Then, take a squeegee and make strokes from the center to the edges to make sure there are no air bubbles and the top is smooth.
-
Once you've smoothed it out, blast the area with a heat gun at 212℉ to make sure the adhesive sticks and seal the edges.
-
Use the Exacto knife to trim edges and pop any air bubbles that may come.
-
Finally, for the finishing touches, use a squeegee and your fingers to smooth the vinyl out.
Now, you're ready to roll (literally)!