How To Install Minecraft On A Raspberry Pi
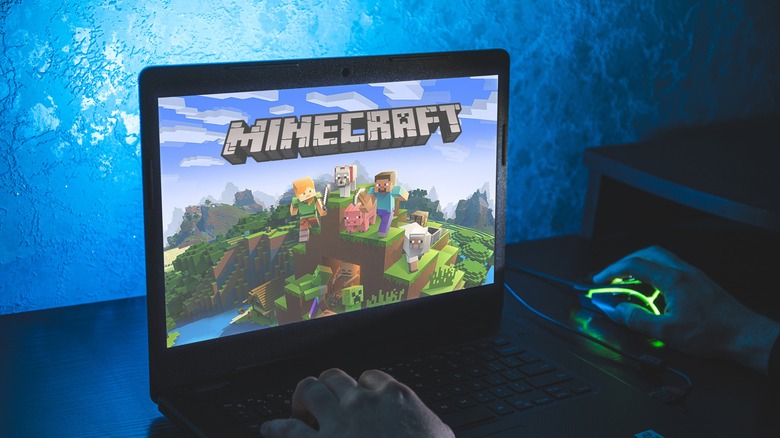
The small but highly affordable Raspberry Pi is good at all sorts of things in the fields of programming, education, robotics, and even home networking. But what you may not be aware of is the fact that it's also just as good at playing retro video games. For instance, you can play games like "DOOM" and "FreeCiv" on a Raspberry Pi, and there's even a Pi-optimized version of "Minecraft" available to download for free. The game works on just about any Raspberry Pi, though it is recommended that you use the Raspberry Pi 4, which has a starting price of $35.
Granted, the process of setting up your Raspberry Pi and getting "Minecraft: Pi Edition" up and running on the bite-sized system is nowhere close to as simple as installing and playing it on a Mac or Windows PC. If you're unfamiliar with Linux, some of the necessary steps may confuse or disorient you, making it important to understand both how your Raspberry Pi works and how to follow the specific setup processes for "Minecraft: Pi Edition."
But once it's set up and ready to play, and once you're used to the process of running tasks on your Raspberry Pi, you should have no trouble booting up "Minecraft: Pi Edition" and playing whenever you feel like it.
Setting up your Raspberry Pi
If you've yet to get started navigating your Raspberry Pi hardware and software interface in general, it's a good idea to do that before installing or playing any games. The official Raspberry Pi website offers instructions on how to do this, but here's a simple breakdown of the process:
- Connect your Raspberry Pi to a power supply via USB-C if you're using a Raspberry Pi 4 or micro USB for any of the older models.
- Connect your Pi to a screen via HDMI.
- Connect your keyboard and mouse via USB.
- Slot in your chosen microSD card of choice, as long as it is above 8GB in size.
- Connect your Pi to an ethernet cord or to your USB Wi-Fi adapter of choice.
- Plug your Raspberry Pi power supply into a wall to turn the Pi on.
- If your Raspberry Pi does not have an OS installed by default, follow the instructions to download and set your Raspberry Pi OS up from scratch. This may require the assistance of another device, such as a laptop.
- Navigate through the setup process including your country and username and password.
- Remember to connect to your Wi-Fi network!
Generally speaking, you can get away with using the GUI to navigate around your new device, but it's good to learn basic "apt-get" commands at the very least. For instance, you'll probably want to regularly update your Raspberry Pi.
Setting up Minecraft Pi
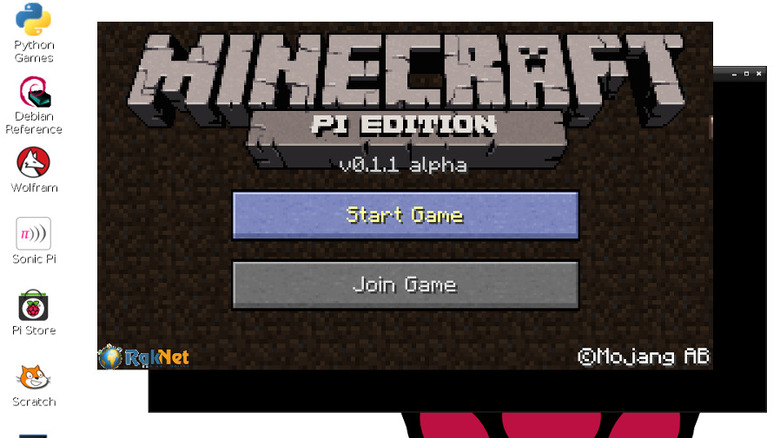
Now that your Raspberry Pi is set up and ready to go, it's time to have some fun playing with an older — albeit stable — version of "Minecraft," also known as "Minecraft: Pi Edition," which is not to be confused with "Education Edition". As previously mentioned, this isn't the most versatile or up-to-date version of the stylistically blocky crafting and building-focused survival game, but it should still scratch your "Minecraft" itch and teach you how to work with certain advanced concepts such as redstone configuration – the well-known in-game programming language within "Minecraft". The instructions and download link for the game software are provided on the "Minecraft" website, but here's how they look broken down:
- Download the game file to your download directory.
- Open the LXTerminal.
- Type "cd" and execute the command.
- Type "tar -zxvf minecraft-pi-0.1.1.tar.gz" and execute.
- Now execute the command "cd mcpi".
- From here, "./minecraft-pi".
- In order to navigate to your game again in the future, just repeat steps 5 and 6.
However, this is not the only version that you're likely to successfully install on your Raspberry Pi. According to blogger Nicholas Bering, it is possible to install the regular "Minecraft: Java Edition" onto your Raspberry Pi instead, though you may struggle to achieve or maintain framerates higher than even 24 fps. If this sounds like a hassle, you may simply want to look into upgrading to a dedicated gaming machine.