How To Connect Apple Pencil To iPad
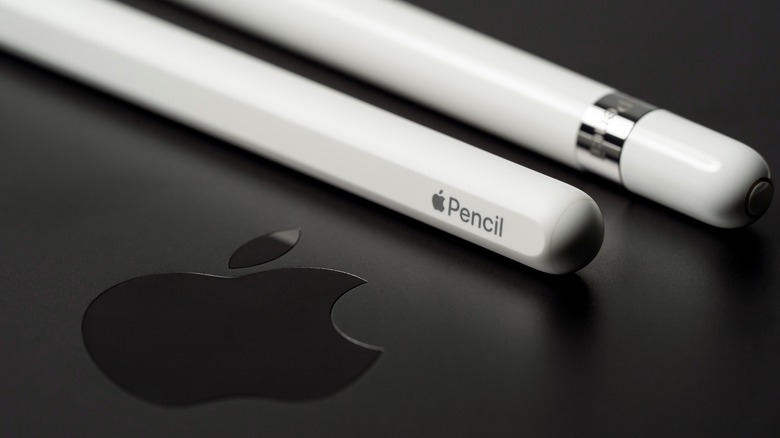
If you're getting a new iPad, there's a good chance that you'll end up getting an Apple Pencil. With good reasons, too: the Apple Pencil is undoubtedly one of the best styluses so far, primarily because of how seamlessly it works with an iPad. Currently, the Cupertino-based company sells two versions: the Apple Pencil (1st Gen) for $99 and the Apple Pencil (2nd Gen) for $129. While the former was launched in 2015, the latter came out three years later in 2018. The Apple Pencil (1st Gen) has a glossy, circular finish and charges via a Lightning port, while the Apple Pencil (2nd Gen) has a hexagonal shape that feels more like an actual pencil in your hand.
More importantly, both the devices are compatible with different iPad models, which is something to keep in mind while getting one. Either way, they can be used to draw and sketch in apps like Procreate, Scribble in iPadOS text fields, and navigate around the iPad's interface. However, before gliding the Apple Pencil across your iPad's screen, you have to connect it. This is where a lot of users face trouble, especially if they have ordered the Apple Pencil online as they you have to pair it manually. Thankfully, connecting the Apple Pencil with an iPad is an easy process once you know exactly what to do.
Which Apple Pencil to get for your iPad
Before purchasing an Apple Pencil, you should check whether it is compatible with your iPad or you might end up paying for the wrong model. As mentioned on the official support page, the Apple Pencil (1st Gen) is compatible with iPad Mini (5th Gen), iPad (6th Gen and later), iPad Air (3rd Gen), iPad Pro 12.9-inch (1st and 2nd Gen), iPad Pro 10.5-inch, and iPad Pro (9.7-inch). Except for the iPad (9th Gen), which came out in 2021, all of those tablets were launched in, or before, 2019. Indeed, some of these models are not available via the official Apple Store anymore, simply because the company has updated them with newer versions. Either way, if you own any of these models you should go for the Apple Pencil (1st Gen).
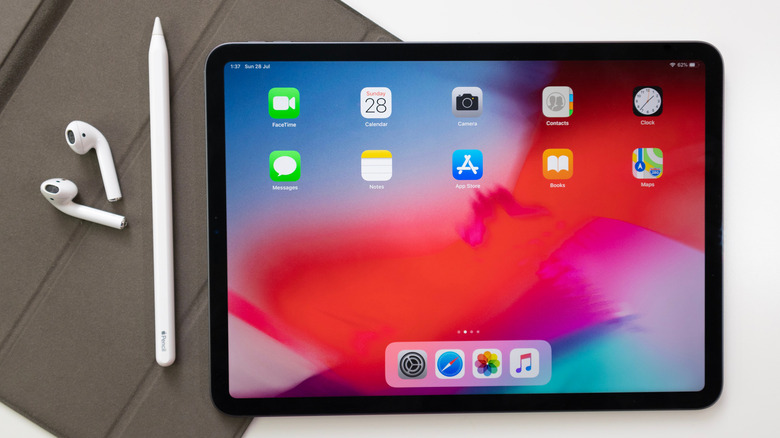
If you've purchased an iPad more recently, there's a good chance that you've put your money into the latest model. The iPad Mini (6th Gen), iPad Air (4th Gen and later), iPad Pro 12.9-inch (3rd Gen and later), and iPad Pro 11-inch (1st Gen and later) are compatible with the newer Apple Pencil (2nd Gen). While these iPads are among the most expensive models, they provide the best tablet experience, both in terms of specifications and user experience. They also take advantage of some of the features Apple introduced in its second-generation stylus.
How to connect Apple Pencil (1st Gen)
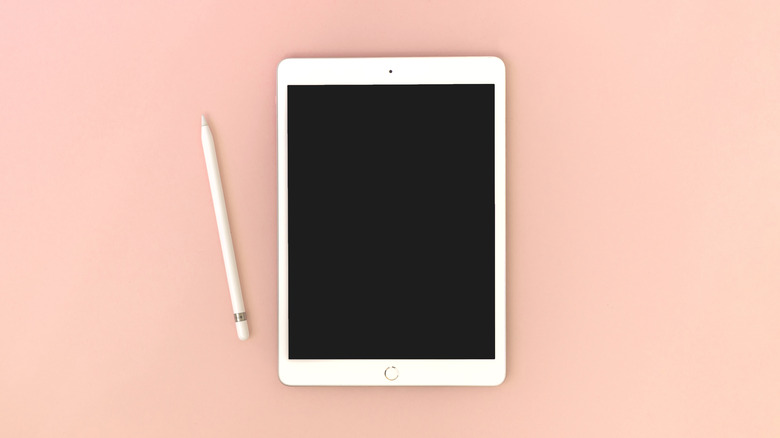
The Apple Pencil (1st Gen) has a Lightning connector, with which it connects with supported iPads. To pair the two, follow the steps given below (via Apple).
- Carefully remove the cap on the opposite side to the tip of the Apple Pencil. This is where the Lightning Port is found.
- Plug the Apple Pencil into the Lightning port on your iPad.
- Make sure that Bluetooth is enabled on your device, as it is required to connect with the Apple Pencil.
- Wait for a few seconds until a 'Bluetooth Pairing Request' appears on the screen with the message "Apple Pencil would like to pair with your device."
- Tap on Pair.
Once the Apple Pencil is connected, it will stay connected until users turn on Airplane Mode, restart their iPad, or connect the Pencil with another iPad. Before you start using the Apple Pencil, it is a good idea to let it rest in the Lightning Port and charge for a while. Once done, pull out the device, tighten the cap again, and start sketching.
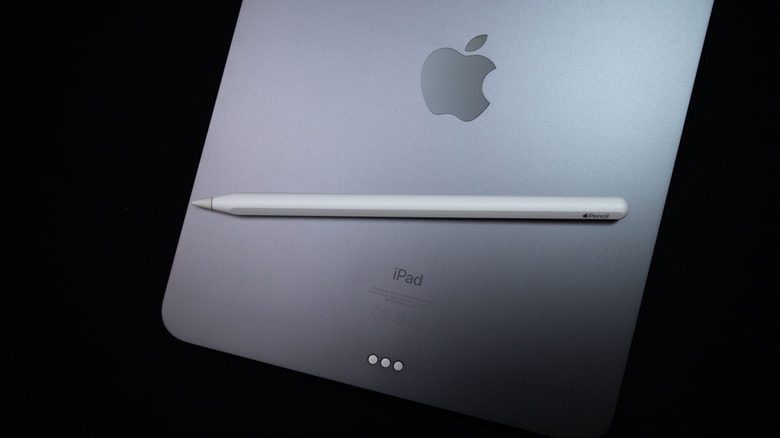
How to connect Apple Pencil (2nd Gen)
Connecting the Apple Pencil (2nd Gen) might be a new experience for some users. The stylus is designed with strong magnets to latch onto the edge of compatible iPad Models, where it charges as well. This feels much more convenient and natural than the Apple Pencil (1st Gen), which sticks out in a weird and vulnerable fashion while charging. Before you connect the device with your iPad, make sure that Bluetooth is enabled. Here is how to connect the device.
- Hold the iPad in portrait mode and attach the Apple Pencil (2nd Gen) to the side with a magnetic connector.
- If a dialogue titled 'Bluetooth Connection Request' pops up, tap on 'Pair' and you're done.
Again, it's a good idea to let the pencil charge for a while before first use. You can check the battery level on the top of the iPad's display by simply pulling away the Apple Pencil and then replacing it again. Unlike the Apple Pencil (1st Gen), the Apple Pencil (2nd Gen) does not come with a Lightning Port.
What to do if Apple Pencil does not connect
In most cases, both the first and the second generation of the Apple Pencil connect smoothly with compatible devices. However, if the device does not pair with your iPad, here are a few things that you can try. First, head over to the Settings and check whether Bluetooth is on. If the device is showing under the 'My Devices' menu in Bluetooth settings, tap on the info icon, then tap on 'Forget this Device' as it has not connected properly. Once done, try repeating the steps above.
If the pairing option does not show up, reboot your iPad and make sure that the Apple Pencil is appropriately placed in the Lightning Port or on the magnetic connector on the edge, for Apple Pencil (1st Gen) and Apple Pencil (2nd Gen), respectively. It should connect with your iPad, unless you've got a defective Apple Pencil, in which case your next port of call should be contacting Apple Support.