How To Use Your iPhone As A Webcam For FaceTime On Mac
Mac users almost universally decry the shoddy video quality of Macs' built-in webcams, but an app called Camo offers a potentially huge upgrade. The only catch? You need both a Mac and an iPhone for it to work. There's even a free version, although it does lack a few core features, which we'll explain in a bit.
Essentially, Camo replaces the camera in your Mac with one of the cameras on your iPhone. On paper, it might not seem like that big of a deal — Mac cameras have had resolutions of at least 720p for well over a decade, with recent iMacs and MacBook Pros finally upgrading to 1080p webcams. Despite the numbers, however, Mac webcams are notoriously grainy and flat, terrible in low light, and altogether underwhelming.
iPhone cameras, on the other hand, are among the smartphone brand's best features, with recent models including multiple lenses for wide-angle, ultrawide, and telephoto views. The difference is night and day — almost literally if lighting conditions are bad enough. If you're an iPhone user who's unhappy with your Mac's internal webcam, here's how to use Camo for the ultimate video calling upgrade.
Things you'll need to use an iPhone as a webcam on Mac
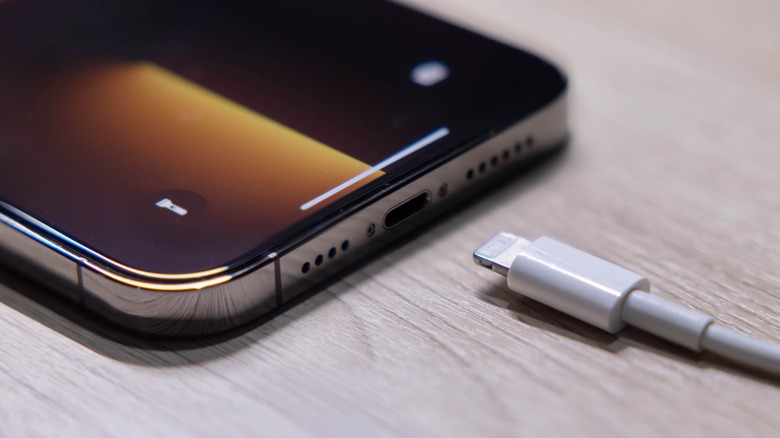
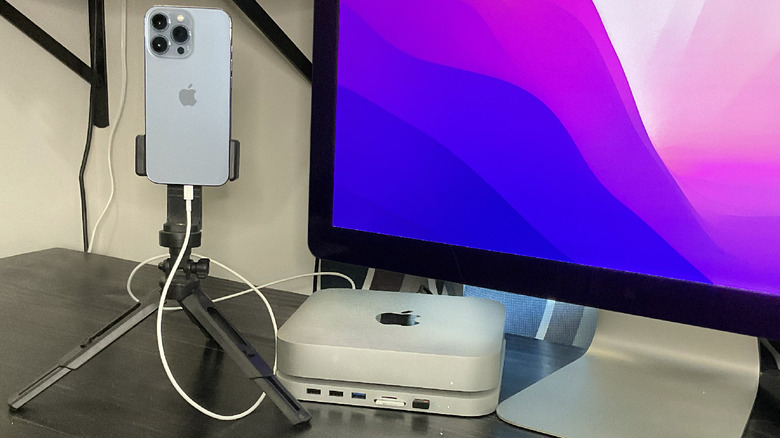
Unfortunately, Camo doesn't offer wireless connectivity at this time, so you'll have to plug your iPhone into your Mac the old-fashioned way — with a Lightning cable. Once you do, however, launching and running the app is relatively painless except for one minor speed bump: the Camo Mac app is not available in the Mac App Store, so you'll have to make sure your Mac settings will let you install it. Here's how:
- Open the Settings app on your Mac.
- Click "Security & Privacy."
- Under "Allow apps downloaded from," make sure the bubble is selected next to "App Store and identified developers."
- If it's not, click the lock in the lower-left corner and enter your password, then click "Unlock" and click the bubble next to "App Store and identified developers."
Once that's out of the way, you'll need to download both the Camo app for macOS and the Camo app for iOS. The iOS app works on more than just iPhones, by the way, so if you've got an iPod Touch or an iPad with a decent camera that you'd rather use, the steps are about the same for those devices as well.
How to use your iPhone as a webcam for FaceTime on Mac
Once you've downloaded and installed Camo on both your Mac and iPhone, the first time you run them, you'll have to grant a slew of permissions, including those for the microphone and camera. Once that's done, you don't have to set up an account or log in or anything — just fire up both instances of the app and open the app for the video calling platform you want to use.
Thanks to a recent update, Camo now works with FaceTime, Safari, and QuickTime, as well as many other platforms, including Zoom, Meet, Teams, Skype, Slack, and Facebook Messenger. You'll likely have to dig into the settings of whichever one you choose and select Camo from the list of available cameras — you can also choose whether to use your iPhone's microphone for audio on the call. Otherwise, you'll connect to a call just as you would any other time.
On the iOS end, the app doesn't do much more than act as a gateway to your mobile device's camera and microphone. The Camo Mac app is where you can adjust and customize not only which of your iPhone cameras to use but also a variety of other settings, including one that puts an augmented-reality cat on your head.
How to adjust settings when using the iPhone as a Mac webcam

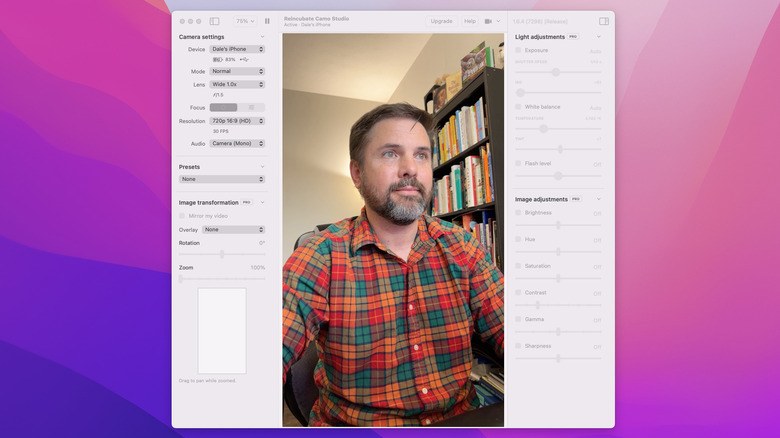
The Mac app is where all the proverbial magic happens; there, you can adjust settings like zoom and resolution, as well as choose which of your iPhone's lenses you want to use. On the right side, you can make all sorts of granular adjustments to elements like shutter speed, ISO, temperature, and tint, as well as brightness, hue, saturation, contrast, gamma, and sharpness.
However, the inconspicuously-labeled "Mode" menu on the left-side panel is where the fun begins. "Mode" lets you choose from a variety of image options, from the simple to the comical. "Portrait," "Basic Portrait," and "Mute Background" offer various levels of background obfuscation. "Emoji Face" and "Emoji Hands" layer those elements on top of your own face and hands. "Face Follow" tracks your face similarly to Apple's Center Stage but keeps your face dead-center, which has a somewhat creepy effect.
Other effects run the gamut from the silly ("Fred's on Your Head" puts a CGI cat atop your dome) to the artistic ("The Starry Night" mimics the color pattern and brush strokes of the famous painting). Of all the options listed under "Mode," the only one restricted to the paid version is the regular "Portrait" (i.e., not "Basic Portrait") mode.
Camo's free version blocks a few core features
You can do a lot with the free version of Camo, including joining a video call, but once you start trying to tweak settings, the paywall becomes a lot more obvious, as some of the most useful settings require a subscription. For example, with the free version, you're limited to just two lenses — the selfie lens and the regular wide-angle — which means no ultrawide or zoom, even if your iPhone has those lenses.
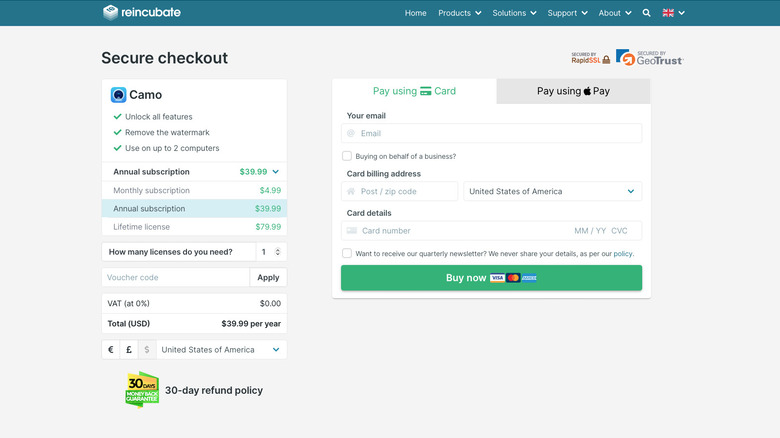
The most frustrating restriction of the free version, however, is that you're stuck capturing video right-side-up in portrait orientation — the ability to rotate the camera angle comes with the paid app. Subscriptions cover two computers and cost either $5 per month or $40 per year, or you can buy a lifetime license for $80. With the paid version of Camo, all features are unlocked, and the Camo watermark disappears (Camo is also available for Windows and Android). For what it's worth, the app also offers a 30-day refund policy.