How To Use The Stack Feature On MacBooks To Clean Up Your Desktop

Folders are an incredibly common method of organization for most computer users. Both the folders themselves and the files within can be named and organized in various ways, but what about the desktop?
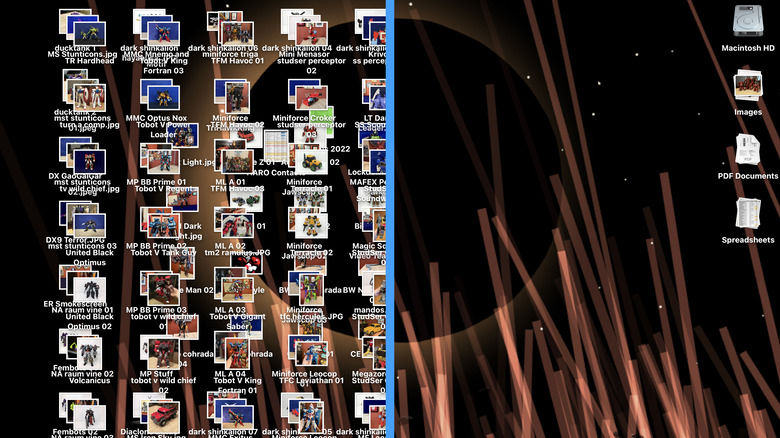
Our computer's desktop tends to wind up being used as a catch-all for all manner of files. It's usually the default spot to drop a lot of our files as we work; from new downloads to things we're currently working on, but not necessarily immediately, so they end up sitting around in a cluttered mess for weeks (or months, or years).
Today we're going over the stacks feature — available in macOS Mojave, Catalina, Big Sur, and the most recent version of the OS called Monterey. This feature is also available in macOS High Sierra, but there it's tied to the Dock (the quick-selection bar at the bottom of the screen) rather than the desktop. We're exploring how to use the feature to keep your MacBook's desktop more organized by removing the need to drag and drop a file or sift through folders when saving something.
Using stacks in newer versions of macOS
Several versions of macOS, including Mojave, Catalina, Big Sur, and Monterey, can all use stacks in your MacBook's Dock just like High Sierra. With versions of macOS newer than High Sierra, you can also use stacks on the desktop.
Control-click on the Desktop and select Use Stacks to activate the feature. This will immediately group all of the same file types, except for folders. Stacks are separated by file type, meaning you won't find a .jpg sorted with a .png or anything like that.
Scroll through the files in a stack without opening anything by moving the cursor over it, then swiping left or right with two fingers on the trackpad or with one finger on a Magic Mouse. You can also expand a stack to see everything in it with a single click. Once expanded, the original location of the stack on your desktop is replaced by an arrow icon pointing down. Click on the down arrow icon to close the stack again.
You can change the way stacks are organized by control-clicking on the desktop and moving the cursor over Group Stacks By. Stacks can be grouped by Kind, Date Last Opened, Date Added, Date Modified, Date Created, or Tags. This Group Stacks By organization feature can also be found under the View drop-down menu at the top of your screen.
If you want to use larger or smaller icons, either control-click on the desktop or open the View drop-down menu and select Show View Options. Inside the View Options menu, adjust the Icon size slider to make your desktop icons larger or smaller.
If you decide you don't want to use stacks anymore, control-click on the desktop and uncheck the Use Stacks option. Be aware that this will make all of the files on your desktop appear individually again, so the result of this move could be quite messy.
Using stacks in High Sierra

As previously mentioned, macOS High Sierra's approach to stacks is somewhat different from other macOS versions as it appears in the Dock, but not the desktop. It offers a similar level of organization, though more stacks and more apps placed in the Dock will result in a more crowded bar along the bottom of your MacBook's screen.
To create a new stack, drag and drop a folder onto the Dock to the right of the separating line. You can also do this with individual files, but they'll each be represented individually on the Dock.
Clicking a stack reveals the files and folders within. You can close the stack by clicking on the down arrow underneath it, or by clicking anywhere outside the opened stack.
You can also click on the stack and select the Open in Finder arrow, or control-click on the stack and select Open [folder name], to open the whole stack folder in Finder. This is particularly useful if there are a lot of files or folders in the stack since it will display a maximum of 30 items in the stack from the Dock.
You'll be able to adjust the way a stack displays its contents by Control-clicking on it in the Dock, then selecting Fan, Grid, List, or Automatic under View content as. The Automatic option will be set by default and will adjust itself between Fan and Grid depending on the number of items in the stack.
Stacks can also be organized by Name, Date Added, Date Modified, Date Created, and Kind. To make this adjustment, control-click on a stack and select the option you want under Sort by.
Stacks can be removed from the Dock by Control-clicking on the stack and selecting Options > Remove from Dock.