How To Clean Your Dryer To Minimize The Risk Of A House Fire
We may receive a commission on purchases made from links.
The energy-consuming clothes dryer is one of those appliances that you only operate a few times a week and don't give much thought to in between uses. That can change quickly if you find yourself with a faulty dryer that won't dry. Apart from the potential for a frustrating trip to the laundromat, there is another factor to consider when it comes to a clothes dryer: they can easily become a hazard to your home and the people in it.
Yes, a clothes dryer is one of those common home appliances that poses a legitimate fire risk. According to some reports, the clothes dryer may be responsible for as much as 4% of home fires each year. That number might not seem particularly eyebrow-raising, especially when you consider that percentage also includes clothes washers as a hazard. Still, 4% is nothing to sneeze at when it comes to the safety of your home and your family.
There is a very easy way for you to go about limiting the potential for a life- and property-endangering dryer fire, with certain outlets reporting that some 32% of those tragic events are the result of improperly cleaning the dryer itself. Thus, regularly cleaning your dryer may go a long way toward preventing it from catching fire during use. Here are a few tips for properly cleaning your clothes dryer.
De-linting your dryer is key to its function and safety
If you are in charge of doing the laundry in your household, you know that the clothes dryer is a magnet for dust and lint, both of which are highly flammable. As the dryer generates considerable heat during usage, that combination makes it a legitimate fire hazard. Yes, you'd be correct in assuming that merely managing the appliance's lint buildup is one of the biggest steps you can take to limit the potential for a fire.
That means cleaning the device's lint trap after every single use. If you are unsure where your dryer's lint trap is, check your owner's manual immediately and clean it out ASAP. Just FYI — doing so will also improve the overall performance of your dryer, as a clean lint trap allows for better airflow during usage. While you've got the lint trap removed, consider using a vacuum hose to hit the crevice it resides in as well.
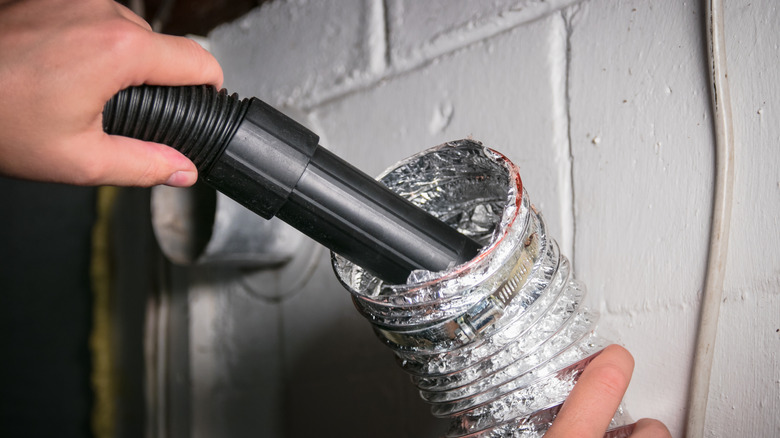
With a vacuum in hand, consider using it or a dryer cleaning kit to clean the vent and duct hose, which are also prone to collecting excessive lint. Just know that you'll likely need to move the dryer itself to disconnect the hose, which runs out the back of the machine. You will also want to be careful connecting and disconnecting the hose in the process. It is recommended that you unplug the dryer before cleaning the hose, and that you clean that hose about once per year.
Don't forget to clean the dryer's exterior and drum
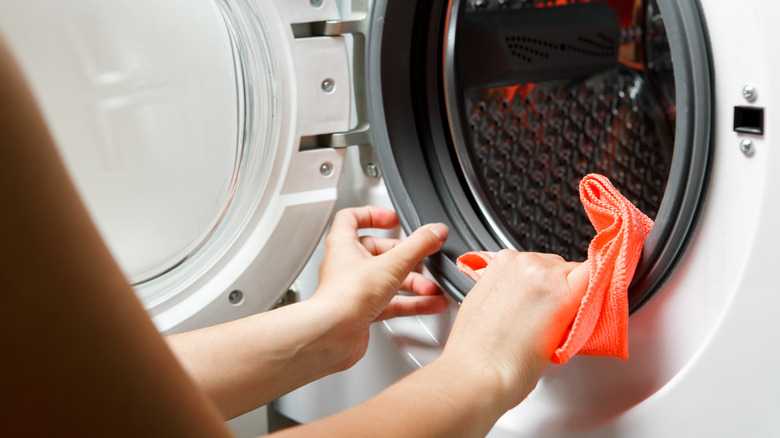
After you've cleaned the ventilation hose, consider using your vacuum to remove any dust buildup on the back of the dryer. You'd also be wise to step outside to clean the lint from your dryer's exterior vent, which you can do with a vacuum or a special dryer cleaning brush. Once you're done with that, go ahead and wipe the excess dust and lint from the surface and sides of your dryer with a microfiber cloth.
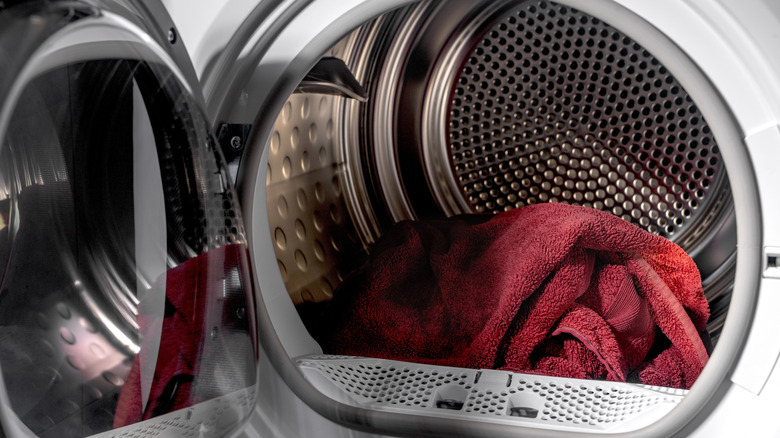
Since you are giving your dryer's hoses, lint traps, and exterior surfaces a thorough, deep clean, it's a good time to touch up its interior as well. The dryer's drum is likely an afterthought for many, of course, but flammable materials can also accumulate there during use.
Start by hitting the drum with your vacuum to remove any collected dust or lint. During that process, you may notice a filmy residue on the surface of the drum. That is likely due to your use of dryer sheets or fabric softeners, and it should be cleaned periodically. If you're using an electric dryer, you can clean it using a damp microfiber cloth and a touch of dish soap. If it's a gas dryer, a nonflammable cleaner can also be used. Once you've cleaned the drum, run a short dry cycle to ensure the interior is properly dry.