Is There A Right Way To Organize Your Tool Chest? Here's What You Should Know
Digging through a mess of hammers, wrenches, and weird leftover screws isn't a badge of honor. Not only does it suck up all your time, but it is also a big safety hazard. You're practically a knuckle scuff waiting to happen if you don't find tool box organizers to manage your mess. A chaotic tool chest slows you down and invites injury. But with smart organizing, you get efficiency with a side of zen.
Before we get started, you might be wondering whether there is a difference between a tool box and a tool chest. Well, yes, there is, although it's a small difference. Tool boxes refer to the broad range of storage containers for your tools, while a tool chest is a specific, often bigger, tool storage container. Whatever you're using, there's a right way to organize your tools and make sure everything's in place for your next project. However, there isn't a one-size-fits-all solution. What's best for you will depend on a variety of factors, including the type of tools and the nature of your work.
What you should consider when organizing your tool chest
Achieving optimal tool organization in your tool chest comes down to four simple steps. Cleaning it out, taking stock, grouping your gear, and then giving everything a place. The real challenge lies in tailoring the system to your habits. To do this, you must assess factors including tool condition, tool size, and frequency of use. A good tool chest isn't a dusty black hole. It's more akin to a command center. Think of it as a well-designed cockpit where everything you need is within reach, arranged by function and weight. You will want heavy stuff low, light tools easy to grab, and labels. But we'll get to that.
The first step is to basically rip everything out. You've got to take stock by laying out every tool, spotting duplicates, and ditching broken bits. Clean the empty chest by vacuuming the dust, wiping it down, and drying it thoroughly. Then, proceed to clean the tools. Remove any rust so that everything starts and stays in tip-top shape. List your tools, note their condition, and how often you use them. If something's rarely used or broken beyond resuscitation, let it go. You'll find organizing becomes almost joyful when you know you're only keeping what matters.
Now the organization begins
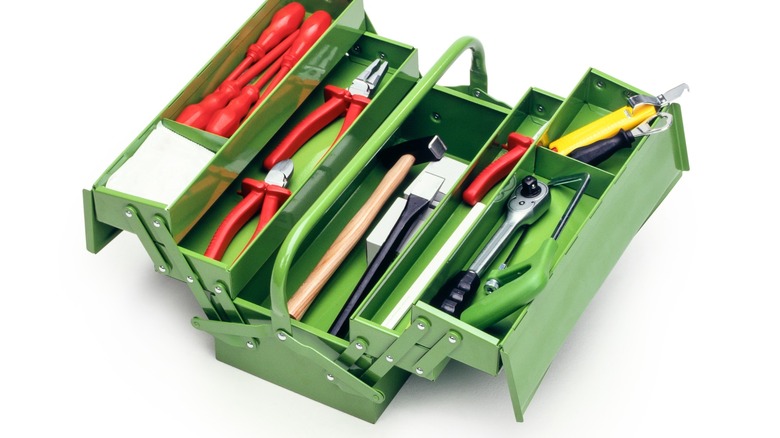
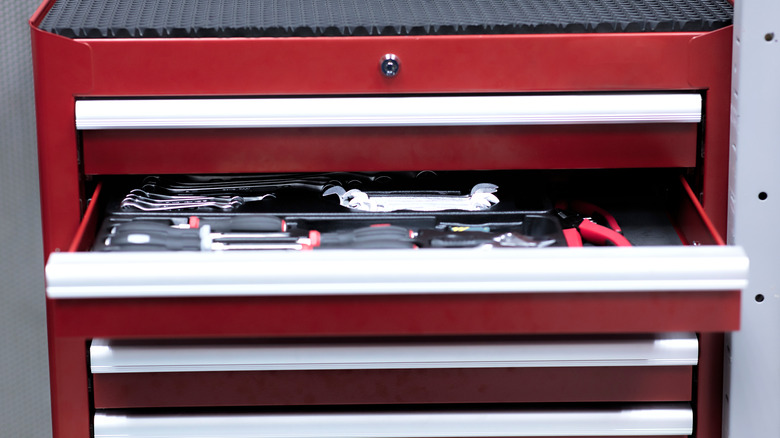
Once you've cleaned and sorted your tools, your tool chest becomes a blank canvas. During sorting, you can build intuitive groups. Group screwdrivers, cutting tools, measuring gear, or whatever fits your workflow. Begin arranging by grouping frequently used tools into lift-out trays or front pockets. You'll want to reserve heavy items for low drawers to keep the whole chest stable. If not, you risk creating a top-heavy tipping hazard.
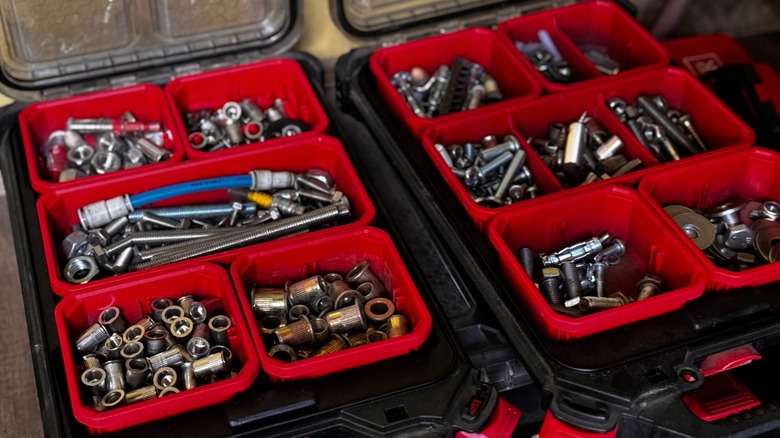
You can use add-ons such as dividers, trays, foam inserts, magnetic strips, and pegboards to help your cause. Dividers keep screwdrivers from wandering into hammers while foam gives delicate tools a snug home. Magnetic tool holders, on the other hand, hold the steel gear in place vertically. These are all space savers and add style points. Adding labels helps you find what you need, and it makes it easier to put things back in the right place.
In all this, don't ignore safety. Most especially, don't overload drawers and try to keep weight balanced. Protect yourself by covering sharp tools. Keep the chest grounded, and use locks if needed, especially on mobile or truck-mounted chests. If you want to get a more reliable chest, check out our ranking of every major tool chest brand. Don't forget that a little upkeep goes a long way. A few minutes to wipe, re-label, or re-position your tools is like watering your organizational garden, keeping it healthy with minimal effort.