What Is A Macro Lens, And How Do You Use One?
Pretty much every photographer on the planet has a bag of tricks they employ to help them get the perfect shot. One of the more notable tricks a photographer can pack in that bag is a spare lens or two because having the right lens on hand can make or break a shoot. However, there are many factors to consider when choosing the right lens, and with so many different types of lenses available, it can even be difficult for professionals to decide which one is best suited to the task.
One lens you are likely to find in the bag of many photographers is a macro, as they are designed to help shooters get up close and personal with their subjects. Macro lenses use a short minimum focus length, allowing a photographer to shoot close to the subject without sacrificing focus, thus making it easier to reproduce deeply detailed images of smaller objects. Here's a quick rundown of how and when to use a macro lens in your photography.
When to use a macro lens
Now that you know what a macro lens is, you might be wondering how and when to use such a tool. As previously noted, macro lenses are ideal for close-up photography, as they are designed to capture vivid, life-size photographic details of subjects that don't typically get their close-ups taken. Given those parameters, a macro lens is not ideal for every photographic occasion (for instance, you wouldn't want to use one for a portrait or a panorama); however, for shooters looking to take intensely detailed shots of subjects small in stature, a macro lens is invaluable.
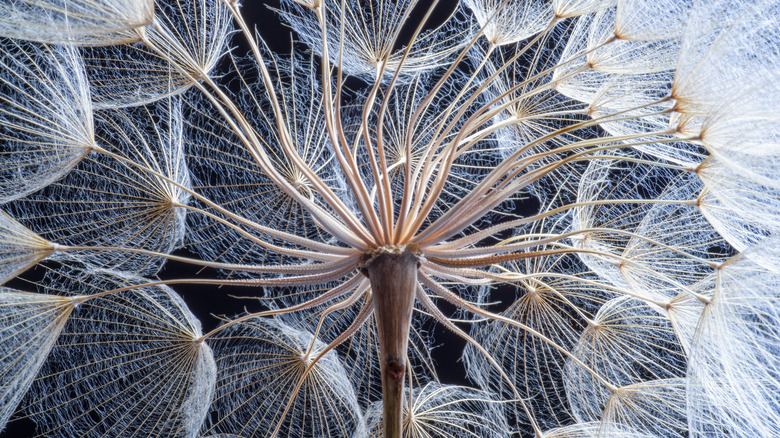
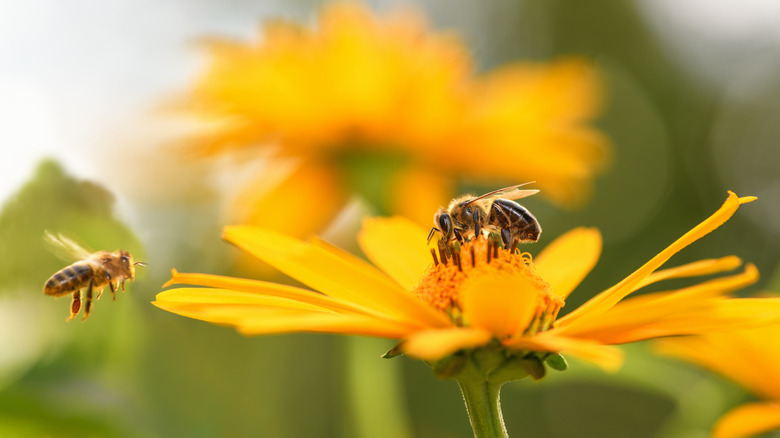
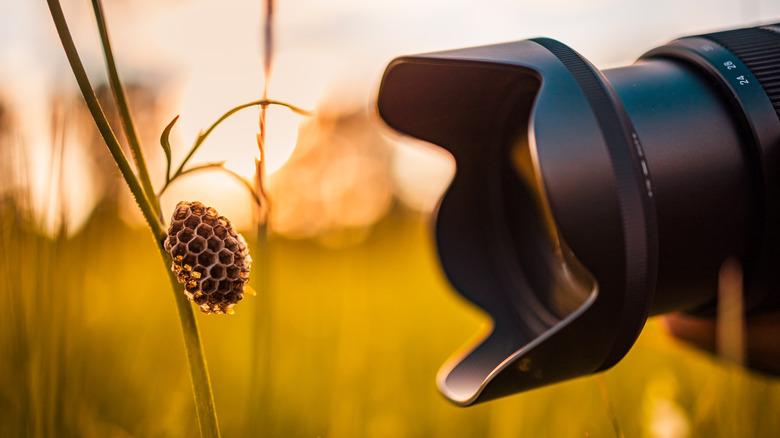
Macro lenses can be particularly useful to shooters dedicated to snapping photos of animals, insects, and plant life, as going macro can make it possible for those detailed images to be blown up well beyond life size. Doing so often lends a sense of magical wonder to sights — a bug crawling on a leaf, for instance — that might otherwise seem mundane. In the studio, macro photography can be used to shoot in staggering detail anything from a bowl of fruit to a droplet of water on a glass.
The right lens and settings are vital to a successful macro shoot
You will, of course, still be bound by many of the traditional tenets of photography when utilizing a macro lens, meaning you need to account for light, shadow, depth of field, and shutter speed when planning your shoot. Even after you've decided to go macro, you will need to discern which magnification ratio best suits your needs: A 1:1 macro can capture objects at life-size, a 1:2 macro can reproduce a subject at half-size, and a 2:1 macro shoots at double life-size.
The magnification ratio of a macro means the background of your photo will likely be more prominent than with other lenses, particularly if the subject does not fill the frame. Adjusting your lens's aperture allows you to control how much focus rests on the background. The general rule of thumb is that the wider the aperture (counterintuitively, a lower f-stop number), the more light enters the camera, creating a more shallow depth of field. This ensures sharp focus on the subject in the foreground and a pleasing blurry background.
Speaking of focus, you might be curious whether you can achieve a macro look by simply zooming in with a lens boasting a longer focal length. While zooming can get you closer to your subject, a longer lens will not produce anywhere near the detail of a macro lens with a 1:1 or 1:2 magnification ratio. However, you can achieve a similar effect by stacking lenses.
The right lighting can make or break a macro shot
Whatever settings and lenses you settle on, lighting will play a pivotal role in the action. As with any photographic venture, how you utilize light will be impacted by whether you are shooting outdoors or in the comfort of a studio. There are hundreds of different lighting tools and packages available to photographers these days. Still, some can be costly, so you may need to be selective about which ones you add to your photographic macro arsenal.
As it happens, you may already have one of those tools on hand, as a ring light like those used by YouTubers and influencers can be extremely helpful in lighting a macro shot. If you are outdoors, you could go au naturel and use whatever illumination is available. However, in low light, you'll need to adjust the ISO settings on your camera to account for slower shutter speeds. In that scenario, you might also want to have a bounce card or reflector disc around to help direct light toward your subject, and even then, some extra lighting or a standard flash with diffuser may be needed to illuminate a shot.
The same lighting tools and techniques will also be helpful during a studio shoot, though you'll have considerably more control over light working indoors. You'll also be able to utilize virtually any lighting tools you want to make some macro magic when shooting in a studio.
Stability is vital when using a macro Lens
Whether you are shooting with your macro lens indoors or outside, it will quickly become apparent that image stabilization is vital to creating a clear shot. As with any photography, excessive movement or shaking will produce fuzzy, out-of-focus images. Given the short focal length and extreme focus involved with a macro lens, the undesirable effects of vibration can be dramatically amplified. Heck, even the closing of your camera's shutter can create unwanted vibration in a macro setting.
The good news is that most digital cameras and lenses now come equipped with image stabilization tech or vibration reduction measures. Traditional wisdom is that a macro lens with a "hybrid stabilizer" is best for close-up shooting as it adjusts for vertical and horizontal shifts associated with a shaky camera. You can also help limit noise by using long exposure, which slows the camera's shutter speed, but it is best utilized when photographing stationary subjects and thus may not be a suitable option for your shoot.
Noise-reducing tactics aside, the most effective way to limit picture-ruining shakes is to remove the camera from your hands and use a sturdy monopod or tripod. And if you really want to improve your image stabilization game, utilizing a remote shutter button in conjunction with a tripod will further limit vibration during your shoot and ensure you deliver a crisp macro photographic marvel with every click.