How To Build Your Own Raspberry Pi Media Center
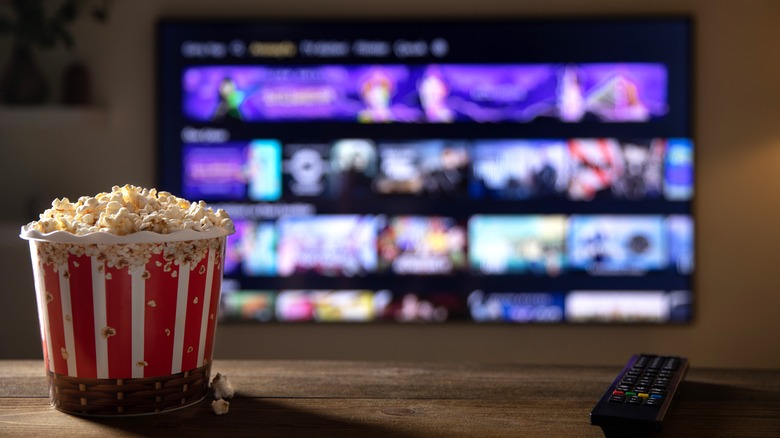
When Raspberry Pi single-board computers were introduced in 2012, it seemed like a matter of mere minutes before creators were adapting it into a media center. A decade and change later, it's almost a no-brainer. The new Raspberry Pi 5 is the second generation to support 4K video and powerful HATs to turn the Pi into a hi-fi audio player are common. Additionally, several viable media center distributions exist for a home-brewed set-top box.
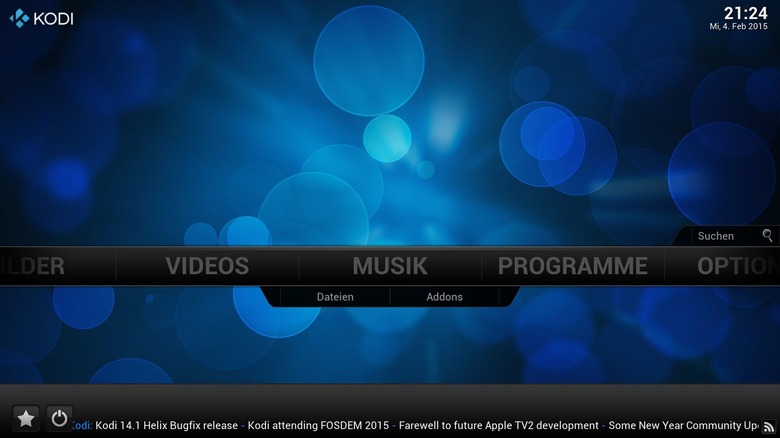
The most common OS platforms for Raspberry Pi media centers are OSMC and LibreElec, both of which use the Kodi media player. Kodi is just one of several programs that can turn your Raspberry Pi into a smart TV. We've chosen OSMC because of its flexibility. LibreElec is a Just Enough Operating System (JeOS) for powering Kodi and, as such, isn't extensible by default. As media center and server applications for Linux become more common and powerful, there is reason to leave room in your media center for their capabilities.
How To Install OSMC
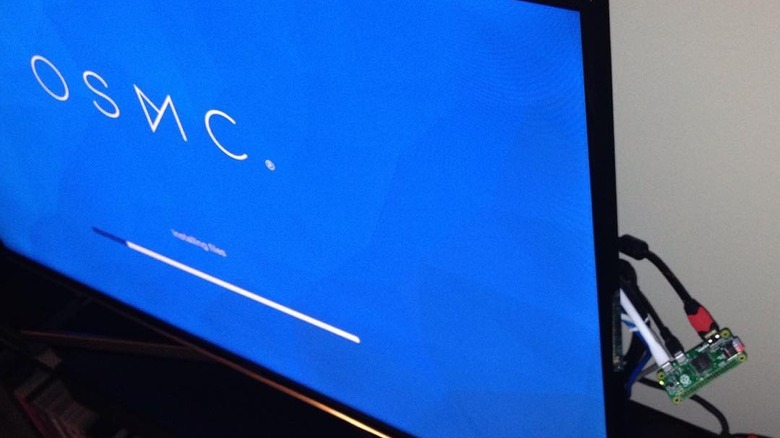
The beauty of installing OSMC is that the distribution makes it simple to get your Pi up and running. You'll need your Pi and a MicroSD card or USB flash drive. We're assuming you have a Wi-Fi-capable model, but of course, you're better off using an ethernet connection if you can, so add a cable if so. Borrow a keyboard and mouse from another computer for use during setup, if you don't want them connected to your media center all the time. You're going to want some kind of storage strategy for media files as well, but we'll touch on that later.
-
The first step is to use your desktop computer to flash the OSMC image onto a MicroSD card or USB drive using the Raspberry Pi Imager. Other options for creating your OS image, like Balena Etcher, are available as well. For the Raspberry Pi Imager, launch the application and click "Choose OS." Scroll down and click "Media Player OS," then click "OSMC." Select the version for the Pi model you're using. Insert your SD card or flash drive into your computer, then click "Choose Storage" and select your SD card. Click "Write."
-
Insert your SD card into the Raspberry Pi. Connect a keyboard, mouse, and display, and boot the Pi. Let it run through all the initial installation procedures and wait for the language prompt.
-
Complete the setup wizard to configure language, time zone, hostname, SSH setup, terms/conditions, Wi-Fi, theme, and newsletter opt-in.
How To Access Your Media Files
Accessing your video and audio files is not usually difficult, but it is one area of OSMC setup that's likely to land you in the command line for a bit.
-
Click Videos, Files, then Add Videos.
-
Click Browse and enter the location of your files
-
You'll usually be connecting to an external hard drive, and most of the time that process is fairly painless. Connect the drive, and if its filesystem is supported by OSMC (most are), it will usually become available to OSMC for mounting within /media/.
-
If your drive doesn't show up, you can use edit "fstab" to set up an auto-mounting disk in OSMC. Start by typing "sudo blkid" and copying the disk's UUID in the result. To edit the relevant file, type "sudo nano /etc/fstab" and add this line: "UUID={myUUID} /mnt/data ntfs auto,exec,rw,user,dmask=002,fmask=113,uid=1000,gid=1000,nofail 0 0" replacing {myUUID} with the ID you copied, and specifying the mount point you prefer instead of /mnt/data. Reboot, then mount with "sudo mount -a" and check to make sure everything is working properly.
-
Next, you'll want to configure Samba to use the disk you just mounted. Type "nano /etc/samba/smb-shares.conf" and add this block of text to the end of the file, replacing /mnt/data with the mount point you used above:
[data]
path = /mnt/data/
writeable = yes
read only = no
browseable = yes
Using OSMC with a NAS
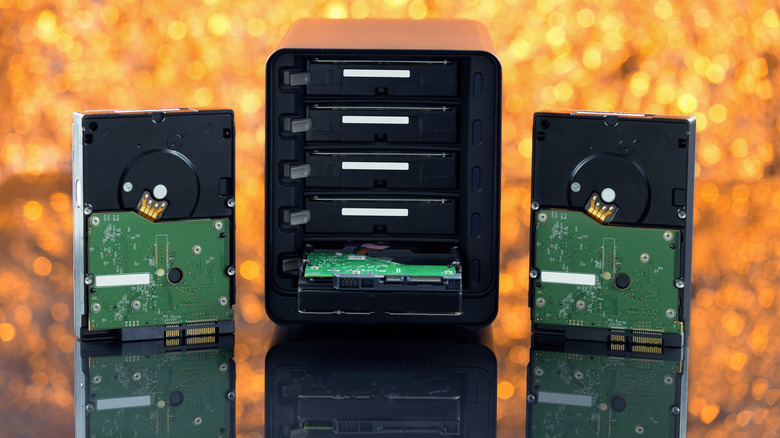
The OSMC site has instructions for configuring NFS instead of Samba to mount and share drives over a network. If you're connecting OSMC to a network-attached storage (NAS) device, the capabilities of your NAS will probably drive your decision on whether to use NFS, SMB, or both. NFS enjoys greater performance, but SMB (accessed by OSMC via the built-in Samba client) is often preferred for accessing files on a networked Windows machine since Samba will be used by default there. Kodi itself can connect to media servers using Samba, NFS, and UPnP, but this method can result in comparatively slow data transfer rates and might be a problem for streaming larger video files.
OSMC also has directions for sharing files using NFS or UPnP rather than SMB. One important note for Windows users: make sure Samba is running at least Samba 2 because Windows is configured by default to reject connections via Samba 1 due to security issues. Some older NAS devices and routers that share a USB drive via Samba require SMB1, which can be configured to work in Windows, but should not be used for files that are accessible via the Internet.
When To Build a Pi-Based Media Center
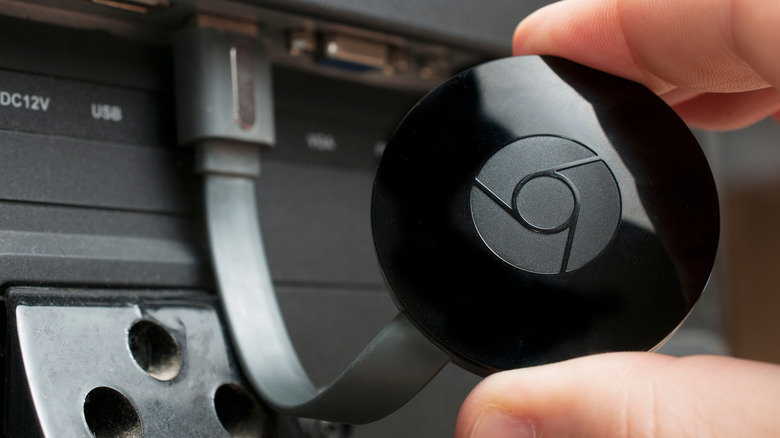
Playing local media on your home theater or audio setup can be frustrating. The functionality is, at best, an afterthought for many commercially available set-top boxes and USB dongles such as Google Chromecast, which are primarily streaming devices. By comparison, media center and media server distros like OSMC will pack a lot of punch. However, keep in mind that the Pi has its limitations and challenges (like dealing with filesystems on Linux) too. You certainly can't beat the price of a Raspberry Pi media server given the recent low price of external drives and the availability of Pi 4B for around $45.
There are, of course, times when a Raspberry Pi media center isn't the right solution. If you're primarily interested in serving audio, for example, a Raspberry Pi will serve you just fine, but you're probably going to benefit more from a dedicated audio solution like HiFiBerryOS, a Linux distribution with many tools for both local music files and streaming services. If you're looking for a perfect all-around solution, a Raspberry Pi will probably hold you back. Consider a version of Self-Hosted podcast host Alex Kretzschmar's Perfect Media Server instead.
Add-Ons for Kodi and OSMC

One brilliant aspect of this setup is that adding functionality to OSMC and Kodi can often be accomplished via the software's graphical interface itself, eliminating the need to wrestle with terminal commands. Kodi's core functionality as a media center and server is extended via add-ons, both from officially recognized repositories and from the internet at large. Kodi add-ons provide a lot of functionality and improvements via user interface upgrades, additional language support, scraped music and movie metadata, game clients, audio decoders, web interfaces, and lots more. Add-ons can connect Kodi to cloud platforms like Google Drive, Dropbox, and OneDrive. You can also integrate Kodi with smart home products like Home Assistant, Domoticz, Hue lights, and many others. You can even make Kodi run other media servers like Plex and Jellyfin. Browse the available Kodi add-ons for a mind-blowing variety of options.
OSMC itself has a small app store through which you can extend OSMC's native capabilities without a lot of arcane command-line tweaking. For example, there are OSMC apps to add the Transmission BitTorrent client and the Samba server to OSMC. Installing apps via OSMC's app store will, by default, mean that OSMC handles keeping them updated, and disabling or uninstalling them as needed.
Video Streaming Services

A media server that only handles locally stored video files is so 2005. Fortunately, OSMC's functionality is extended by lots of add-ons for specific streaming services like Prime Video, Netflix, and YouTube. Some of these services are handled by Kodi add-ons, and others via OSMC repositories. There are several Kodi add-ons supporting YouTube playback, for example. There are also add-ons for well-known providers like Crackle, Fox News, MLB.TV, PBS Kids, Pluto, TED, Twitch, and Vimeo, as well as lots of more obscure options.
Some of the bigger names like Netflix, Amazon Video, and Disney+ are added to OSMC via third-party repositories. To enable this functionality, go to OSMC Settings, click "System," click "Add-Ons," enable "Unknown Sources," and click "Yes" to confirm. The process for adding the add-on will look something like this: From the Linux command line, use wget to download the repository. In OSMC Settings, select "Add-On Browser," then "Install From Zip File." Click "Root Filesystem," and browse to the repository you downloaded. Now, you can install it using "Install From Repository."
Using a Remote Control

A home media center would be annoying at best (or useless at worst, if you're running your Pi headless) without a remote control, but Kodi has you covered. Your TV might have you covered if it supports HDMI-CEC, and it probably does. HDMI-CEC allows you to pass control from the TV's remote through the HDMI connection to the Pi running Kodi. This is one way in which the Raspberry Pi, whose GPU supports CEC, outperforms most other computers. You'll still need a Kodi-compatible remote, of course, but this is the easiest way to arrive at couch command.
There are tons of other avenues for controlling Kodi remotely. Some are OS-level control systems, keyboards, and touch screens; others integrate with Kodi via game controllers, radio frequency, infrared, and web interfaces. There are also official Kodi remotes for both Android and iOS, which effectively turn your phone or tablet into a remote control for your media center. There are also unofficial Kodi remote control apps available via the Play Store that many prefer to the official app.