6 Camera Features Every Android User Should Know About By Now
A recurring theme of tussle between iPhone and Android smartphone users is which ecosystem offers better cameras. Some prefer the consistency and video chops of iPhones, while others prefer the true-to-life approach of Google Pixels or the crazy zoom cameras on Samsung flagships. But one area where Android phones beat Apple's smartphones is versatility.
Each side offers its own selection of apps, but Android phone makers often ship their own version of a camera app loaded with in-house niceties. Samsung serves goodies like Director's View and OnePlus lures with the Hasselblad mode, while Xiaomi takes inspiration from the iconic Leica camera feel. But despite the diversity, there are a few features that every Android smartphone user should be aware of.
However, not all fundamental features are proprietary and limited to a specific brand's camera. Most of the tricks that are key to taking a great photo or video are available across all brands. If you prefer Google's default camera app for Android phones, then there's no reason to worry about feature availability.
Grids and guidelines
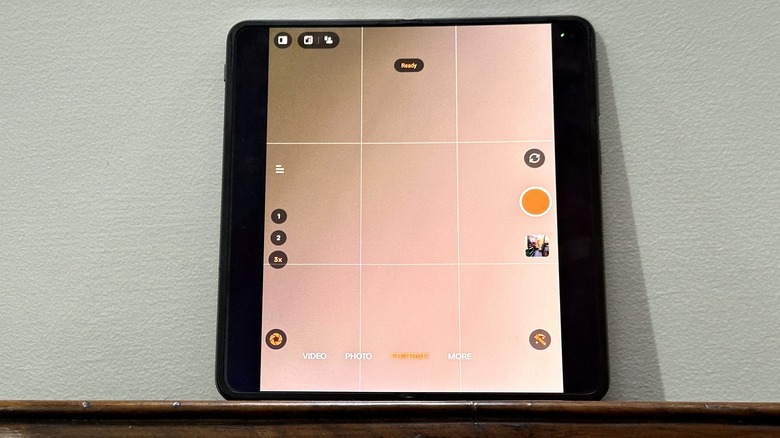
When it comes to photography, framing, and composition are the most fundamental aspects. A seasoned photographer knows their way around those rules, but for an average smartphone user, the gridline tool in the camera app is there to assist. But how is it helpful? First, it lets you capture a straight frame, and second, it opens the doors for the rules of thirds. It is a pivotal concept that seeks strategic placement of important objects in an off-center manner to achieve a composition that is both balanced and aesthetically pleasing.
This technique entails partitioning the photographic frame using two horizontal and two vertical lines. When applying the Rule of Thirds, one envisages the photograph as being segmented into nine equal sections facilitated by these intersecting lines. The underlying premise of this approach is that compositions with off-center alignment are more visually appealing and appear more natural compared to those where the subject is centered in the frame.
Additionally, this method fosters the artistic utilization of negative space, 2which is the vacant areas surrounding the subject. Achieving the optimal composition may require physical repositioning, thereby encouraging photographers to deliberate more thoroughly about their shots. Adopting this practice is beneficial and cultivates good photographic habits in general. But then, there's no golden rule, and it's always a good idea to break free from time to time for more creative freedom.
Ultra-wide angle mode
From budget to top-end segment, almost every Android phone now comes with two cameras. One is the primary snapper, usually fitted with a high-megapixel sensor, and the other one is a secondary shooter with an ultrawide lens that lets you capture a wider panorama of the sight in front of your eyes. Field of view (FoV) is the metric often thrown around when gauging how good an ultra-wide angle camera is. Simply put, it is essentially a measure of how wide it can go at capturing elements in a frame.
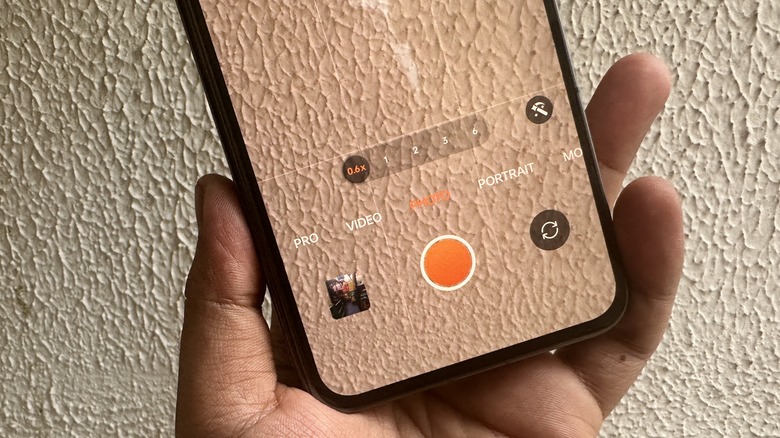
To access the ultrawide camera mode in the camera app, look above the shutter button for alphanumeric keys denoting the magnification levels. It is set to default at 1x, which is natural for the primary camera. Anything above 1x enters the zoom territory, where the telephoto camera kicks into action. Tapping on 0.5x or 0.6x enables the ultra-wide camera, and it comes in handy when capturing a group picture or a picturesque natural view.
Ultrawide cameras, while impressive in their own right, come with their fair share of drawbacks. One prominent issue plaguing many of them is the notorious fish-eye lens distortion, particularly noticeable along the edges. Another concern is the inconsistent color rendering that plagues numerous budget phones. Additionally, at night photography, ultrawide cameras often fall short of expectations. Furthermore, it's worth noting that non-flagship phones typically lack autofocus capabilities for their ultrawide cameras, further limiting their versatility.
Slo Mo
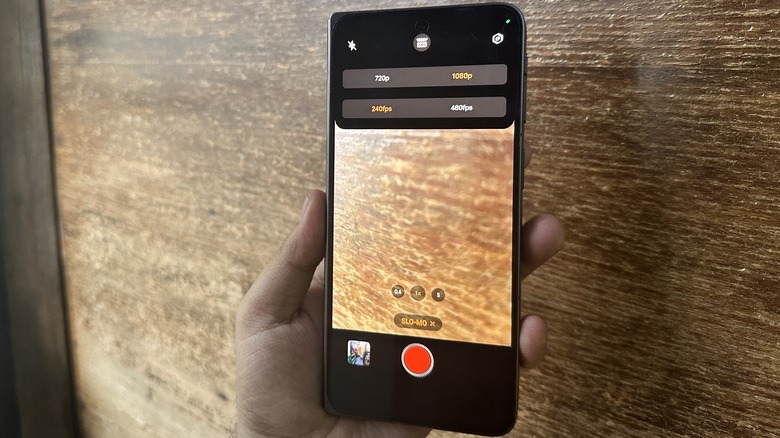
Slo Mo, short for slow motion, allows you to shoot and play videos at least four (or more) times slower. This is made possible by capturing more frames per second and then stitching them together into a clip. The magnitude of the slow-motion effect is usually depicted with the FPS count. Android phones usually start at 240fps, which is around eight times slower than your average video recorded at 30fps. Depending on brands, you can change the video frame rate to values such as 480fps and even adjust the resolution. The likes of Samsung go a step further and offer Super Slow-mo mode, which lets you record videos at 960 frames per second. Some Huawei flagships can go up to an astonishing 3840fps videos at HD resolution.
You will find the slo-mo controls by swiping past the capture options on the camera app's homepage or visiting the "more" section to access it. When shooting in slow motion, maintaining a steady camera is crucial. Even slight movements can result in blurriness and shifts in focus, which become highly noticeable when playback is slowed down. It's advisable to avoid shooting in environments with flickering or fluorescent lighting, as this can lead to streaks or flashing lines in your video. After failing a few dozen times over the years, recording in well-lit areas or under natural sunlight is recommended.
Portrait mode
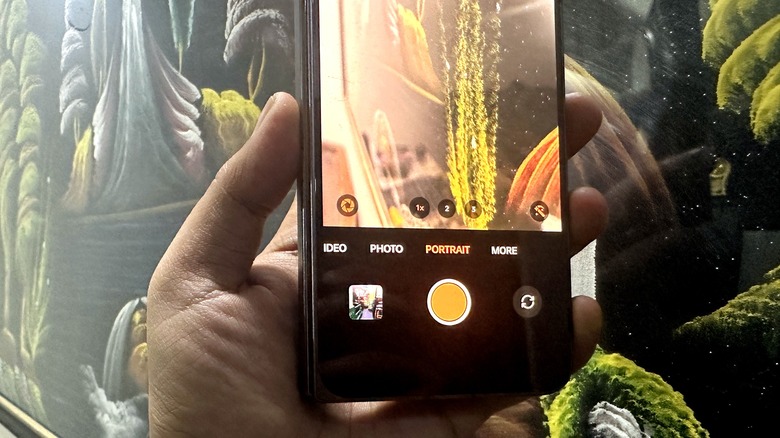
Portrait mode lets you capture a picture where the subject is focused while the background is blurred, a trick that allows the centerpiece to stand out. On most Android phones, it is available on the camera app's homepage under the name portrait or bokeh. However, the way it is implemented on DSLR is quite different compared to phones. On a camera kit, you can adjust the aperture and focus value, but that's not entirely possible on the miniaturized camera hardware of a phone. That gulf is filled by computational photography, with a little help from the multi-lens set-up, to create a depth map and achieve a more accurate edge separation to apply the blur effect.
But as cool as portrait photos look, capturing one isn't always a cakewalk. Start by ensuring that the lens is clean and free of any smudges. To achieve the best results, position your phone or camera steadily, ensuring it's at the same height as your eyes and facing a light source. Choose a location such as an overhang where the light illuminates your face without overwhelming the facial features. To maintain the clarity of your image, avoid using the zoom function. Instead, if a closer shot is required, either step toward the camera or bring the camera nearer to the subject. Some Android phones now let you adjust the F value to adjust the blur intensity and even apply artistic effects before and after clicking a photo.
OIS
Optical Image Stabilization (OIS) has been a pivotal feature in photography for almost a couple of decades now. Initially introduced in compact cameras and single-lens reflex (SLR) lenses, it revolutionized how photographers capture longer exposures without needing a tripod. OIS operates by adjusting lens components to negate the effects of shaky hands during shooting, which significantly diminishes blurring in images.
Over the years, the tech has been miniaturized to fit in the small space inside a phone's chassis. When you take a photo or video, your phone's gyroscope sensor sends out data on the magnitude of shaking to the Micro Controller Unit (MCU). The MCU sends a target signal to the Driver IC to move the lens or sensor in the opposite direction of the tilt generated by the hand movement. Finally, the Driver IC uses the target signal and directs the actuators in the module to move or tilt the lens or sensor to compensate for the shake.
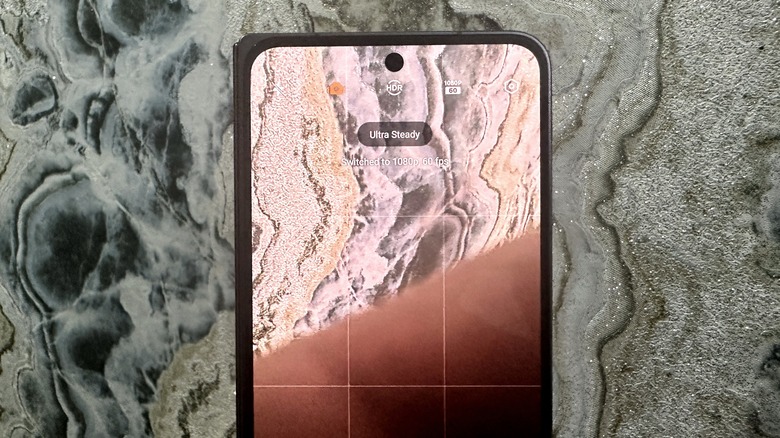
Thankfully, this tech is enabled by default on phones, which means you don't have to enable any hidden settings or toggle to get sharp photos and smooth videos. However, the OIS hardware doesn't come cheap, which is why it is limited to high-end phones only. On more affordable devices, smartphone makers now offer something called Electronic Image Stabilization (EIS), which relies more on software-side motion correction. On the other hand, the likes of Apple have now shifted to a more advanced implementation called sensor-shift stabilization.
Pro Mode
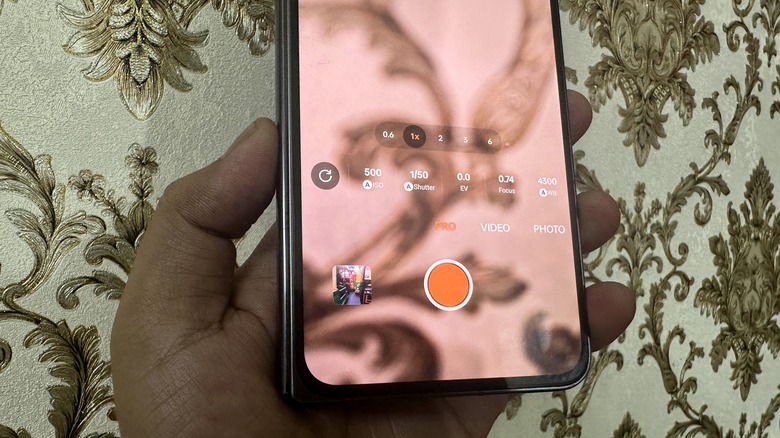
One of the biggest caveats of shooting with a phone compared to a proper camera is the lack of controls. Smartphones rely more on computational tricks and software-side enhancements to compensate for their inadequate hardware. However, all Android phones do offer a Pro Mode that offers some control over fundamental aspects like ISO, Shutter Speed, White Balance, Exposure Value, and focus adjustment. Depending on the smartphone maker, it is either available in the main control grid on the camera app's homepage or in the "More" section. Pro Mode is usually limited to photo capture on Android phones, but some brands like Samsung also extend the convenience to video capture.
ISO allows you to adjust the camera's sensitivity to light, or in the simplest terms, lets you adjust how dark or bright a photo looks. Shutter speed controls the interval for which the lens opening remains open. A longer shutter speed allows the lens to let in more light, and it is ideal for long exposure shots, while a low shutter speed is ideal for clicking objects moving at a fast speed. Exposure Value, or EV, is a combination of shutter speed and aperture controls using a logarithmic function and acts as a kind of light meter. Then we have White Balance, which is broadly a color correction metric that plays with color temperature depending on the light cast. Pro Mode controls, with a bit of trial-and-error, really create a difference in how the final result looks.