How To Make A Raspberry Pi Minecraft Server
We may receive a commission on purchases made from links.
Minecraft is the most popular game in the world, and that's partially because of the way the game lets users connect and create their own worlds. If you want to play with friends on your own terms, the best way to do that is by creating your own Minecraft server. Utilizing your own server is a great way to create a custom and privately controlled place for you and your friends to play the game.
If you're looking for a fast and convenient way to do it, then using a Raspberry Pi microcomputer is one of your best bets. These microcomputer devices are a great little IT project, and once it is up and running the computer takes little to no maintenance.
Here's a guide to setting up your own Minecraft server on a Raspberry Pi, including what equipment you will need, setting up the server, and logging in to play with your friends.
Recommended equipment
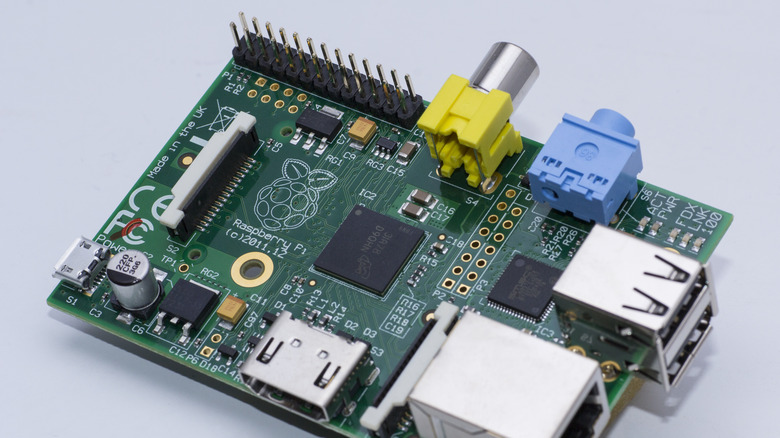
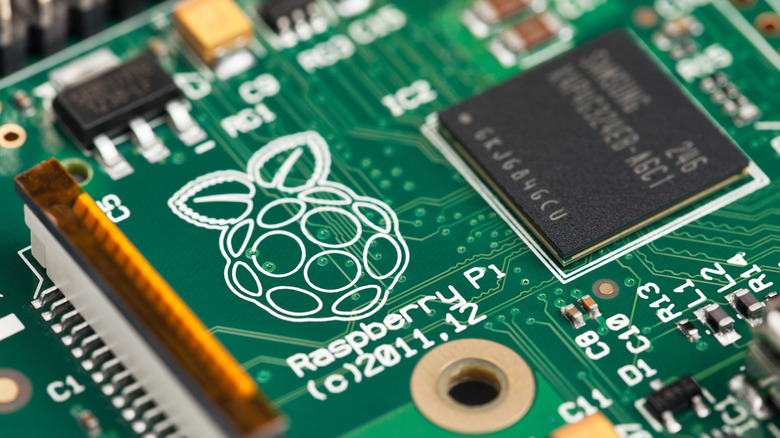
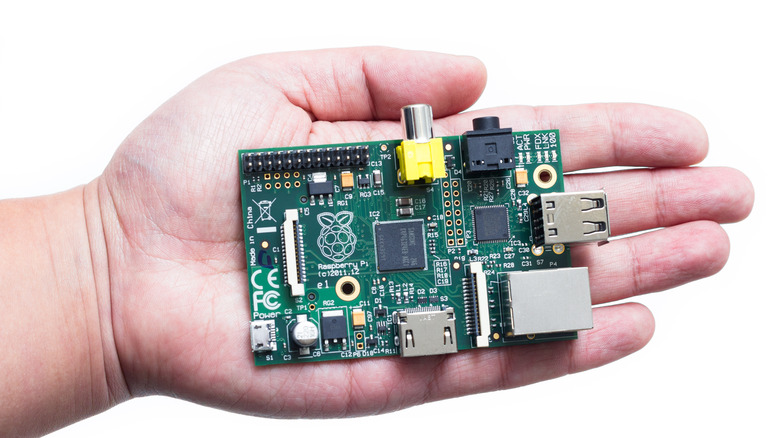
The most obvious thing you will need is a Raspberry Pi microcomputer. The Raspberry Pi 4 Model B is preferable because of its more powerful processor and higher RAM capacity. Something like the Raspberry Pi Zero just doesn't have the capacity to run a Minecraft server efficiently.
The next important component is a microSD card. You don't need to go overboard in this department but get at least a 16GB card. Bumping up to 32GB will likely be all you ever need if you plan on having a large world or lots of players.
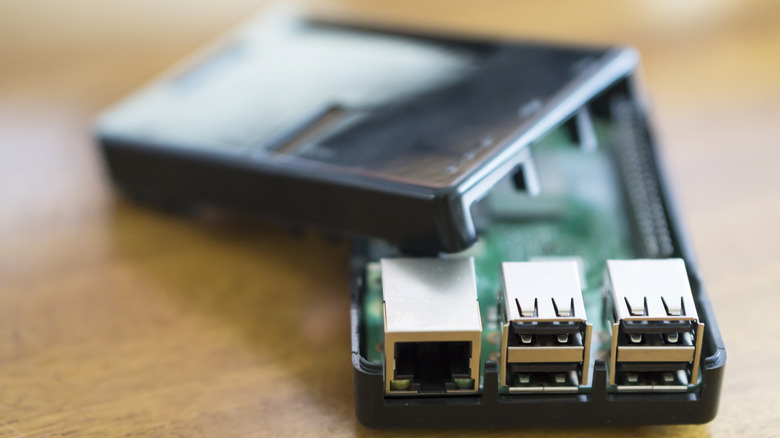
Next, to connect the Pi to a monitor, you will need to navigate the UI with a USB mouse and keyboard. These don't have to be fancy, because once it's up and running you won't need them anymore for this device. Lastly, you will want to connect the Raspberry Pi to the internet via an ethernet cable. You can connect Raspberry Pis via Wi-Fi, but ethernet will give you a faster and more stable connection, which is obviously very important for online play.
How to set up a Raspberry Pi Minecraft server
The first thing you will want to do is set up your Raspberry Pi with Pi OS. Once you have done that, it is time to install the Minecraft: Java Edition Server. To do that, follow these steps:
Update your Raspberry Pi (should be the latest version if it's a fresh install). From the Terminal Window type:
sudo apt update
sudo apt upgrade -y
Then, install the Java Development Kit (JDK). From the Terminal Window type:
sudo apt install default-jdk
Next, copy and paste the latest server jar file.
-
Head to this page and copy the link highlighted in the image.
-
You can navigate to this page directly from the Raspberry Pi.
-
In the Terminal Window, type wget and paste the link. It should look like:
wget https://piston-data.mojang.com/v1/objects/84194a2f286ef7c14ed7ce0090dba59902951553/server.jar
Note that the exact link will look different for you.
-
Launch the server by typing the command line:
java -Xmx1024M -Xms1024M -jar server.jar
From here it may take several minutes as the application generates a Minecraft world. Once the world is fully populated, it is time to set the Raspberry Pi so that the server launches on boot up.
How to boot up the Minecraft server
The easiest way to do this is through nano, the built-in text editor on Raspberry Pi devices.
To do this, type the line:
nano mcstart.sh
Next, enter this code:
#!/bin/bash
cd ~/mcserver
while true
do
java -Xmx1024M -Xms1024M -jar server.jar
sleep 10
done
This snippet of code creates a loop that turns the server on and then if it ever crashes, reboots it after 10 seconds. This ensures you won't have to continually fiddle with the server if it crashes for any reason.
Next, we will want to make the server executable to all users and make the server instantly boot. Set mcstart.sh to be executable by all users:
Chmod a+x mcstart.sh
Next, set it to automatically boot with:
crontab -e
@reboot /home/pi/mcserver/mcstart.sh
Lastly, restart the Raspberry Pi and see if the installation went smoothly. If all goes well, then you are ready to get the server onto the internet.
How to put the server on the internet and log in

The next thing you need to do is establish a static IP address for the Raspberry Pi. Once you lock down the static IP address, it is time to forward port 25565 to the internet. This is the port Minecraft servers utilize to access the internet. You need to do this through your router, and each process is a little different, but there are lots of guides on port forwarding out there.
Instructions for logging into the Minecraft server like any other world.
Next, all you have to do is determine your public IPv4 address and share it with your friends. This can often change, though, so it's recommended you use a service like NO-IP to create a permanent hostname.
Once you are done with all this, it's time to add the server to your list of Minecraft worlds. To do that, just:
-
Open Minecraft and Select Multiplayer.
-
Click Add Server on the bottom right.
-
Enter the hostname/IP address and give it a name.
-
Hit done and click on the image to open the world.
How Much RAM does a Minecraft server need?
The exact amount of RAM you need depends largely on how big you want the world to be and how many concurrent players you plan on having on it. Naturally, though, the more RAM you have the better the overall stability of the server will be.
The minimum you will need is 2GB of RAM, which is why anything less than the Raspberry Pi 4 Model B isn't recommended. The base RAM of that unit is 2GB and can go all the way up to 8GB. At that size, you can expect to handle up to 90 players, a world size of up to 60GB, and you can run 50 or more plugins. For more on what different RAM sizes can handle, refer to the chart below.
RAM is one of the most important parts of the server, so it's better not to skimp on it. Even if you don't think you will run the maximum load, it's better to have more breathing room.
How many players can a Raspberry Pi server handle?

The amount of players a given server can run is dependent largely on the RAM. The more RAM you have, the more players you can add in and the bigger the world can be. 2GB is the minimum amount for any server, and that can support up to 10 players. 8GB of RAM is the max for the Raspberry Pi Model B, the unit we recommend using. That amount can support up to 90 players.
Keep in mind that RAM is soldered onto the Raspberry Pi motherboard, making it nearly impossible to upgrade in the future. For that reason, it's better to get a model with more RAM than you think you need. Otherwise, you will need to go through the whole process again if and when you need to upgrade the server. Alternatively, you can also get a similar microcomputer device that has a larger RAM capacity if you want to have hundreds of players on a single server.
How stable are Raspberry Pi servers?
Raspberry Pi servers are popular computer projects because they are remarkably stable once they are up and running. The device requires little maintenance beyond the occasional update, and it is so small you can tuck it away without it taking up a bunch of room on your desk or shelf.
They do require a bit of setup, as shown in the article. However, they are a great little tech project for new and experienced Raspberry Pi users. Once you do one Raspberry Pi project, you'll likely find yourself working on another.
The only downside to the Pi is the RAM limitation. If you want to build massive and complex worlds with lots of players, the max 8GB of RAM in the Raspberry Pi might hold your server back to its full potential. If you want your own server to play privately with your friends, though, the Raspberry Pi is an excellent solution.
Is it worth running a Raspberry Pi server?

Whether or not running a Raspberry Pi Minecraft server is worth it depends on what you want to do. On the one hand, it's incredibly freeing and you can play around with third-party plugins or play with friends in a safe and private environment. It's also worth it if you just enjoy random tech projects and are looking for something to do.
However, if you just want to play online with your friends, there are easier and less time-consuming ways to do it. Getting the server up and running can be time-consuming, especially if you need to do a lot of troubleshooting. Minecraft Realms lets you set up your own server, granted that's at a monthly cost.
That being said, it's easier than going through all the trouble of setting up a server yourself. Raspberry Pi servers may not be the best solution either if you want to run massive worlds or anything with over 100 players in it.
How much are Raspberry Pis?
For a Raspberry Pi Minecraft server project, we recommend the Raspberry 4 Model B. The 2GB model starts at just $35 and runs all the way up to $75 for the 8GB model. Keep in mind that this is the cost for just the board itself, and you will have to pay extra for things like an enclosure or any other accessories. That means you can spend well over $100 just on the necessary pieces to assemble the unit.
Granted, the Raspberry Pi is still one of the best values on the market. There are other microcomputers available for consumers. And while they might be more powerful, they can also be quite a bit more expensive. Something like the Orange Pi 5 has similar specs, but with the added benefit of upgradeable RAM. The board alone, though, will run you $100.
There are cheaper boards available too, but they aren't going to offer the same kind of power that the Raspberry Pi can deliver, especially in the RAM department.