How To Use A VPN On Xbox Series X (And Why You Might Want To)
There's a good chance you use a virtual private network (VPN) on your PC or laptop to protect your internet activity from prying eyes. You can even use a VPN on your mobile devices these days. One place you might not have considered using it, though, is on your Xbox Series X. You'll get the same protection you get on your other devices while downloading games and playing online.
For most people, a VPN won't be strictly necessary on a gaming console, but if you prefer all of your traffic to be private or you suspect your internet service provider might be throttling your connection to Microsoft's servers, it could come in very handy.
It's worth noting that the Xbox Series X does not directly support VPN connections. There's nowhere in Settings to add a VPN connection or anything like that, but that doesn't mean it's impossible. There are a few different methods you can use to ensure your Xbox only accesses its online features via VPN.
Add your VPN to your router or use your VPN's DNS settings
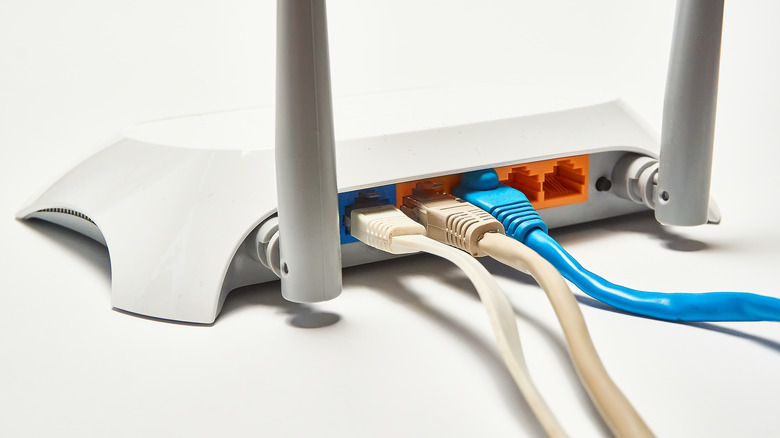
While you can't directly connect your Xbox to your VPN, you can achieve the same goal by adding your VPN information to your router, thus protecting every device on its network. Not all routers or VPNs support this, so you might need to research to find out if this is an option for you. Check out your router's manual to see if you can add a VPN. Then, check the support info for your VPN to make sure it can work on a router.
Another option, only available with some VPNs, is a custom DNS setting you can apply to your Xbox. This feature is sometimes called Smart DNS. By connecting any device to your VPN's DNS server, all traffic on that device is routed through the VPN. If your VPN does have Smart DNS, write down the information. It'll be two strings of numbers with periods separating them into four sections (called an IP address). After you have them copied down, follow these steps:
- Fire up your Xbox Series X and head to Settings.
- Look under the General tab for "Network settings." Select it.
- Head to "Advanced settings." then choose "DNS settings."
- "Automatic" will be selected by default, but we want to use "Manual" instead.
- Enter the first IP address you received from your VPN, then the second one.
Test your network settings. If it doesn't connect, double-check the IP addresses you got from your VPN.
Use your PC's VPN connection
If you can't use Smart DNS settings or configure your router to connect to your VPN, you have one more option. If your PC can connect to your VPN just fine, you can piggyback off its connection with your Xbox. While this method works best over a wired connection, you'll need an open ethernet port on your PC and a Wi-Fi network to connect to for that. For Windows 11, follow these steps (they may vary slightly on other versions):
- Connect your PC to your Xbox Series X via an ethernet cable.
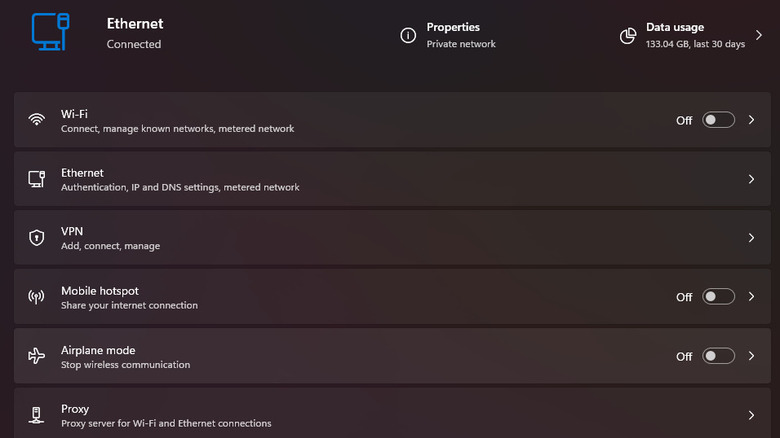
- Open the Settings app on your PC and go to "Network & Internet."
- Go to "Mobile hotspot" and select "Wi-Fi" under "Share my connection from" and "Ethernet" under "Share over."
- Turn on your Xbox and do a network test. It should be able to connect by funneling your PC's connection to your console.
If your PC is wired to your router and you don't have an open ethernet port but you do have a Wi-Fi connection, just swap the settings in step 3. Choose "Ethernet" for "Share my connection from" and "Wi-Fi" for "Share over." Then, connect your Xbox to your PC's Wi-Fi hotspot.