4 Of The Best iPhone Features For Hearing-Impaired Users
According to the National Institute on Deafness and Other Communication Disorders, around 37.5 million or 15% of American adults suffer from hearing issues. While most people with hearing loss issues are usually between the ages of 60 to 69, there is also a growing number of younger deaf and hard-of-hearing individuals due to excessive noise exposure and hobbies, such as attending raves or diving. While you may not be having trouble with hearing now, a combination of lifestyle, age, and occupational hazards may still cause hearing issues in the future.
Thankfully, for iPhone users, Apple has made an effort to develop a myriad of features that can help deaf and hard-of-hearing users. From real-time captions to microphone features, plenty of useful technology in your iPhone makes it an indispensable tool for the hard-of-hearing community. With these, deaf and hard-of-hearing individuals can retain more independence in a world not necessarily designed for their needs. Here are some of them.
Use FaceTime with Live Captions
Although there are many video-calling apps on the market, Apple introduced its iOS-integrated video call app, FaceTime, in 2011. With FaceTime, you can use visual cues, such as lip reading and even live captions, to improve your conversation experience. Using natural language processing technology, Live Captions helps turn audio into text, creating a visual aid for deaf and hard-of-hearing users. Here's how to enable Live Captions on your iPhone.
-
On your iPhone, go to the Settings app.
-
Select Accessibility.
-
Under Hearing, choose Live Captions (Beta).
-
Next to Live Captions, toggle on the button.
Then, you can select which apps you'd like to enable Live Captions and customize the text appearance to your preference. If left as is, Live Captions will be shown in all apps. Bear in mind that Live Captions may not always be accurate, so it's essential to manage your expectations, especially as the tool is still being developed. Additionally, Live Caption only works for iPhone 11 or later in English (U.S.) or English (Canada), so it will be less reliable if you're a non-native English speaker.
Pair with Made for iPhone (MFi) Hearing Aids
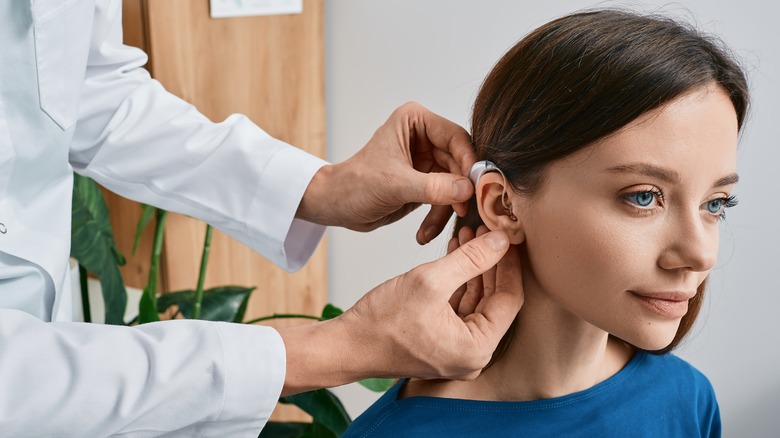
If you're wondering if your hearing aid is compatible with your iPhone, you can check Apple's list of official Made for iPhone (MFi) hearing aids. Among these, you can find brands from affordable to more premium options, which you can use to route audio, control devices, retain audio presets, and so on. To make the most of this feature, Apple requires the iPhone 11 with iOS 15.2 or later to support bidirectional streaming. Once you confirm that your iPhone is compatible with your MFi device, here's how you can connect it:
-
On your iPhone, launch the Settings app.
-
Tap Bluetooth.
-
Next to Bluetooth, toggle on the button.
-
Depending on your hearing aid model, enable Bluetooth pairing.
-
On your iPhone or iPhone, return to the Settings app.
-
Tap Accessibility.
-
Under Hearing, tap Hearing Devices.
-
Under MFi Hearing Devices, toggle on the button.
-
Once the name of your MFi hearing device pops up, tap it.
-
In the Bluetooth pairing request pop-up, select Pair.
-
If you plan to use multiple MFi hearing devices, repeat the step above.
Afterward, your hearing device will automatically connect and disconnect with your Apple device whenever you turn it on, like the AirPods. If you would like to make use of this feature across multiple devices, such as another iPhone, iPad, or even iPod touch, you can repeat the process above.
Enable Live Listen
If you already have MFi hearing aids, they also have another function: Live Listen. Among the many Apple AirPods tips you may not know, Live Listen lets your iPhone act as a microphone that feeds directly into your hearing aid. With Live Listen, you can improve the audio quality in crowded or noisy spaces, which you can use to amplify the voices of people you are conversing with or those in a different room. Aside from MFi hearing aids, Live Listen also works with AirPods and PowerBeats devices. To use Live Listen, you have to first add it to your iPhone Control Center and turn Live Listen on. Here's how:
-
On your iPhone, open the Settings app.
-
Tap Control Center.
-
Under More Controls, select the green (+) button.
-
Once the Hearing button appears on the Included Controls, you can return to Settings.
-
Afterward, open the Control Center on your Apple device.
-
Select the Hearing icon.
-
Tap Live Listen.
Sound Recognition Alerts
With Sound Recognition, hard-of-hearing iPhone users can receive notifications for important sound-based alerts. To enhance your Sound Recognition experience, you can even create custom notifications, which you can use for things like alarms, appliances, or even doorbells. Your iPhone must run on iOS 14 or later for this feature to work. In addition, your device needs to have iOS 16 installed if you wish to do any custom sound recognition features. Once you make sure that your Apple device is updated, here's how you can add custom sound recognition features:
- On your Apple device, go to Settings.
- Tap Accessibility.
- Under Hearing, select Sound Recognition.
- Tap Custom Alarm or Custom Appliance or Doorbell.
- Type a name.
- Tap Start Listening to record the sound you want Apple to recognize.
- Follow the instructions to confirm.
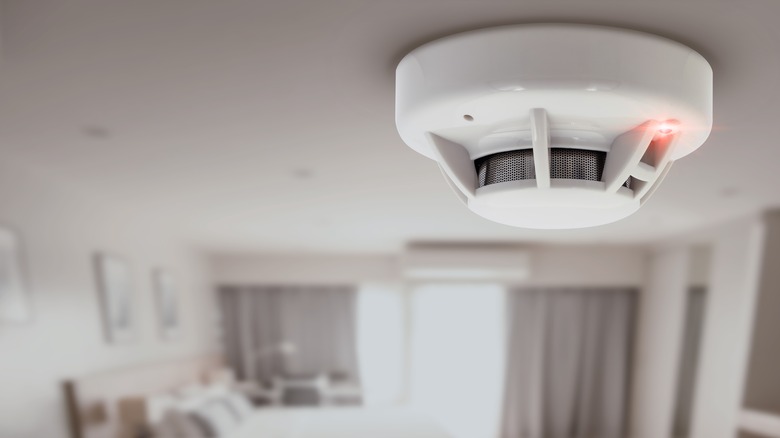
Through the Sound Recognition feature, you have another layer of visual alerts on your iPhone, which can be helpful if your hearing aid is not working or is out of your range. While Sound Recognition can be linked with Apple HomePod Smoke Detectors, it's important to keep in mind that Apple is not liable if your Apple device isn't able to detect critical, life-saving sounds. With this, it's still important to always have your hearing aid nearby or a buddy to alert you for any audio-based alerts, such as earthquake, fire, or flood warnings, in your area.


