How To Use Nintendo's Wii U Gamepad With Your Computer
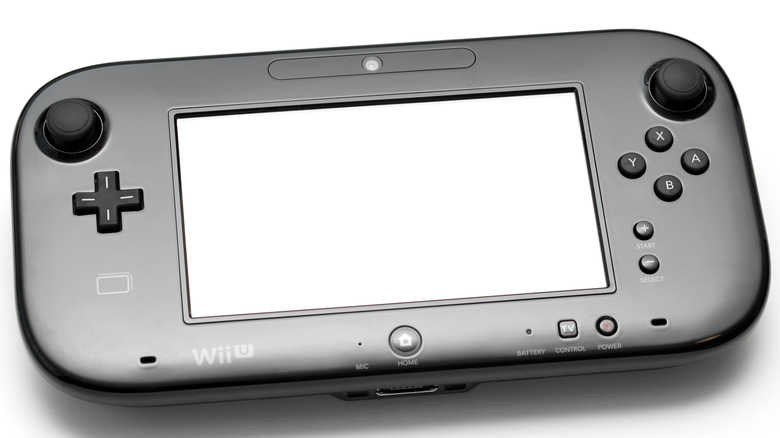
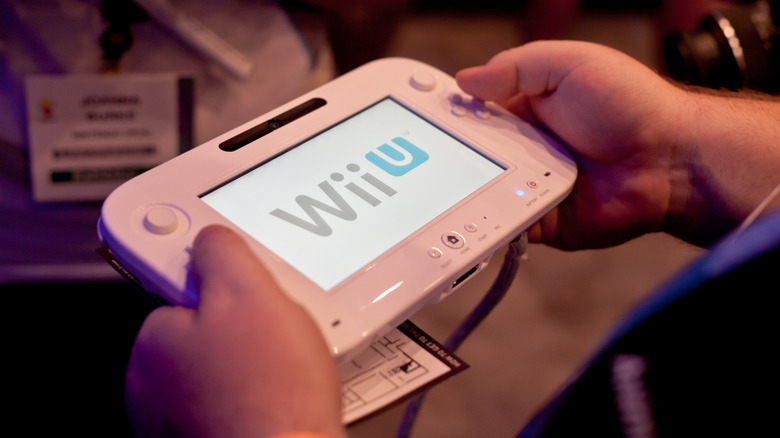
Some gamers might be excited to learn that they can use the Wii U GamePad to play video games on PC. The Wii U console was a bit of a flop sales-wise, but one of its most intriguing features was its unique gamepad. It has a 6.2-inch, 480p touch screen that can be used in several ways. Some Wii U games would allow you to play remotely using the screen on the GamePad, while others would have you use it as a secondary screen. This usually lets you do things like manage inventory or have a designated mini-map on the little tablet, but other games got even more creative. "ZombieU," for instance, allows players to use it as an environmental scanner for detecting useful objects and information. The Wii U console may be dead, but the GamePad can still have a purpose.
Connecting the GamePad to your computer doesn't mean that any of the games you use it for will magically be able to take advantage of these secondary functions involving the controller's screen. That said, it could be helpful for emulation or those who enjoy the feel of Nintendo's first tablet console controller.
Connecting the GamePad to a computer has a few extra steps compared to most controllers. You have to be comfortable with a certain level of technical modification, but it is possible. You must be willing to turn your PC into a web server and track down, download, and install some special software.
Step 1: Make your PC into a web server

Turning your PC into a web server sounds complicated, but it's pretty straightforward. Start by going to the Windows taskbar at the bottom left corner of your screen. Search "Turn Windows Features On or Off" and then select the option when it appears. Here you will see a list of features with checkboxes on the left side. Scroll down to 'Internet Information Services,' tick the box next to it, and select 'OK' to verify the change. This will make your PC into a web server and create the 'inetpub' folder in your C drive, which you will need later.
Once that's done, go back to the taskbar to search for and open the "Command Prompt" application. The Command Prompt window might seem scary, but it's perfectly safe if you know what you're doing. Type in the command "ipconfig" and the application will list the information for all active network devices. Search for the 'IPv4 Address' listed under your PC's current internet connection. This will be listed under Ethernet or a Wireless Networking Adapter, depending on how your PC is connected to the internet. There will be a number off to the side. Either write the number down or copy and paste it into another document so that you have it for later. You will need this for the next step.
Step 2: Download and install GamePadtoPC
Once your PC has been converted to a web server and you have your IPv4 Address ready, you'll need to download a custom application called GamePadtoPC. This can be hard to find as the original source file that most sites link to appears to have been taken down. There is currently a copy of the file available to download on a GBATemp forum, but users may have to track it down elsewhere if it gets taken down there as well. The downloaded file will be compressed, so you will need to use unpacking software like 7Zip to extract it.
Now it's time to use that folder you created in step one. Open a second window into your C drive and navigate to C\:inetpub\wwwroot. Drag the file contents in the 'GamePadtoPC' folder you just extracted into the 'wwwroot' folder.
Next, open the file labeled 'index.html' using a text editor like Notepad (not an internet browser), and there will be a few lines of script that look like this:
"[!-- EDIT BELOW THIS LINE --
script src="http://192.168.1.2:8080/nowjs/now.js">
!-- EDIT ABOVE THIS LINE →]"
Delete the IP address in the center line and replace it with the one you copied from the Command Prompt during Step 1. Then save and exit the text editor. All you have to do after that is double-click the files labeled 'replugin.bat' and then 'simpleserver.bat', and the software should be fully installed!
Step 3: Connect your Wii U GamePad
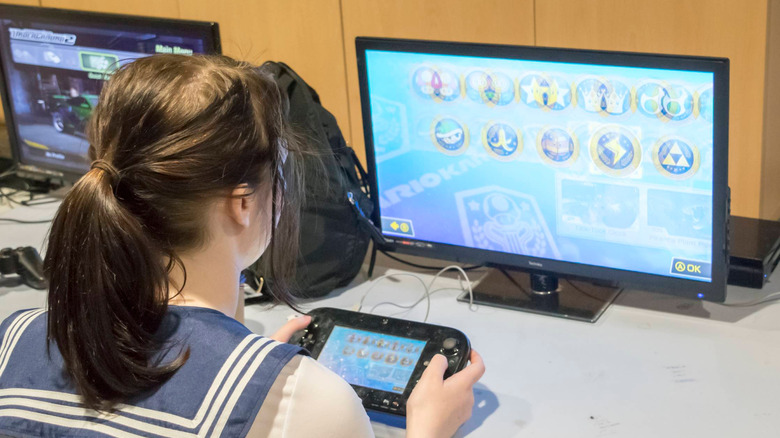
Now that your computer is ready, it's time to connect your GamePad. Switch on the Wii U console and then use the GamePad to access the console's internet browser. Type http://[IPv4 Address]/wiiu/ into the search bar, replacing [IPv4 Address] with your actual IP address that you copied from the Command Prompt during Step 1. Afterward, return to your PC and use your internet browser to navigate to http://localhost/wiiu/pc.html. Now your GamePad should be connected to your PC, but there's one last thing you'll want to do before diving into any games.
This site can also be used to customize the GamePad's controls. This is an important step to ensure that the buttons on the GamePad do what you want them to. A good way to start is by looking at the button mapping for whatever games you will use the GamePad with and using that as a template for assigning a basic layout.
That's it! Once you're done, your GamePad should be connected, customized, and ready for your PC gaming needs.