How To Screen Record On Android
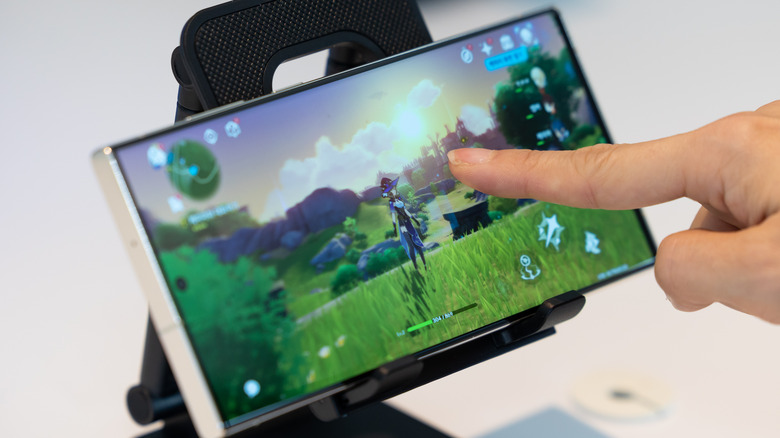
While screenshots are a great way to capture and save your phone screen's content, there are some instances when videos can convey the essence of your content better. Say you want to make a tutorial on how to use the app auto-archiving feature on your Android device. Or perhaps you're a gamer who loves sharing their gameplay secrets and techniques with followers. Maybe you need a personal copy of a non-downloadable webinar, but don't want to fill your storage space with multiple screenshots.
Whatever the case might be, screen recorders can help you capture whatever content you need and provide you with a video you can come back to later. If you're on an Android device, there are two primary options for screen recording: using the built-in screen recording tool, or opting for a third-party app of your choice. We'll walk you through the step-by-step process of how to use both.
How to record your screen using Android's native screen recorder
The built-in screen recording tool was first introduced in Android 11, so if you're running this or a newer OS version, you won't need to install a third-party app. Here's how to use the native screen recorder for Android:
- Swipe down from the top of your screen to show the Quick Settings panel.
- Swipe right until you find the Screen Record tile. If it isn't in your Quick Settings panel yet, select the pen icon to add a new tile. Then, hold the Screen Record icon and drag and drop it to the top.
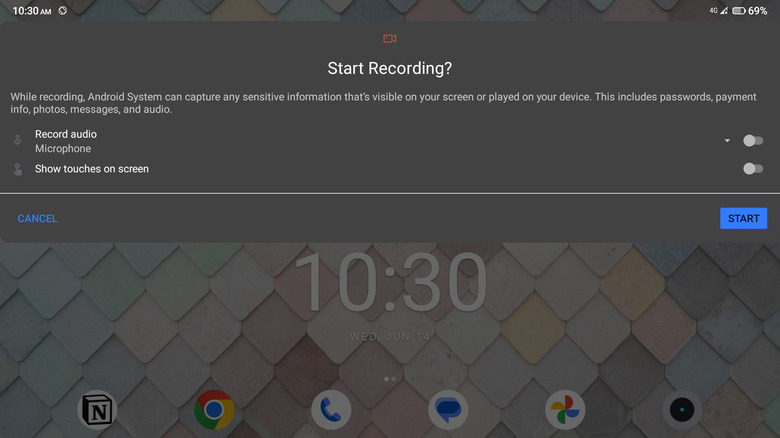
- Tap on the Screen Record tile to show the Screen Recording settings.
- Configure the settings to your preference.
- To capture audio, turn on Record audio.
- To change what audio your screen recording captures, select the down arrow next to Record audio and choose between the following:
- Microphone: records only your phone's microphone sounds.
- Device audio: records only the sounds coming from your phone's speakers.
- Device audio and microphone: records both microphone and speaker sounds.
- To capture the touches you do on screen, turn on "Show touches on screen."
- Once you're happy with the settings, select "Start" to start recording. Screen capture will automatically begin after the three-second countdown.
- To stop the recording, swipe down to show the Notifications panel. Then, tap on the red Screen Recorder notification. You'll find your video saved in your Google Photos app.
How to record your screen on Android using a third-party app
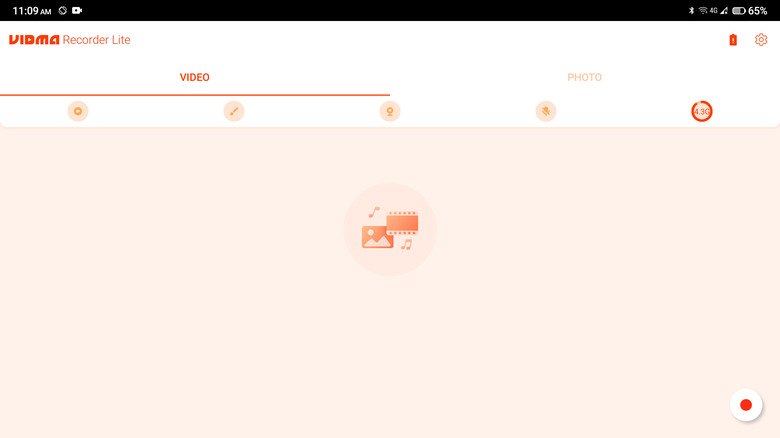
If you're looking for more functionality than what the native screen recorder has, or your device is running an older OS, you might be better off using a third-party app. One of the popular screen recorder apps for Android is the Vidma Screen Recorder Lite. It's free, doesn't add watermarks to videos, and doesn't eat up too much space on your device. Here's how to use it:
- Install Vidma Screen Recorder Lite from the Google Play Store.
- Launch the app.
- On the Video tab, select Allow to give the app access to your storage.
- Tap on the microphone icon and give the app permission to record audio.
- Customize your settings before recording:
- If you also want to capture your front camera while screen recording, select the camera icon.
- If you want to capture audio in your screen recording, tap on the microphone icon a few times to toggle between your preferred settings (audio off, microphone only, device audio only, and both microphone and device audio).
- To start recording, select the record button on the bottom right of the screen.
- Tap on "Start Now" in the notification.
- To pause the screen recording, swipe down to show the Notification panel and select "Pause."
- To stop the screen recording, swipe down to show the Notification panel and tap on "Stop."