iPhone 'Last Line No Longer Available' Error: What It Means And How To Fix It
The 'Last Line No Longer Available' error message is a commonly reported problem among iPhone users, more specifically among the users of Dual-Sim iPhones. This annoying error has been causing trouble since 2018 when Apple came out with their very first iPhones with the Dual-Sim feature.
So what this error message actually means is that the phone cannot detect your preferred line to place the intended call like normal. This is why the message comes with the option to place the call with the other non-default line instead. There could be numerous reasons for this problem, ranging from a temporary glitch to some kind of network settings issue.
You might be able to get rid of the issue with pretty generic solutions like switching your phone off and on, but in situations where those don't work, more thorough steps may have to be taken. So, here are some potential fixes.
Reset your iPhone's network connection or update your iPhone
A usually reliable quick fix for this problem is resetting the network connection. This ensures that it starts afresh and solves most problems concerned with connectivity.
You can do this by rebooting your iPhone or toggling Airplane mode on and off. For the former,
- Open the Settings app and go to the General tab.
- Scroll down, choose the option to shut down your iPhone, and swipe on the power-off bar.
- Wait for the iPhone to switch off, then hold the side key until it switches back on.
To toggle Airplane mode on and off,
- Open the control center and tap on Airplane mode.
- Wait for several seconds and turn the Airplane mode off by pressing it again.
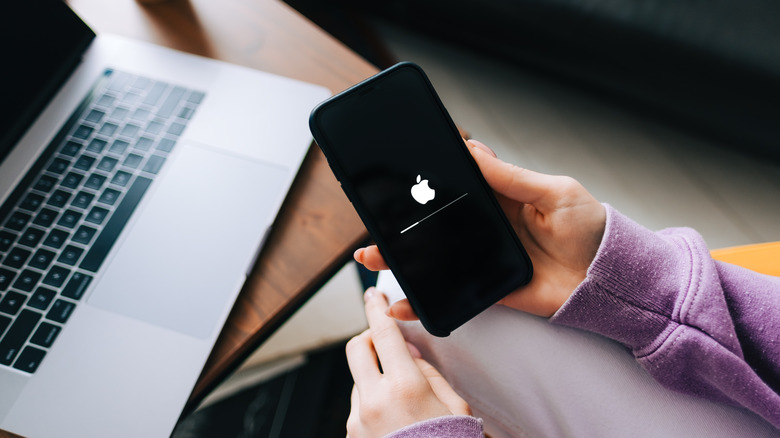
Software updates usually contain a permanent fix for these commonly reported issues. So it is crucial that you keep your iPhone up-to-date and regularly check for new updates — especially if it's the iOS 16.4.1 iPhone update. To do this,
- Go to Settings > General > Software Update.
- If you see a new software update hanging around, click "Download and Install."
Carrier settings updates are updates to your mobile network by your service provider, which improves network connectivity, so a carrier settings update might also potentially fix your problem.
- Go to Settings > General > About.
- Scroll down to the "Carrier" tab and wait several seconds to see if a new carrier update is available.
- If there is, tap Update.
Switch your phone line or clear your recent call entries.
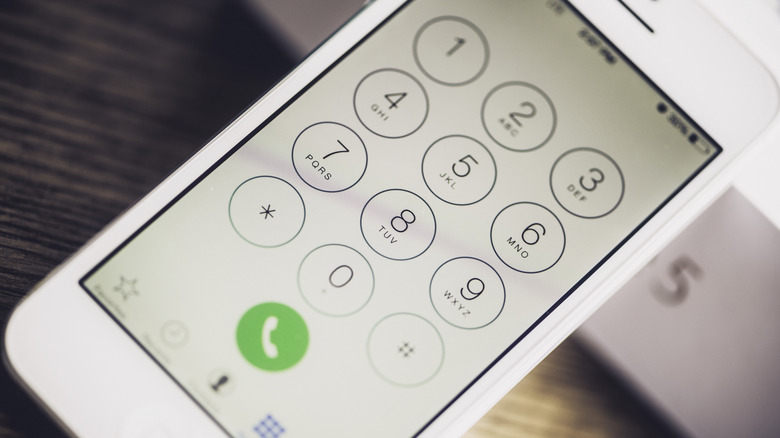
You can always choose to place the call from the other line, but in some cases, you might not want to do that (it might be a number you wish to keep private). If you have no such reservations, you can choose the "Call" option when you get the error message. You can also manually choose the secondary phone line before you make a call;
- On the keypad tab in the Phone app, touch the option at the top depicting the preferred line for the call.
- Choose "Use Secondary Line" and make the call.
Suppose you notice the issue when dialing a specific number or a contact in the "Recents" menu. In that case, you can configure the "always use" option under individual contact entries to use only the secondary phone line.
Deleting all the call records of that specific number is also said to work to solve this issue.
- Go to Phone > Recents > Edit.
- Scroll down and delete all records of the number individually using the delete button on the side of each instance.
You can also delete all the items in the 'Recents' menu by selecting Clear > Clear All Records after going to the 'Edit' screen.