How To Delete Apps And Programs On Windows 11
Having tons of apps and programs on your Windows computer is all fun and games until you realize you're running low on storage and have no more space for your documents and videos. Instead of going through your personal files and deleting them, you can just uninstall some of your apps and programs, especially if you no longer use or need them. Some apps (especially games) take up a lot of storage, so deleting them is one of the fastest ways to free up some storage space.
There are several different ways to delete apps on Windows 11. You can always use a third-party uninstaller app, but if you don't want to set one up, there are also two built-in uninstallers on Windows: the Settings app and the Control Panel. We'll guide you through the step-by-step process of using each one to delete your apps and programs on Windows 11.
How to delete apps on Windows 11 using Control Panel
The easiest method to uninstall any of your Windows programs is from the Control Panel. Here, you can see all of your installed apps, their sizes, version, and the date you installed them. There are two ways to get to the Control Panel:
The first option is to click on your Windows key to open the Start menu, then select "All apps." Scroll through the list to find the app of your choice. Right-click on it and select Uninstall. You will be redirected to uninstall from the Control Panel.
There's another way to get there. From the Start Menu, type "Control Panel." Click on the first result that comes up. Then, under Programs, select "Uninstall a program."
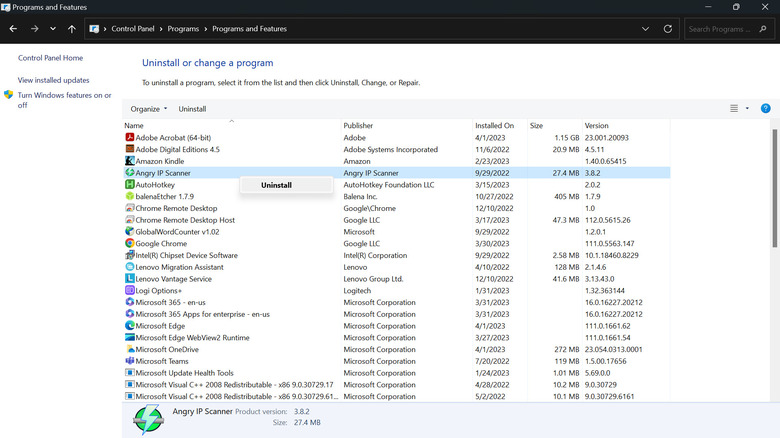
Once you have the Control Panel opened on the uninstallation page, follow these next steps:
- Find your app on the list.
- Right-click on the app.
- Select Uninstall. Some apps will display "Uninstall/Change."
- On the pop-up window, select Yes to confirm that you want to uninstall the app.
- Follow the on-screen uninstallation instructions, which will vary depending on the app.
How to delete apps on Windows 11 using Settings
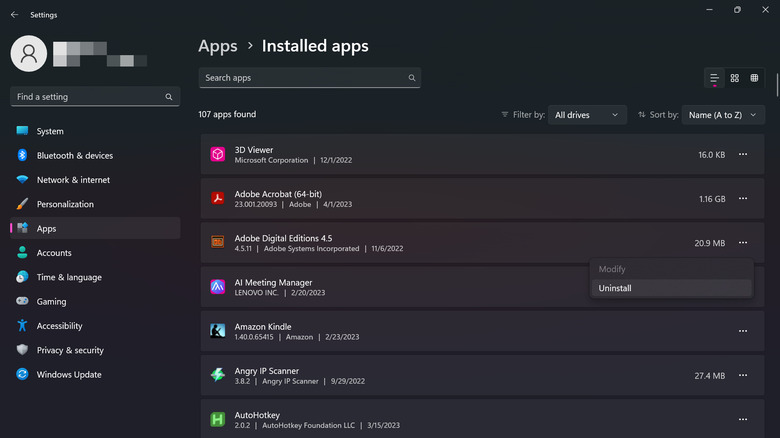
Another way to delete your app is through Windows 11 Settings. This method is similar to the Control Panel, but with some extra options. Not only can you see app details like sizes, developers, and dates of installation, but you can also check which apps are installed on specific drives. So if you're looking to free up space on your D: drive, for instance, it'll be easy for you to pinpoint what apps are installed there.
- Launch your Settings app.
- On the left-hand panel, select Apps.
- Go to Installed Apps.
- Scroll through the list to find the program you want to uninstall. You can also click on "Filter by" to filter the apps by specific drives. Take note, however, that not all apps can be found here. If you can't locate your app, follow the Control Panel method instead.
- Once you find your app, click on the three horizontal dots on the right-most side of the app.
- Select Uninstall.
- On the pop-up window, select Uninstall to confirm.
- When prompted, click on the Yes button to confirm that you want to make changes to your computer.
- Do as the on-screen uninstallation instructions say.