How To Print From Your Google Chromebook
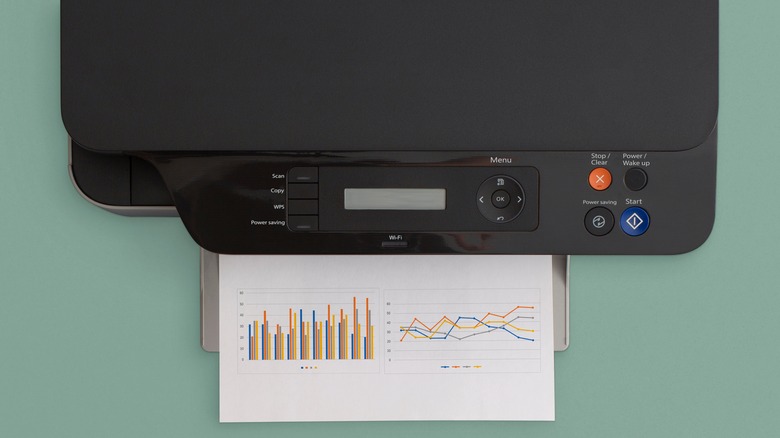
Google Chromebooks are lightweight, affordable laptops with various features and functionalities, making them popular for personal and professional use. That being said, many new Chromebook users are dealing with the same question: how to print from their device.
Whether wired or wireless, printing from a Chromebook can appear moderately confusing for those new to the operating system. Fortunately, Google designed Chromebooks to be user-friendly, and the exact printing process is straightforward and easy.
If you have a wired printer that you want to connect to your Chromebook, you can use a USB cable to establish the connection. However, if you have a newer printer, wireless printing is also an option for Chromebook users. It's worth noting that Chromebooks do not support Bluetooth printing, which means that you won't be able to print documents directly from your device to a printer via Bluetooth.
However, in most situations, other options, such as using a USB cable or connecting to a wireless network, can enable you to print from your Chromebook.
How to print on your Chromebook using a wired connection
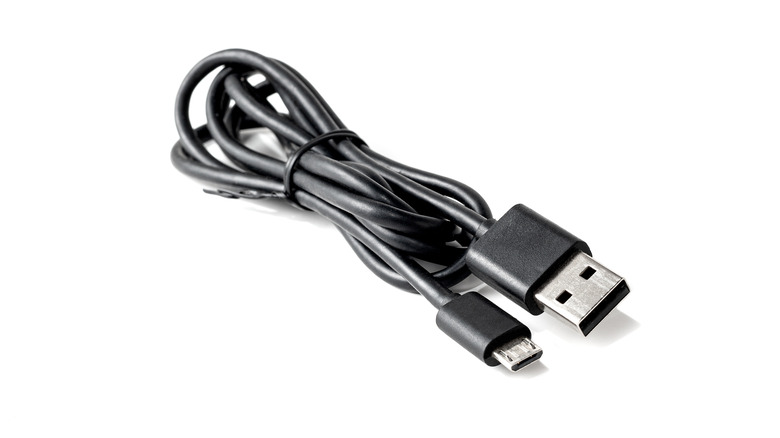
One of the primary ways to print documents from a Chromebook is by using a wired connection. This method involves connecting your Chromebook to a printer via a USB cable, which allows you to print documents directly from your device.
- The first step is to connect your printer to your Chromebook using a USB cable. Plug one cable end into the printer and the other into your Chromebook.
- Once the cable is connected, your Chromebook should detect the printer automatically, according to Google.
- However, it would help if you created a profile for your printer so you can easily find it later on.
- Click the time on your home screen. Then, choose Settings.
- Scroll down to Advanced and click on it. Near "Print and scan," click on Printers.
- Click on Available printers to save, and choose Save near the name of your printer.
- Then, press Ctrl + P on your keyboard whenever you're on a page you want to print.
- Under Destination, click the down arrow and "See more..."
- From the list, select your printer. Then, choose Print.
Wired printing is an excellent option for your Chromebook if your office has a printer nearby. However, if you move around your house a lot, you might consider a wireless printer.
How to print on your Chromebook using a wireless connection
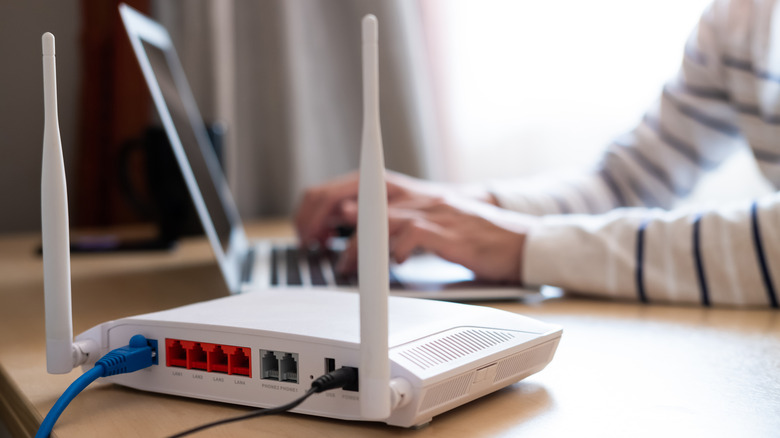
In addition to wired connections, Chromebook users can also print documents wirelessly. This method lets you connect your Chromebook to a printer on the same Wi-Fi network, giving you more flexibility and convenience.
- The first step is connecting your printer to your Chromebook's Wi-Fi network. This process varies depending on the printer model, but most modern printers have a built-in wireless setup wizard that guides you through the process.
- Once you have connected your printer to your home network, you can double-check that you have connected your Chromebook to the same signal by clicking the time on your home screen and selecting the Wi-Fi setting.
- After you've ensured that both of your devices are on the same network, follow the earlier steps of creating a profile for the printer.
- Then, whenever you're on a page that you want to print, press Control + P on your keyboard.
It is worth noting that you can only follow this method if your wireless printer is Wi-Fi enabled, rather than Bluetooth.
How to scan documents using your Chromebook

Scanning documents on a Chromebook can be a valuable feature for those who need to digitize physical documents frequently. While Chromebooks can scan and create images with the built-in camera, this section will focus on using a printer with scanning functionality.
- Click the time on your home screen.
- Choose Settings and select "Advanced" in the lower left corner.
- Under Print and scan, click "Scan" to launch the app. You can also look for the app using Chromebook's built-in Launcher.
- Use the down arrow menu on the right to choose your scanner within the app.
- Choose the "Scan" button to begin your scan.
Within "More settings," you can choose the color mode, page size, resolution, and scan options, according to Google. In addition, the documents you have scanned will appear in a default location. You can change the path in the settings to create a custom save location.