Settings You Need To Change To Stop Your Android From Tracking You
In today's connected world, your every move is monitored. Different kinds of apps and websites can track and collect your data for a wide range of purposes. For instance, with your personal data, Apple is able to process your transactions, Twitter can serve you relevant ads, and Life360 can fine-tune its location services.
But not every app and website you use utilize your information for the greater good, so it is always a good idea to protect your privacy as much as you can. And what better way to start hiding from the internet than changing the privacy settings on the gadget you use the most: your phone.
If you're on an Android device, we will walk you through six of the easiest ways you can stop your phone from tracking you. This includes deleting your web and app activity history, turning off your apps' location access, and disabling unnecessary location settings.
Using your location history
One of the top ways your Android phone can track you is by following your location. When you're signed in to your Google account and have Location History turned on, Google can keep tabs on every place you visit (via Google). This can be beneficial in some ways as it can provide you with personalized maps, give you real-time traffic updates, and help you find your phone.
However, if you don't want the tech giant following you everywhere you go, you can opt to turn Location History off. Here's how to do it:
- Launch your Settings app.
- Open Google.
- Tap on "Manage your Google Account."
- Go to the "Date & privacy" tab.
- Under History settings, select Location History.
- Tap the "Turn off" button.
- In the dialog box, tap on Pause.
You can also choose to delete your Location History. However, you can only delete data older than three, 18, or 36 months. Here's what you need to do to set up automatic deletion (via Google):
- Open your Google Maps app.
- Tap your profile icon.
- Select Your Timeline.
- At the top-right corner of the screen, tap on the More icon (three vertical dots).
- Select "Settings and privacy" from the menu.
- Under "Location settings," choose "Automatically delete Location History."
- Select "Auto-delete activity older than."
- From the drop-down menu, choose either three, 18, or 36.
- Tap Next.
- Select Confirm.
- Tap on the "Got it" button to exit.
Moving forward, all your data older than the months you've specified will automatically be deleted from your account.
Tracing web and app activity
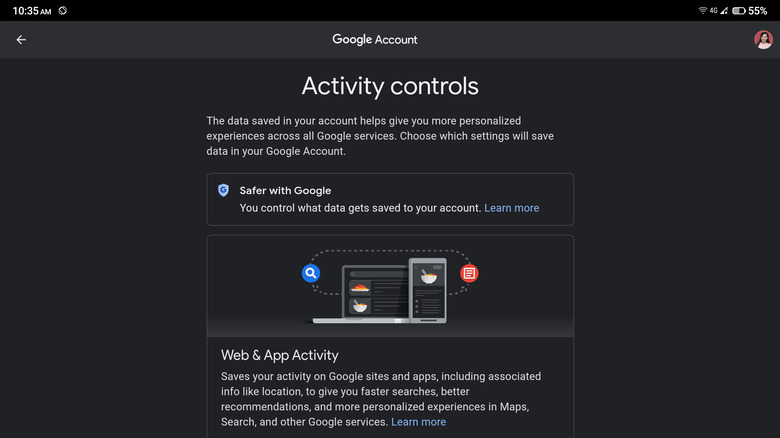
Location History isn't the only setting that saves your location. Web & App Activity does the same and more. When your Web & App Activity is turned on, information, including your searches, location, IP address, ads clicked, and even the things you buy are saved in your Google Account (via Google). To turn off this setting, follow the steps below:
- Launch your Settings app.
- Scroll down and tap on Google.
- Select "Manage your Google Account."
- Navigate to the "Data & privacy" tab.
- Under "History settings," select "Web & App Activity."
- Click the "Turn off" button to disable Web & App Activity.
- Tap on Pause.
- Click "Got it" to exit.
- Back on the "Web & App Activity" page, tap on "Choose an auto-delete option" to automatically delete saved data.
- Select "Auto-delete activity older than."
- From the drop-down menu, choose whether to delete saved data older than three, 18, or 36 months.
- Click on Next.
- Select Confirm.
- Tap on "Got it" to exit.
Change your location settings
Aside from blocking Google from saving your location, you should also change the location settings on your phone itself. The settings you can turn off include the following:
- Location
- Wi-Fi and Bluetooth scanning: allows your phone to scan for Wi-Fi access and Bluetooth devices nearby to get better location information
- Emergency Location Service: allows your device to send your location to emergency response partners
- Google Location Accuracy: uses your phone's sensors, Wi-Fi, and mobile network to improve location information
To manage these settings, follow these steps (via Google):
- Launch the Settings app.
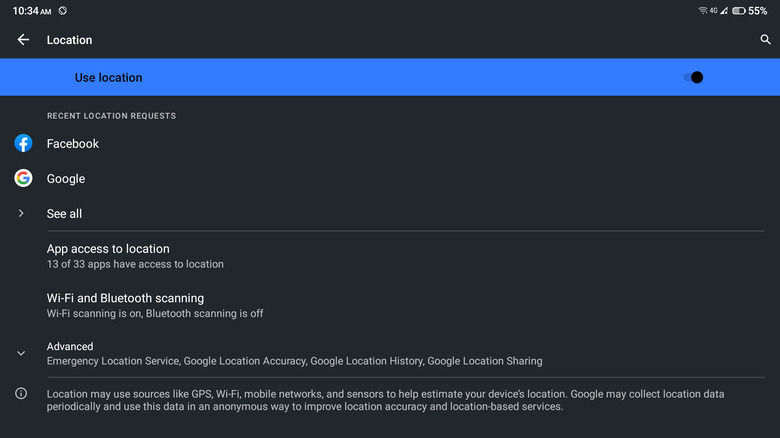
- Select Location.
- Toggle the slider off for "Use location" on top of the screen.
- Select "Wi-Fi and Bluetooth sharing."
- Turn off the sliders for both "Wi-Fi scanning" and "Bluetooth scanning."
- Go back to the Location screen by clicking the Back button.
- Select Advanced.
- Tap on Emergency Location Service.
- Toggle the slider off if you prefer to do so.
- Go back to the Location screen.
- Tap on Google Location Accuracy.
- Toggle the slider off next to "Improve Location Accuracy."
Alter your app permissions
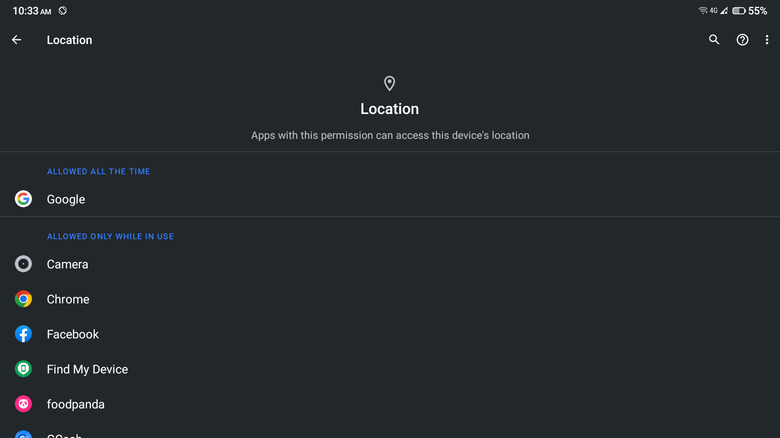
Most if not all apps require location access to provide you with better functionality. For instance, Facebook uses it to automatically include your location on your posts, help you find nearby places, and send relevant ads your way (via Facebook).
You can see which apps access your location by going to Settings > Location > App access to location (via Google). The apps here fall under three categories: allowed all the time, allowed only while in use, and not allowed. If you have apps under "allowed all the time" and "allowed only while in use" that you want to remove the location access to, simply tap the app. Then, select "Don't allow."
If you're on Android 12, you will also see an additional toggle button for "Use precise location." When this is enabled, the app uses your phone's exact location. When you turn this off, the app will use your approximate location instead. This means that your location will be seen as somewhere within a three-kilometer radius.
Check your Google Chrome settings
When browsing online, you'll frequently come across sites that want to have access to your location. In certain cases, this can be really helpful. For instance, if you visit a hardware retailer's website, giving it access to your location allows it to provide you with the closest stores.
You can check what websites currently have access to your location from your Google Chrome (via Google).
- Launch the app.
- Tap on the More icon (three vertical dots) on the top-right corner of the screen.
- Select Settings.
- Scroll down to the "Advanced" section.
- Tap on Site settings.
- Select Location.
- Expand the "Allowed" section to check all the apps that can see your location.
If you want to remove a site's location access, just tap on the site. Then, choose Block. You can also stop Google Chrome from sharing your location altogether by toggling off the button. With this disabled, any site you visit will not asking you to share your location. If you're extra concerned about your privacy, consider switching to other Android browsers, such as Tor and Firefox.
Turn off advertising ID
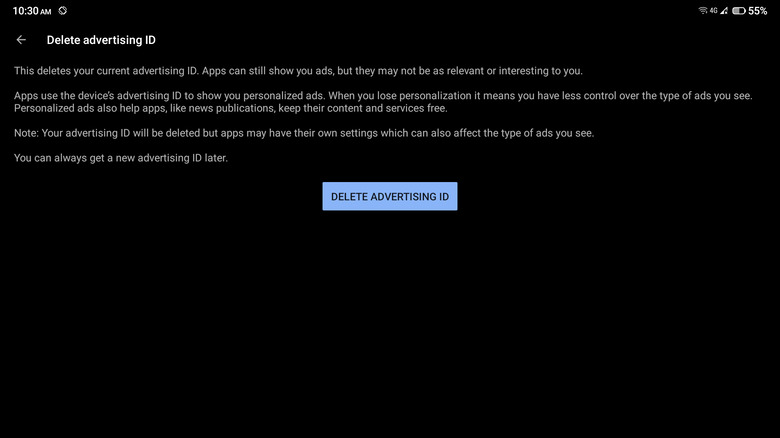
Ads these days are getting smarter. You'll search for a plaid skirt one day, and the next day, you'll see dozens of ads for plaid skirts. It's as if advertisers are watching your every move online and know exactly what you like. Well, that's because they do, thanks to ad personalization. To turn off this feature on your Android device, here's what you need to do (via Google):
- Launch your Settings app.
- Open Google.
- Tap on "Manage your Google Account."
- Navigate to the "Data & privacy" tab.
- Under Ad settings, tap on "Ad personalization."
- Toggle off the slider next to "Ad personalization is ON."
- Select Turn off in the pop-up box.
- Tap on "Got it" to exit.
Disabling ad personalization, however, doesn't mean that you'll stop seeing ads moving forward. They will still be there, but the upside is that they'll only be general ads and not creepy personalized ones.