Run The Xperia XZ Premium In 4K All The Time With This Trick
The Sony Xperia XZ Premium is easily one of if not the most expensive flagships this year, at least for now. But if, for a moment, you ignore that price tag, you're actually left with a rather competitive high end smartphone with a very high-end screen. One of the very few, perhaps only two, 4K smartphone screens in the market. But for performance and battery life reasons, Sony doesn't make full use of that UHD screen all the time. But if you think it's well worth the consequences, you can easily force the Xperia XZ Premium to use that high density setting all the time with these relatively simple steps.
Two years ago, Sony unveiled what was perhaps the first 4K smartphone in the market, followed by the Xperia XZ Premium this year, with a dash of HDR support. The idea was to allow users to enjoy 4K and HDR content on their smartphones, despite such content being on the slim side. That, of course, never stopped Sony from trying, though it did make some concessions to appease worried users.
The 4K resolution only really kicks in when watching 4K content and nothing else. Everything runs at 1080p Full HD, save perhaps for some 2K (QHD) content. The UI itself is stuck at 1080p, however. This is to prevent the screen from eating all that precious battery minutes. Some, however, think that's a premature optimization and that running the phone in 4K all the time has minimal impact but has all the perks of having a crisper display.
Fortunately for these people, it's actually not that difficult to flip a switch. Actually two switches. It's not as simple as going to the settings app and pushing a slider like on the WQHD+ Samsung Galaxy S8 and LG G6. But it's not as difficult as having to root your device or tinker around with files. At least not much. The most difficult part of the process is installing the Android SDK. Even that is actually now easier since Google now provides the relevant ADB tool as a separate download. Once installed and your phone connected to your computer, you need to run ADB in your OS' shell (Command Prompt on Windows, Terminal on macOS and Linux) and enter this commands to change the resolution to 4K:
adb shell
wm size 2160x3840
You will notice everything suddenly look smaller which is easily fixed by setting the correct pixel density for the new resolution:
wm density 820
That's pretty much all that's needed. Android Kosmos, who broke news of the trick, says that the setting is preserved across reboots. Going back to the normal Full HD setting simply involves setting the wm size to 1080x1920 (Full HD) the density back to the default 420.
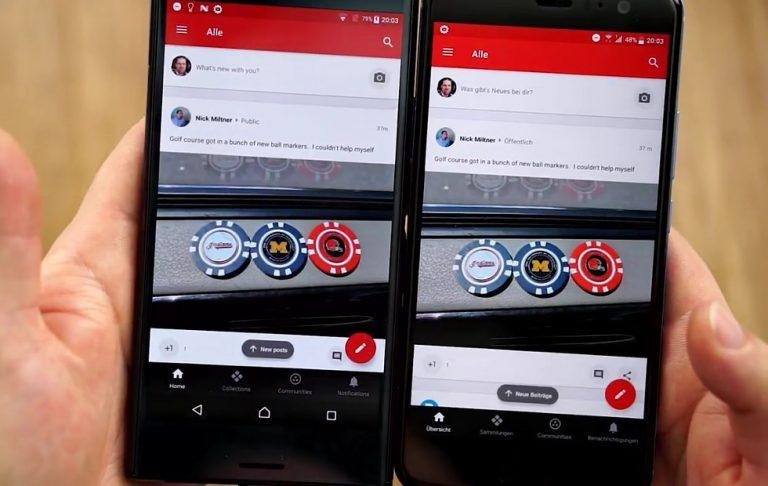
Damir Franc, who gives the video tutorial below, says that the battery drain by having 4K all the time is almost non-existent. Of course, your mileage might vary but what's more important to note is that some apps might not display correct or not work at all. Hopefully someone will soon come up with an app that lets you change all these on the fly without having to go the ADB route every time.