5 Settings You Need To Change After Buying A New TV
We may receive a commission on purchases made from links.
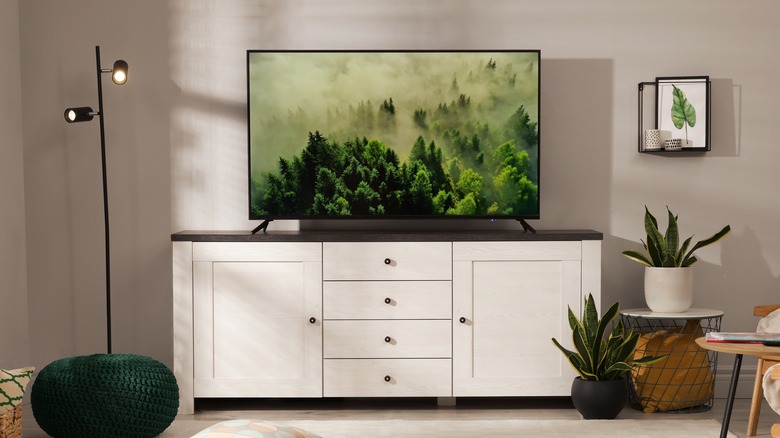
After you buy a new TV, it comes out of the box with a host of default settings that you may not want. In fact, there are many settings that you'd be better off changing right away in order to get the most out of your new TV. When manufacturers choose these default settings, they're choosing them according to what they think most people will want to see in a store setting in order to sell the TV. However, this isn't necessarily what will look best at home, and you're better off changing most of these yourself to get the truly best look for your new TV.
When going through this list of TV settings to change, keep in mind that the names of each setting will vary from TV to TV. However, in general, the names are pretty similar so you should be able to determine where each setting is in your own TV's menu. Once changed, you'll be able to see the difference immediately and if you need to, you can change settings again as you wish.
Picture mode
The first setting you'll want to look at changing is the Picture Mode. This is an overarching setting that also changes a few other settings on your TV in order to enhance the display in certain ways. You'll find that there are quite a few different modes to choose from, and each of them provides something different depending on how you most often use your TV.
Right out of the box, the Picture Mode is usually set on a default option like Standard or Dynamic. This mode may look good on a store shelf, but in the ambient lighting of a home, it doesn't always look as great. Dynamic mode typically increases the brightness, clarity, and possibly the color saturation, while Standard mode is generally designed to offer the best neutral picture quality for use across different types of content (via Samsung).
You should try each of your TV's picture modes to determine which one looks best. Many TV models have a dedicated Movie or Cinema mode that is designed to most accurately reflect the quality that filmmakers intended their work to be viewed in. However, these two modes are typically adjust the picture for watching movies in a dark room, which means they may be too dim for daytime or when you have lights turned on. You may find that you'll have to adjust the Picture Mode regularly based on whatever you're watching at that particular moment.
Contrast

The contrast on new TVs may be set much too high when taken out of the box. Though high contrast is a good thing, as explained by Rting, excessively high settings may remove finer image details that give the picture the appearance of depth. This can easily be fixed by changing contrast while viewing an image on the screen, such as a bright picture with some detail. For example, a shot of the sky with clouds is a good option, according to Consumer Reports.
This way, when you set the contrast level, you'll be able to account for the bright highlights and shadows to ensure you get a good balance. An ideal setting won't have blown-out colors or too much light glare. You should just be able to see the detail in the image. If you've set your Picture Mode to Cinema already, it's also fine to leave the contrast setting alone, as it may already be ideally adjusted for watching movies.
Brightness

Another important setting you may want to change is the brightness (black point). This can also often be set too high, making for a washed-out look, and if it's set too low, it can be very difficult to see what is going on during darker scenes. This is a quick and easy change that will help you see all the fine details in your favorite movies or shows. The best way to set brightness is similar to setting contrast: by looking at an example image on the screen as you change it.
To get the best brightness setting, you'll want to find an image or video that is dimly lit. Anything taking place at night is a good choice. When you have it on screen, you'll want to put your brightness all the way down, and then slowly turn it up until you can just see every detail in the shadows of the image, but without making them too bright.
Sharpness

When it comes to the Sharpness setting on a TV, the best thing to do is turn it way down. In fact, your TV may look best when the Sharpness is set to zero. When this setting is set even just a bit too high, it can cause lots of noise in the image and artifacts that can make things look really off. If you're used to Sharpness being set higher, you may notice the images look a bit soft when set so low. However, when watching high-quality HD or 4K video, you'll be able to see just how detailed everything now looks.
If everything looks too soft, you can try setting the Sharpness on an image that has lots of fine detail, such as close-ups of fabric textures, faces, and paintings. If you've already set your Picture Mode to Cinema or a similar option available on your TV, this will likely turn down Sharpness automatically, so you don't need to worry about this setting if things look fine to you.
Motion Smoothing

Finally, a setting you should certainly look at changing is Motion Smoothing, which is a frame interpolation feature designed to smooth out the blurs you see during fast-paced shots. This setting is designed to mediate the differences in frame rates between what is shot in movies, typically 24 frames per second, and the frame rate at which your TV runs.
When scenes shot at 24 fps are played on a TV that plays at a higher frame rate, you may notice an effect called judder. This can cause artifacts or other anomalies in playback. So, television companies came up with Motion Smoothing to lessen this issue. However, this feature also causes movies and shows to arguably look worse, as it generates extra frames that weren't previously there to smooth things out and just makes everything look incredibly uncanny (via Samsung).
Unfortunately, this setting is usually turned on by default. You also may have to dig to find where to turn it off. In your settings, go to Picture and from there look for a setting involving Motion. If you don't see it, you may need to go to advanced settings or consult your TV's manual.