Anycubic Photon M3 Review: A Beginner-Friendly SLA 3D Printer
- Affordable 3D printer for beginners
- Easy setup
- Simple to level
- Single rail
- Instructions could be clearer
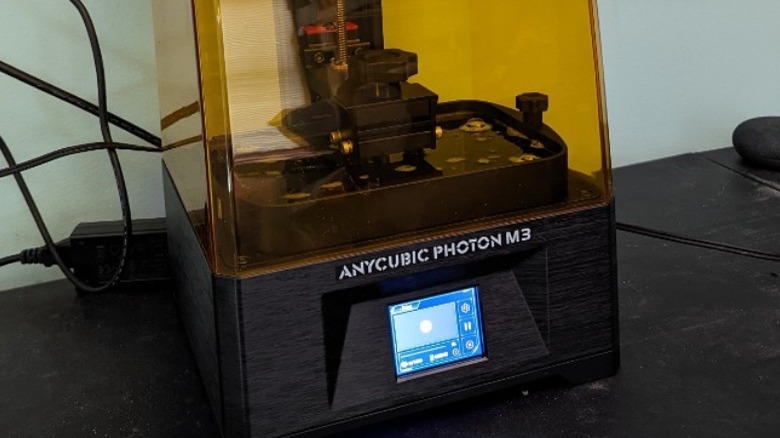
Today we're taking a look at Anycubic's latest offering for the beginner-friendly SLA 3D printer. Do you want to make miniatures for your D&D game? SLA (or stereolithography) printing is what you're looking for. Typically, when people think of 3D printing, they're thinking of a little robot on rails that squeezes out bits of molten plastic to make a thing — but that's not this kind of printing. This kind of printing uses UV light to harden a liquid resin a little bit at a time, giving amazing detail without those tell-tale lines on the object.
I'm a hobbyist 3D printer, not quite an enthusiast (I only own three different 3D printers), but I'll be giving this review from the perspective of the beginner audience that Anycubic has in mind. I've been dabbling in 3D printing for around two years, mostly printing miniatures for my own tabletop RPGs. This was the Pandemic Hobby that kept me sane through the lockdown times. My very first printer was the Anycubic Photon S, the printer I made tons of mistakes on while learning my way, and so Anycubic is near and dear to my heart. My workhorse printer right now is a QIDI Shadow 6 which I love... and which I might be replacing at the end of this review.
What's in the box?
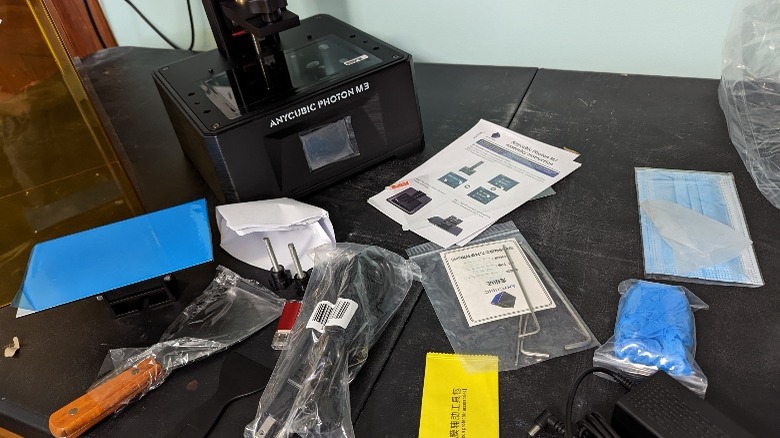
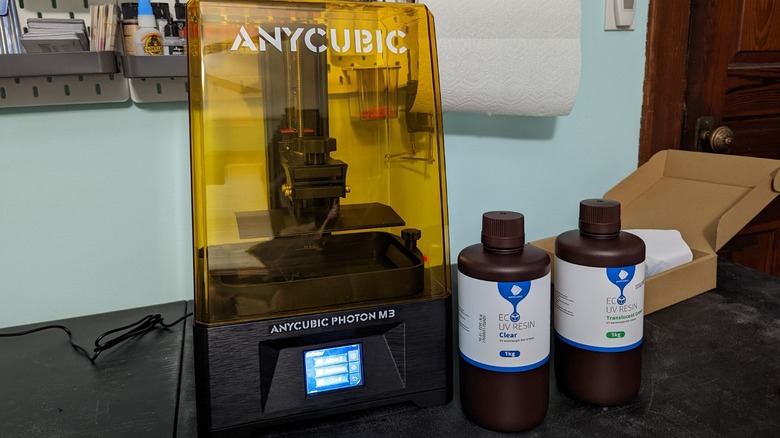
The packaging on the Photon M3 is very well done. Anycubic squeezed a lot in there, tightly and efficiently. In addition to the printer, the UV filtering cover, and the resin vat, there's a box of accessories, which includes:
- USB Thumb Drive
- AC Adapter
- Plastic scraper
- Metal scraper
- Allen wrenches
- Disposable mask
- Screen protector
- Screen protector helpers
- Bolts
- Gloves
- Resin filters
- Instructions
They've been quite generous! The metal scraper will be very helpful in getting stubborn prints off the bed. I do note, however, that there is no extra FEP in the box. The FEP is the ever-important plastic film on the bottom of the resin vat. I've torn more than a few of these over the years, so not having an extra on hand can be very disappointing if you damage yours while only half-done printing your minis for the next game. This has happened to me and I was, in fact, very disappointed — to the point that I generally keep two spare FEPs on hand at all times.
Anycubic, assemble!
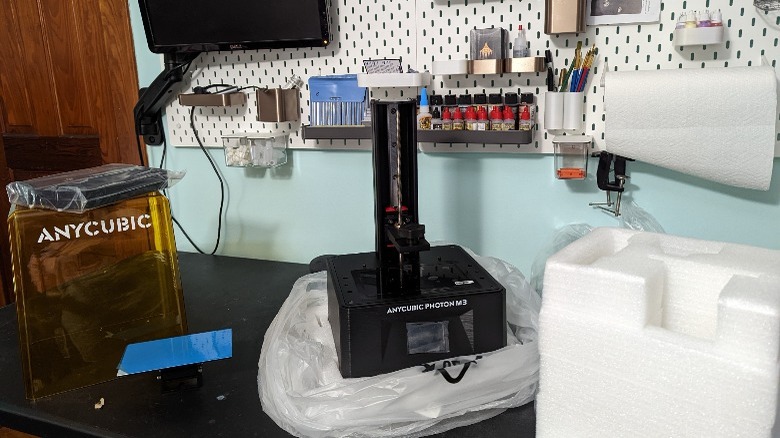
The printer is very easy to remove from the packaging, the way Anycubic designed the segmented foam around the parts makes it simple to pull out the pieces, and the included instructions are straightforward and easy to read. However, it's pretty clear that the addition of the screen protector was last minute.
Make no mistake, it's a good thing to have in the box: it's a great idea to put a screen protector on that very critical part. A scratch can ruin prints and the entire screen needs to be replaced if it does get damaged, which is very much not a beginner-friendly task. The instructions do not mention when to put the screen protector on, so here's the secret.
For the Anycubic Photon M3, install the screen protector after you remove the protective film but before you level the printer. In the instructions that came with my unit, this would be after Step 3. Leveling the printer was easy, and installing the resin vat was easy. Aside from one small thing, setting up this printer was a snap.
The screen protector hates me
Holy moly. The setup was quite easy for this printer, except for the screen protector. It took me nearly 20 minutes to get all of the bubbles out using the plastic scraper, and I made the mistake of lifting the film up to help with that for a moment, which promptly allowed a speck of dust to get under there. This was a small nightmare, and thankfully Anycubic included a small packet of "Screen Protector Accessories," one of which was a little sticker I could use to get that wicked dust speck, but this took me quite a while of fiddling and was more than a little frustrating. Not the best beginner experience — but I definitely handled the whole situation like a beginner.
It's very, very important that you get all of those bubbles out of the screen protector. A bubble in a spot that's being printed could prevent the resin from hardening correctly and ruin your entire print! That said, the screen protector is an important and welcome addition; just be sure to take care when installing it.
The test print
Anycubic included a pre-sliced test file for the printer, and they provided me with some Eco UV Resin in the ubiquitous Transparent Green. Typically, a file is sliced taking into account what resin is being used, and some resins require less cure time than others.
Oh, one small tip that you should always keep in mind: SHAKE YOUR RESIN. Please. Always shake your resin. It settles, and failing to shake it could ruin an otherwise perfect print! Always, always shake that resin.
The pre-sliced file will take around three hours to print, according to the machine.
...three hours later
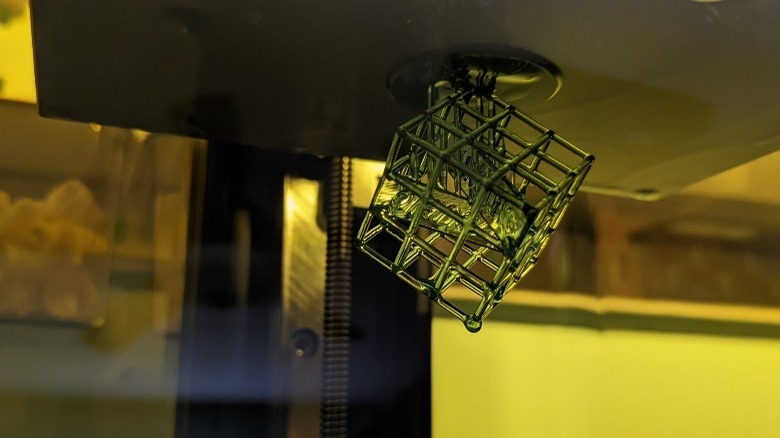
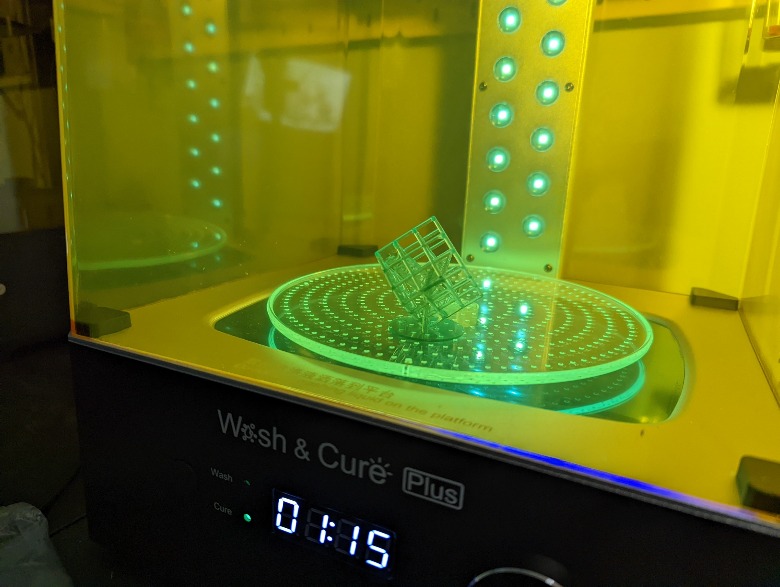
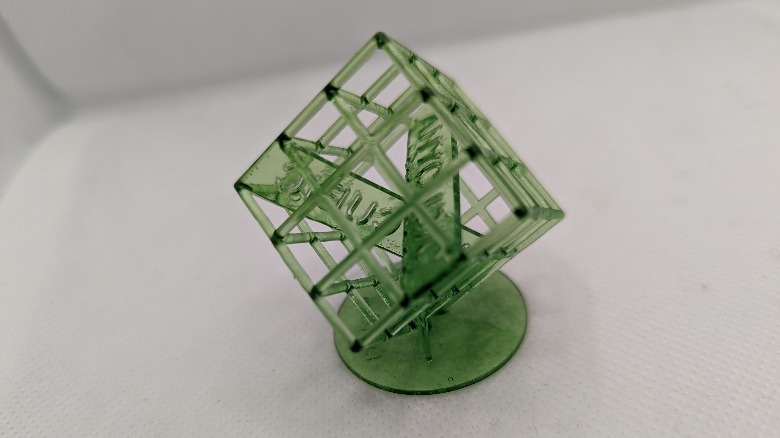
Our test print looks great! After a little washing and curing in the Anycubic Cure and Wash Plus ($229) that the company provided, here's our test object.
Now, you don't need the Cure and Wash machine. When I started out, I was washing with an ultrasonic jewelry cleaner in a bath of Mean Green household cleaner — at the start of the pandemic, you couldn't buy isopropyl alcohol anywhere, so I found a good alternative and honestly, it works better than IPA. For curing, I used the UV lamp from my gel nail kit because it used the exact same wavelength of light.
 Kimberly Leatherman/SlashGear
I will say this, however: the Cure and Wash machine makes the process a whole lot smoother. The rotating cure table takes a lot of effort out of curing your print, where using a nail lamp had me rotating each piece manually every 60 seconds or so.
 Kimberly Leatherman/SlashGear
I'm satisfied with the test print, but that just meant it was time for something a lot more challenging.
Meet The Sphinx
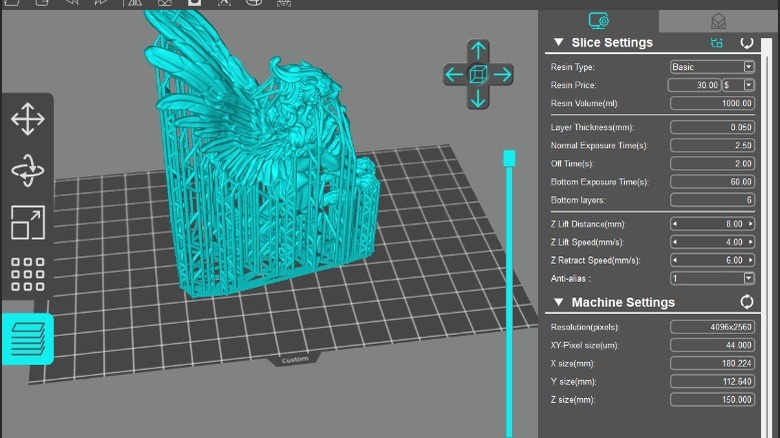
This is a model from Printed Obsession, used with his permission for this review. Having been a subscriber to his Patreon for years, it's a file I already owned, and – being both big and detailed – I think The Sphinx makes a perfect test piece. I loaded up the pre-supported model into Photon Workshop, because Lychee doesn't have support for this printer; it wasn't publicly available when I wrote this.
For the beginner, I really don't recommend the default software that comes with the printer. Lychee is community-managed, and the way it handles resin profiles and placing supports on your models is much friendlier than the provided software. It can also help you avoid mistakes by using crowd-sourced information on exposure times and speed settings.
With these settings, the Anycubic Photon M3 is telling me that we'll have to wait 6.5 hours until our next step.
Our first fail on the Anycubic Photon M3
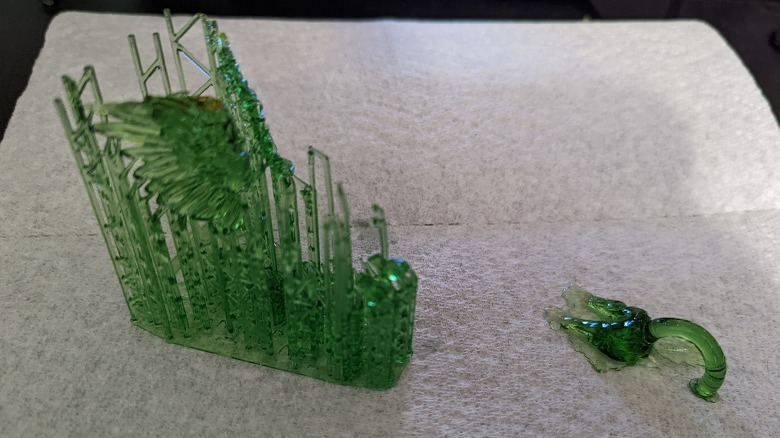
I used the default settings for the first real test, and the delicate supports intersecting the larger body failed. The half-printed Sphinx butt fell off the structure and plopped in our resin and, over the next 5+ hours, the printer continued on its merry way (as it should), hardening the resin in the pattern of our Sphinx ... on its rear, over and over. The wings look great though?
This was with a 2.5-second exposure time. We can see that our burn-in layer, which is super important for the resin to cling to the build plate, worked fine. As a more experienced 3D printing hobbyist, I know that I should increase my cure time here. I've failed enough prints over the years that I understand what happened and why, but that might not be true for the pure beginner — it would probably mean a trip over to Reddit to ask advice, only to be grumpily directed to some FAQ post that takes you 30 minutes to figure out what it's talking about.
The worst part about the failed print is that we have to drain the vat and oh-so-gently use our plastic scraper to remove the Sphinx's posterior from the FEP. Thankfully the box includes plenty of filter paper, and a cut-up water bottle makes the perfect funnel.
From the beginner's perspective, it might be nicer if Anycubic set the default exposure time a little higher, to 4 seconds or so. The thing about that is, you want your cure time to be as low as possible without failing. A lower cure time means less time for the resin to deform or warp and lose detail in your print, but a failed print is so much more frustrating than an imperfect one, at least as far as miniature printing is concerned.
Now we refill the vat and try again. With the longer cure time, Anycubic is estimating eight hours for my second-attempt.
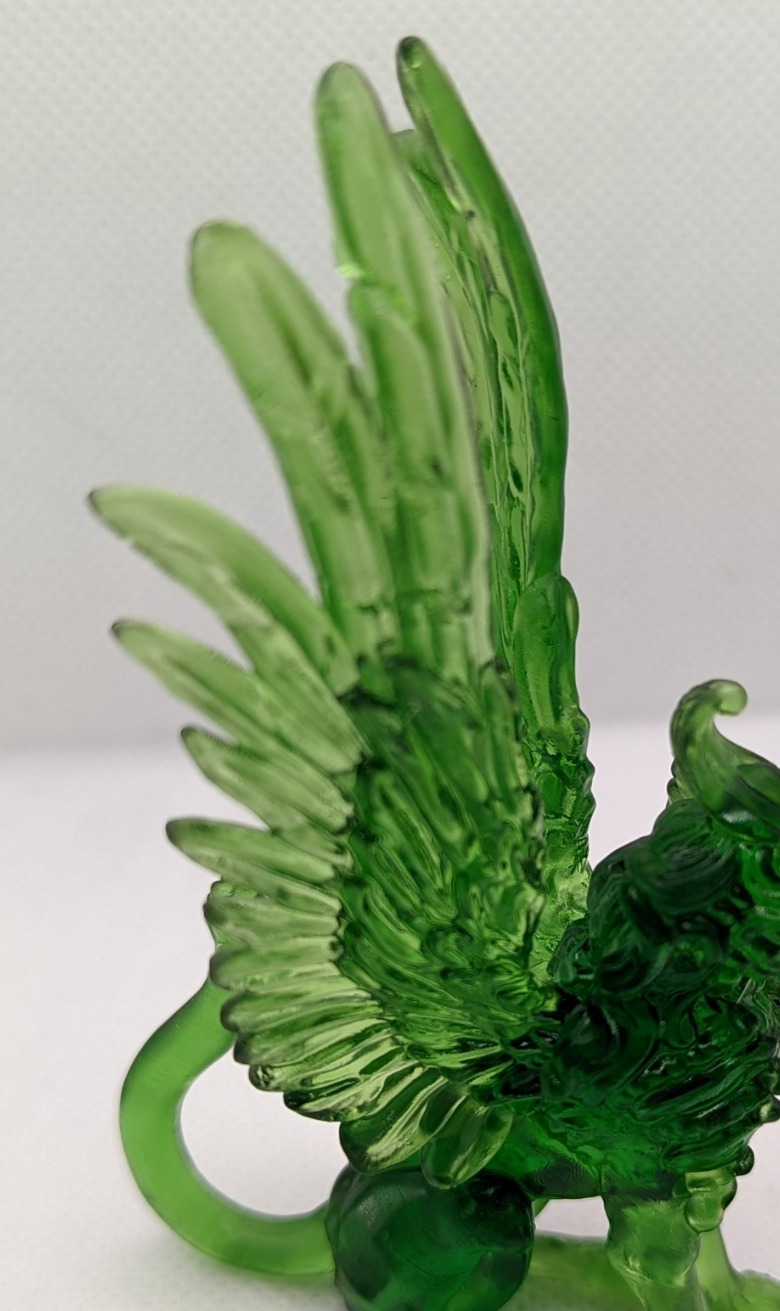
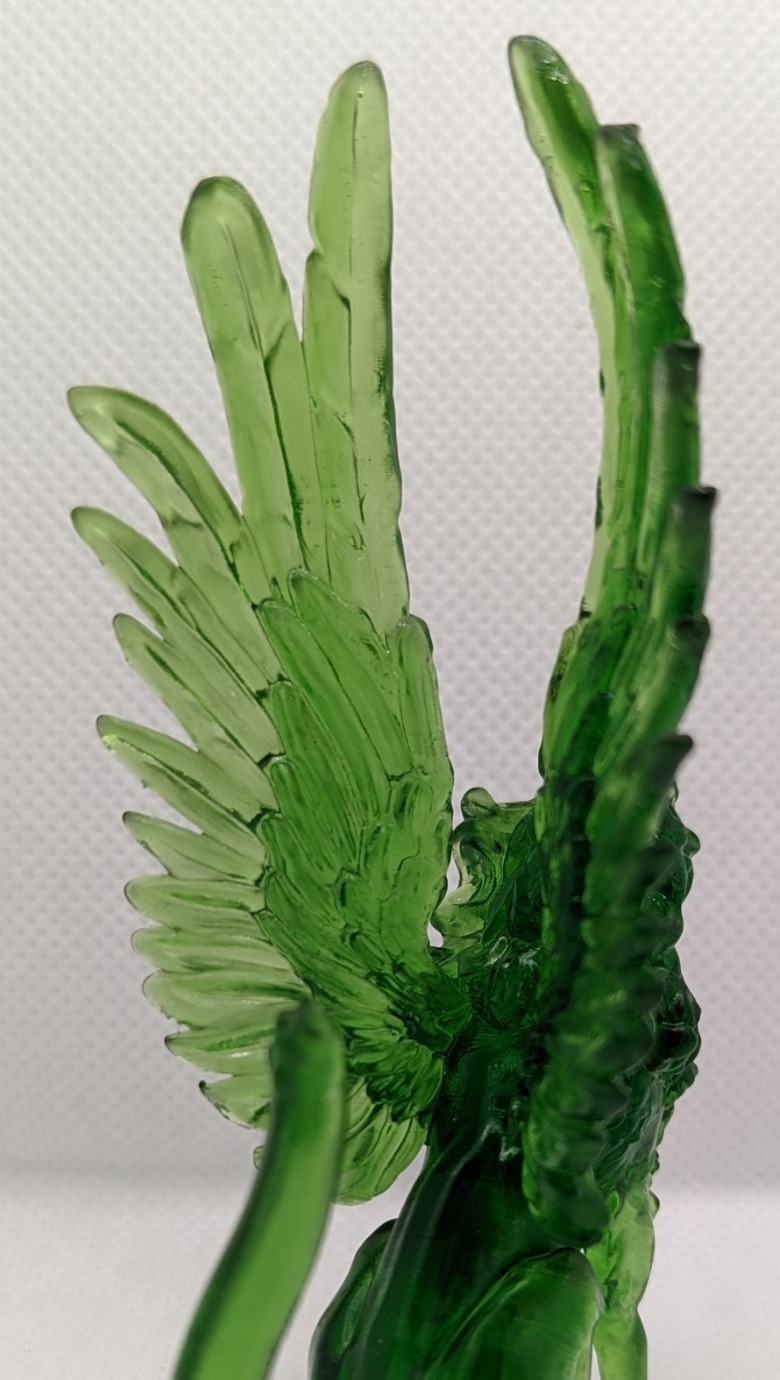
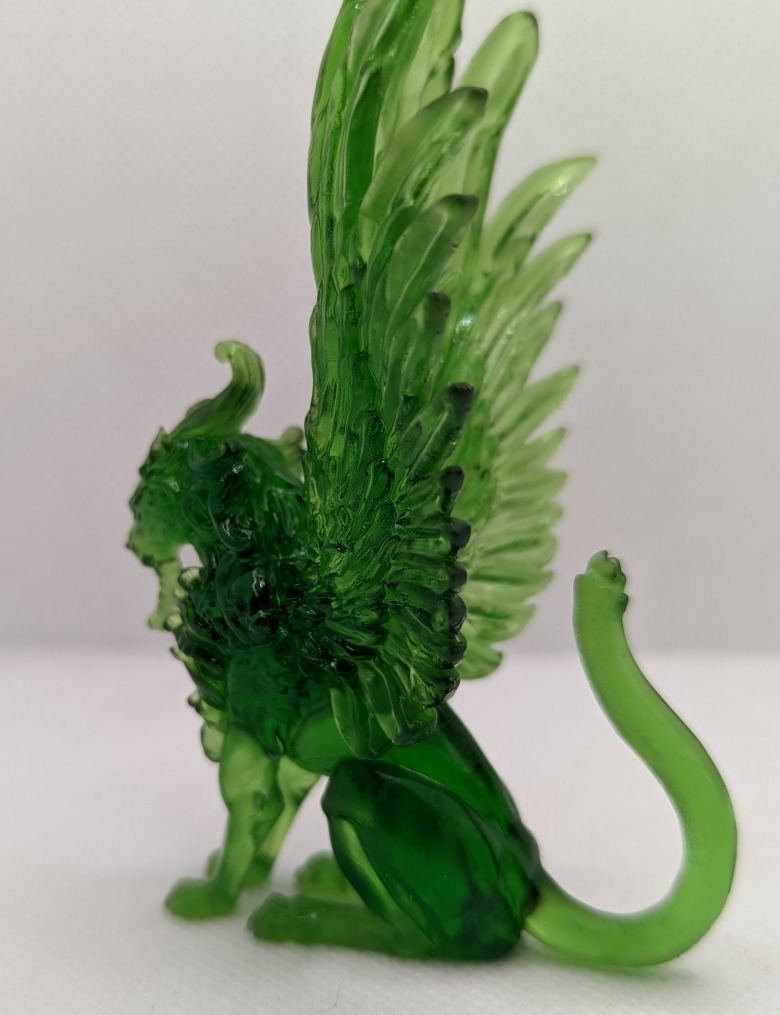
The next morning, success!
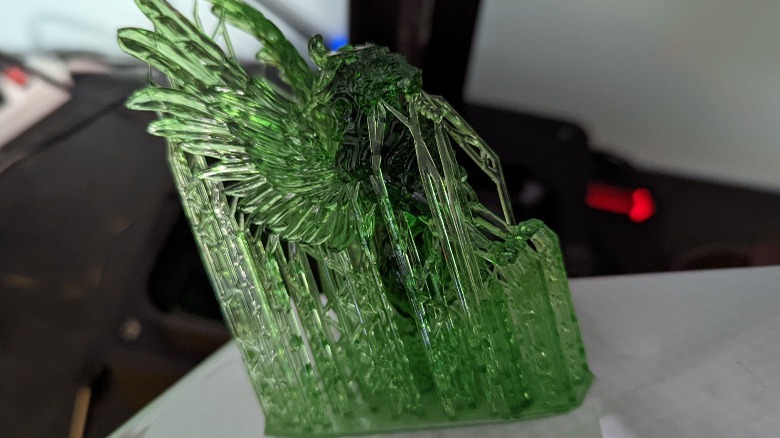
Look! We did it. There's something glorious about the sense of accomplishment one gets from seeing a vat of green goo produce an object for you to paint and terrify your players with.
Printed Obsession's STL file (the 3D model that we gave to the Photon Workshop program) came professionally pre-supported, so all I had to do was put on a glove and gently snap some of the supports with my fingers where they meet the model, then gently rock it back and forth to free the Sphinx from its spikey imprisonment — that's much easier than clipping models from sprues.
 Kimberly Leatherman/SlashGear
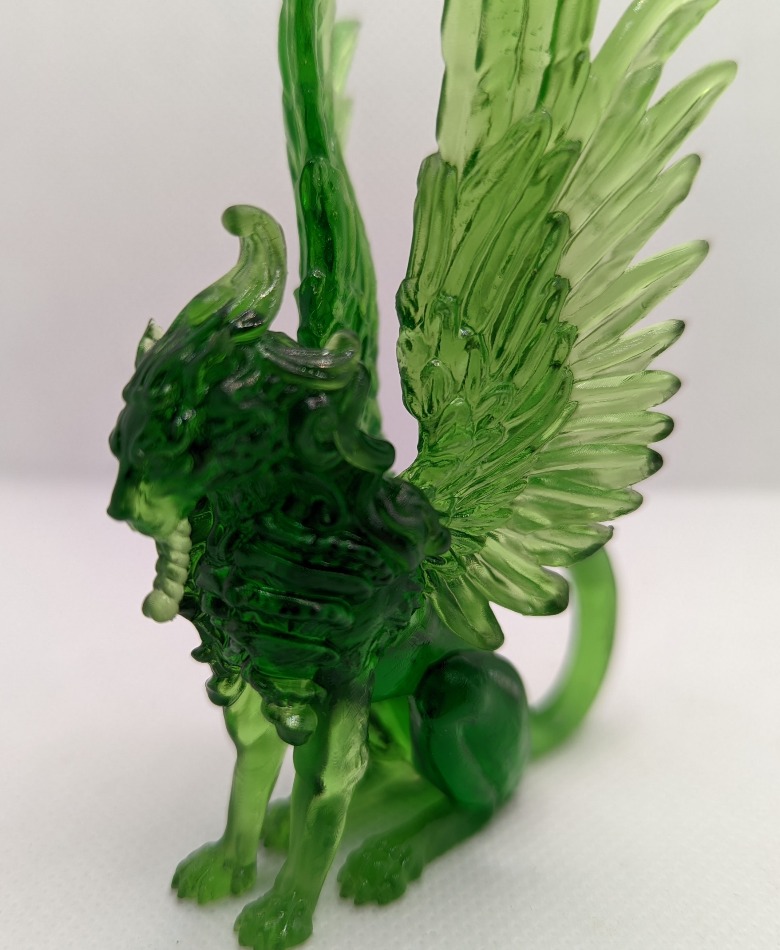
Bumping the exposure time to 4 seconds did the trick, and our Sphinx looks beautiful! Close up, you can see what details were included in the model.
 Kimberly Leatherman/SlashGear
 Kimberly Leatherman/SlashGear
 Kimberly Leatherman/SlashGear
 Kimberly Leatherman/SlashGear
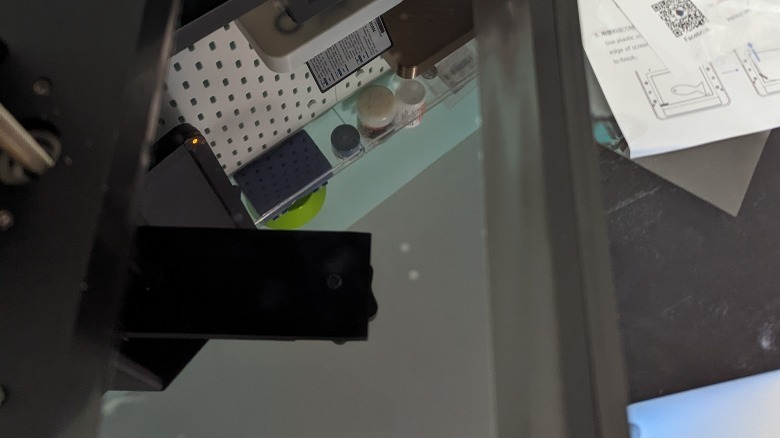
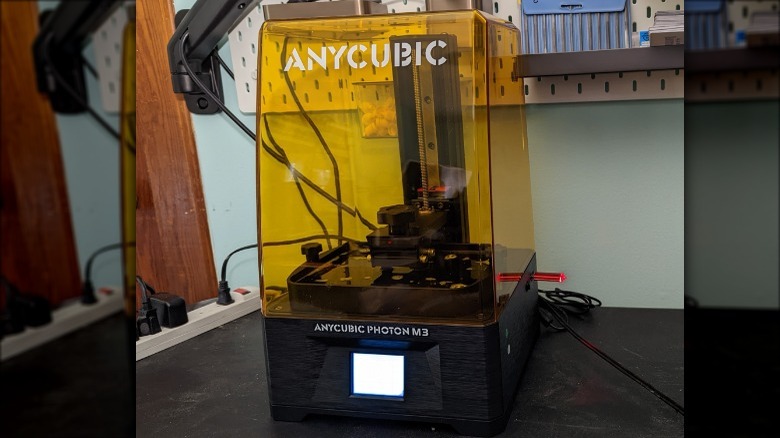
A rail concern
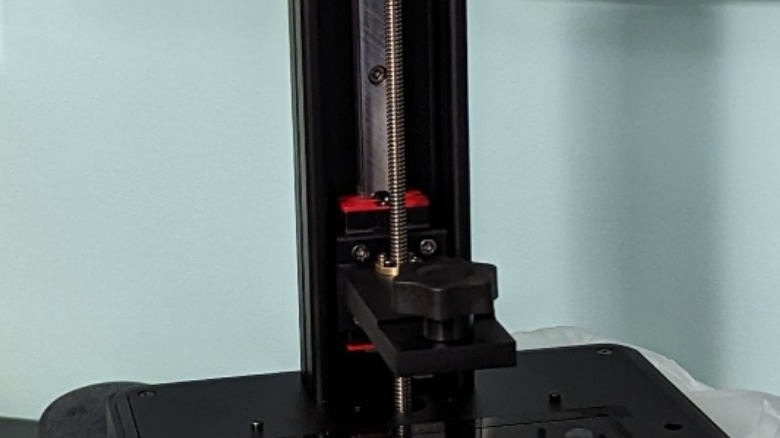
You can see from this angle that the Anycubic Photon M3 is using a single-rail system — basically one big screw connected to a stepper motor to raise and lower the platform. Our test prints came out fine, but historically the industry has moved to a dual-rail system to provide more stability when printing. Some people in the past have had issues with a single rail printer wobbling, and introducing deformations into the print, but I didn't see any evidence of that in the test print.
It's a thing to look out for in the future, but thankfully it doesn't seem to be a concern at the moment. Undoubtedly, Anycubic went back to a single rail to keep the price of the printer down, which is the more important factor to the beginner buying their very first printer. Cheaper is better, even if you're going to be harder on your first printer than you intend to be as you learn.
Final Thoughts
There are a few things Anycubic could do to make this beginner-friendly model a little more beginner-friendly, but all-in-all, I think it's a great entry into the hobbyist playing field of 3D printers. Unboxing was a snap, assembly was a breeze, and — ignoring the speed bump with the screen protector — I was printing within minutes of opening the box.
The one nitpick I have about the machine itself is that the USB port, which is required to use the machine, is located on the side rather than the front. This just means you need a couple inches of extra clearance on the right side of your machine in your printing space, though you should probably have that anyway for ventilation. Two small but wonderful improvements from previous models are pegs for the vat to use for perfect positioning every time, and a max fill line in the vat to avoid those awful overflows.
The Anycubic Photon M3 is poised to be the replacement for the Photon Mono 4K, so with an MSRP of $299 we're looking at a budget-friendly, user-friendly, beginner-friendly printer and hopefully a lot more custom-made miniatures on tabletops. It's a great printer with a large build volume at a great price, easy to set up, and easy to use.