How To Format Your External Hard Drive For Mac
Apple's computers are available with a generous amount of hard drive space, from 256 GB all the way to 8 TB on high-end models. While that may be plenty of space for most users, video editing, animation, development, and virtual machines are just a few things that can make even 8 TB feel cramped. In those situations, an external hard can provide additional space at a fraction of the cost of internal storage.
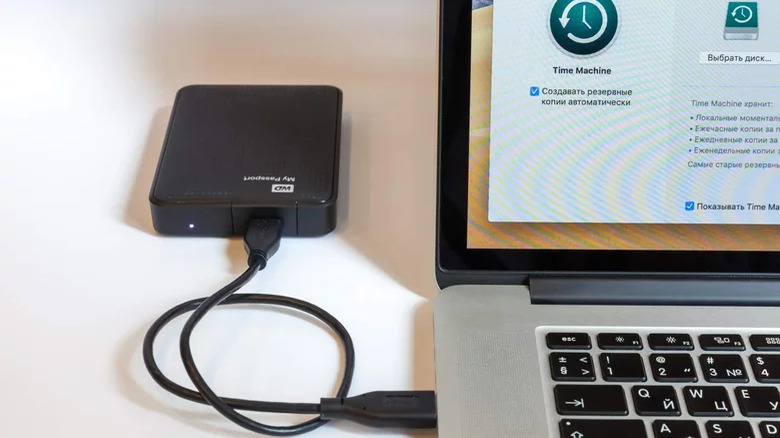
In addition to daily use, external hard drives also provide an excellent way to back up a computer. While many rely on iCloud, Dropbox, or some other online service, a local backup can provide a more secure option. Using an external hard drive for a local backup can also be faster, since backing up and restoring is not dependent on the speed of your internet connection.
Most new hard drives, however, come formatted for Windows, not macOS. While the Mac can use a hard drive formatted for Windows, some features may be limited. As a result, it's a good idea to format a new hard drive specifically for macOS.
How to Format a Hard Drive
Fortunately, formatting an external hard drive on macOS is very easy using built-in software. Before starting, make sure your external hard drive is plugged in and powered on.
Press the Command key and Spacebar, type "Disk Utility" in the search field, and press Enter to open it.
Once Disk Utility is open, select your external hard drive from the list of drives in the left pane of the application, then select "Erase" in the toolbar at the top.
In the popup window, enter a name for the hard drive. This is what will show up on your desktop when you plug the hard drive in.
Select the "Format" popup menu and select the filesystem you want to use when formatting the drive. If you only plan on using the hard drive with your Mac, and are running macOS 10.13 or later, the best option is "APFS" — as long as the external hard drive is an SSD. If it is a mechanical hard drive, or you will be using the drive with a version of macOS that's older than 10.13, you are better off choosing "Mac OS Extended (Journaled)," according to Apple. Conversely, if you plan on using the hard drive with both macOS and Windows, you should choose "MS-DOS (FAT)."
After you've selected the filesystem, click "Erase" and confirm your decision.
Once the process is complete, the hard drive will be ready for use.