How To Properly Install A Truck Tool Box On Your Pickup
Although installing a truck toolbox seems simple, doing it correctly guarantees longevity, security, and no damage to your vehicle. Having a toolbox firmly installed in the bed helps you to keep your equipment safe and orderly, whether you are outfitting your pickup for business or weekend projects. Although the procedure isn't very technical, it does call for careful attention to detail, particularly with regard to hardware alignment and protecting your bed liner.
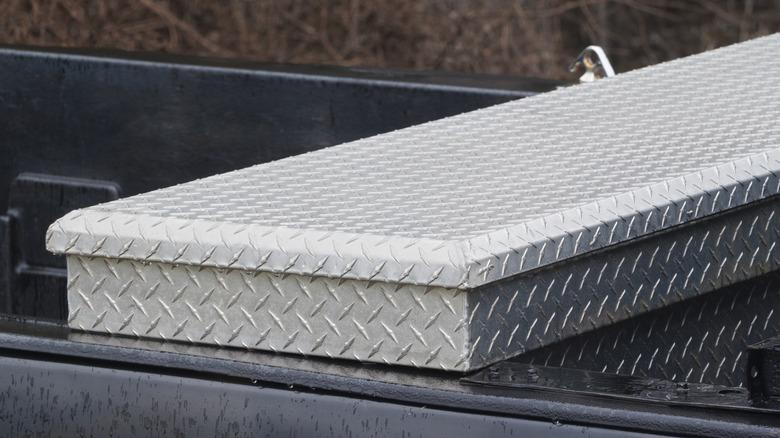
Usually mounted behind the cab, toolboxes rest on the bed rails. Although crossover boxes are the most often used, mounted from one rail to the other across the bed, side-mount, chest, and wheel-well toolbox options also exist. Though each has unique installation details, they all start with careful placement, anchoring without damaging the truck, and guaranteeing watertight seals. The positive news is most owners can finish the work in an hour or less with simple tools and a small amount of patience.
We'll walk you through the main steps to correctly install a standard crossover-style truck toolbox in this guide, pointing out issues surrounding alignment or bed rail damage along the way and showing you how to prevent them. If done right, your new toolbox ought to be as reliable and tough as the truck it is riding on.
Getting your truck bed and toolbox ready
Measuring twice and placing once is vital before you ever pick up any tools. Clean the area behind the cab where the toolbox will be located first. Dirt or trash can skew placement and scratch your bed rails. Test-fit the box in place once cleaned to make sure it lines up with the bed rails without affecting the rear window, tie-down points, or bed liner edges. Incorrect placement can cause rattling, water intrusion, or even truck bed dents should the box be insufficiently padded.
Underneath most quality toolboxes is rubber or foam padding meant to guard the rails. Should yours not, think about cushioning with a strip of weatherstripping or bed rail foam pads. You also want to make sure any tonneau covers or bed accessories are compatible with the toolbox; otherwise, you will need to reposition them.
Now comes marking and getting ready for drilling if it is necessary. A few toolboxes are "no-drill" and feature J-hooks or clamps anchored to the underside of the bed rail. For leased vehicles or anybody trying to avoid permanent holes, these are perfect. If you are following the drill path, precisely mark your holes with a template derived from the pre-drilled mounts of the box. Always double-check for hidden wiring or bed lights before drilling into metal to avoid any unnecessary repairs.
Securing the toolbox and checking your install
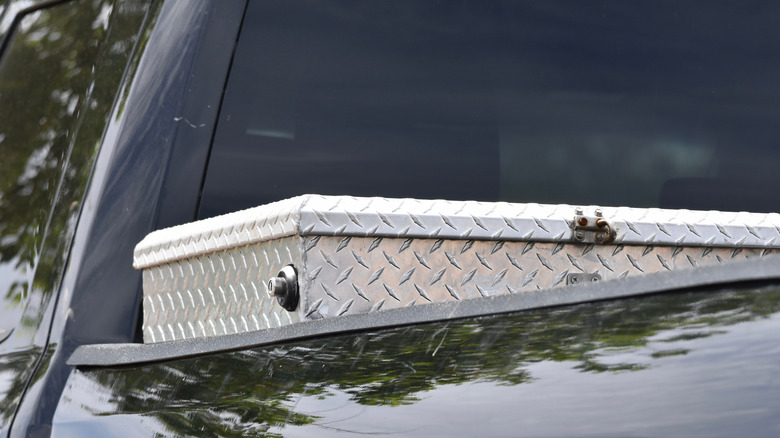
It's time to lock everything in place once the prep is done. If you are using J-hooks, slide them through the pre-cut slots within the box and hook them under the bed rails. Using a ratchet, evenly tighten the nuts on both sides, just enough to hold firm but not at the cost of denting your rail. For bolt-through installations, once the holes are drilled, insert your bolts with washers and tighten them from inside the box. If leaks worry you, lay rubber washers under the heads.
Check the lid's clearance once the box is installed to make sure it opens completely without running against the rear window or cab. Give the box a firm shake to test for wobble; it should feel like it's part of the truck. Should it move, recheck your anchors and tighten again until the issue is resolved. Lastly, to stop rust and water intrusion, seal any exposed hardware or drilled holes with silicone caulk.
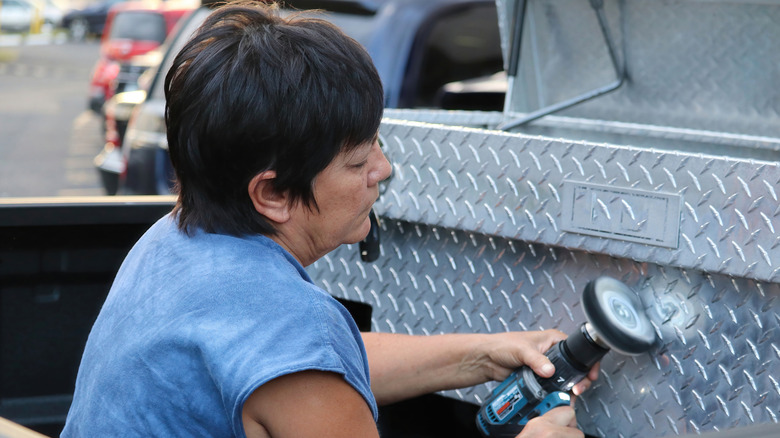
To reduce the shifting and sliding of the equipment in your toolbox, you should think about arranging them with cargo management systems or foam inserts. Tools slamming around the inside of even a properly installed toolbox will cause excessive noise and early wear. If you're someone who does a lot of heavy-duty work or off-roading, make sure to periodically check the mounting hardware to ensure everything remains tight and secure.