How To Adjust The Chain Slack On Your Motorcycle
Motorcycle maintenance is a must-know for riders who care about their steeds. Motorcycles require much of the same maintenance as cars: checking and topping off fluids, periodic engine oil changes, maintaining proper tire air pressure, and keeping the paint and upholstery clean and protected.
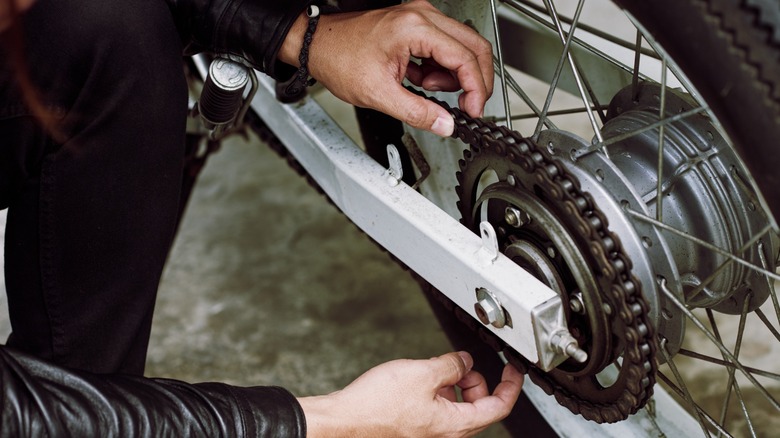
While retro-style motorcycles sometimes use drivelines with drive shafts similar to those in rear-wheel-drive cars, most bikes use a drive chain to connect the transmission's drive sprocket to a larger sprocket attached to the rear axle. As you ride, motorcycle chains can stretch and sprockets can wear out, leaving the chain slacker than the manufacturer recommends.
Improperly adjusted motorcycle drive chains present several problems. Chains with excessive slack are annoying at best, dangerous at worst. The least problematic issue with a loose chain is excessive noise generated by the chain slapping the swing arm and bouncing around on the sprocket teeth. While mostly just unpleasant, if left unchecked, this condition accelerates wear on driveline components. In the worst case, an overly loose chain can jump off a sprocket, locking up the drive train and crashing your bike. The good news is that adjusting your motorcycle's chain slack is a simple DIY task nearly anyone can do.
Gather supplies and tools
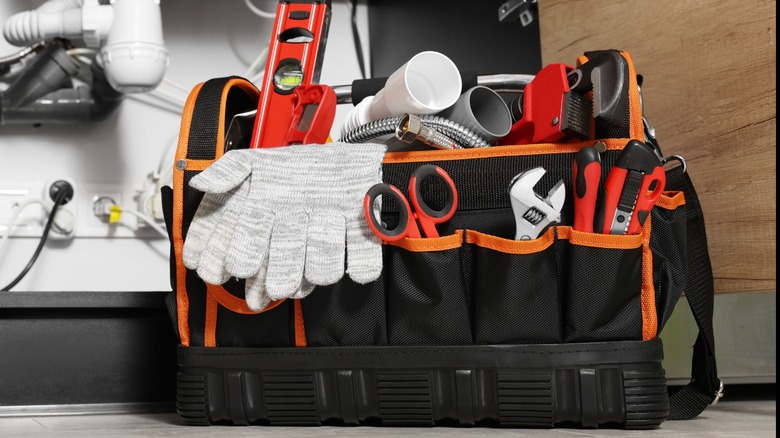
Before beginning, ensure you have all the tools and supplies needed to adjust the slack of your motorcycle chain. The specific sizes and materials depend on your motorcycle and personal preference. Generally, you'll need chain cleaners, torque wrenches, socket wrenches to loosen the rear axle nut, a way to measure chain slack, wrenches to adjust chain tension, and chain lube. Verify socket and wrench sizes on your motorcycle. You'll want shop towels to clean up oily messes and gloves for at least the chain cleaning part of the project.
Select a location with a solid, flat, level floor for adjusting your motorcycle chain slack. While you can do this task outside in nice weather, it's best to avoid working in extreme temperatures. Freezing temperatures increase oil and grease viscosity, making them harder to remove and apply, and uncomfortable temperatures, hot or cold, could make you rush the process, potentially missing something important.
Clean, inspect, and lubricate your motorcycle chain and sprockets
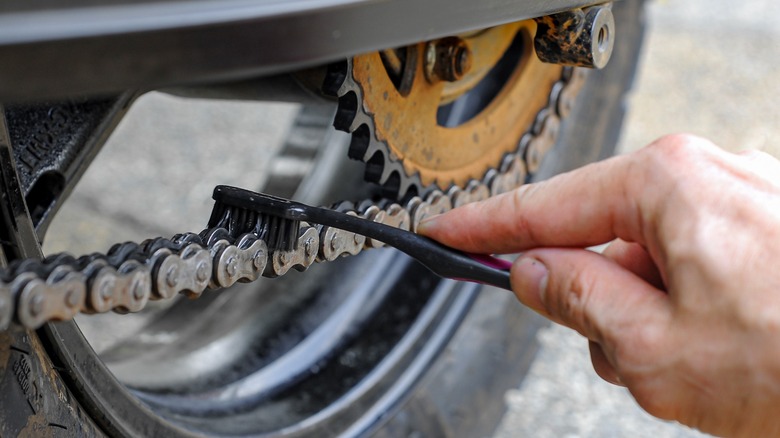
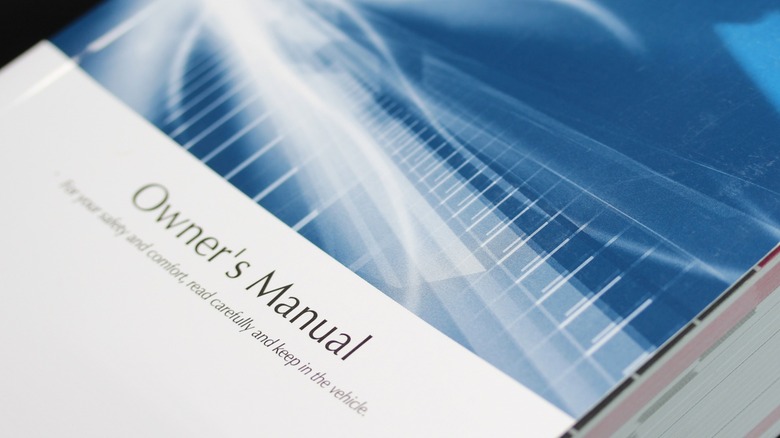
Your motorcycle owner's manual likely includes a schedule for chain maintenance. Generally, you should clean, inspect, and lubricate your motorcycle chain every 300 to 500 miles, more frequently if subjected to harsh conditions. To clean your motorcycle chain, place the bike on its center stand, bike stand, or motorcycle jack, depending on your motorcycle. The key is to have the rear tire off the ground and the bike secure to prevent it from falling over while you work. If you can't get the motorcycle on a stand, you can roll the motorcycle slightly to change which chain sections are exposed.
You should always follow your motorcycle chain manufacturer's guidelines when selecting chain cleaning chemicals. However, one of several commercially available products, a soft nylon bristle brush, or an old toothbrush is usually adequate. Remember that most motorcycle chain links contain rubber o-rings, so avoid wire brushes to prevent damaging the seals.
Once the chain is clean, inspect it and the sprockets. Rotate the rear tire slowly, keeping an eye on the chain for any variance in slack. It's best to replace a chain that goes from tight to loose while rotating around the sprockets. You should also look for damage, cracks, or excessive wear on the chain and sprockets. If everything looks good, it's time for chain lube and slack adjustment.
Refer to your motorcycle manufacturer's specifications
The amount of chain slack and required fastener torque values are specific to the motorcycle you're working on. As such, it's best to consult the specs for your bike. In general, slack should measure between 1.25 and 1.5 inches for street bikes, but dual-sport and dirt bikes often require more.
Your owner's manual should provide information concerning recommended chain slack, torque values, and whether to place the bike on a center or side stand. Torquing the nuts and bolts to correct values is critical to the safe operation of your motorcycle. Over-torquing leads to fastener failure, including broken bolts and stripped thread, and can damage surrounding parts. Under-torquing is equally dangerous, allowing unwelcome movement and leading to premature wear or pieces falling off your motorcycle. Stand placement also matters: The swing arm angle changes depending on whether the suspension is weighted or hanging freely.
Measuring motorcycle chain slack
When cleaning and lubricating the chain and sprockets, you should always measure chain slack. You can use a tape measure or ruler to measure chain slack or purchase a tool designed for the job, such as the SlackSetter by Motion Pro. While the SlackSetter is affordable, it isn't required to measure chain slack. All you need is a measuring stick and some basic math skills. Here's the procedure:
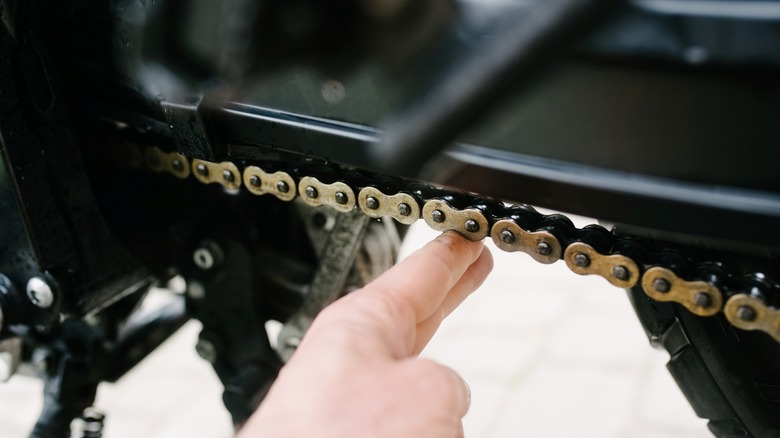
- Pick a spot on the swing arm approximately centered between the sprockets and pull the chain down with finger pressure.
- Now, measure from the center of the chain link to the bottom of the swing arm to the nearest eighth of an inch. Make note of that value.
- Next, push the chain up as far as it will go and measure from the bottom of the swing arm to the center of the chain. If the chain hits the swing arm, you may need to remove some slack following the method described in the next section.
- Subtract the smaller value from the larger one to determine your chain slack measurement. If you have trouble subtracting fractions, don't hesitate to convert them to decimals by dividing the top number by the bottom on a calculator, i.e., one divided by 8 equals 0.125.
That will give you the chain slack number you need.
Adjusting motorcycle chain slack
If your chain slack measurement falls outside the manufacturer's specified value, it's time for an adjustment.
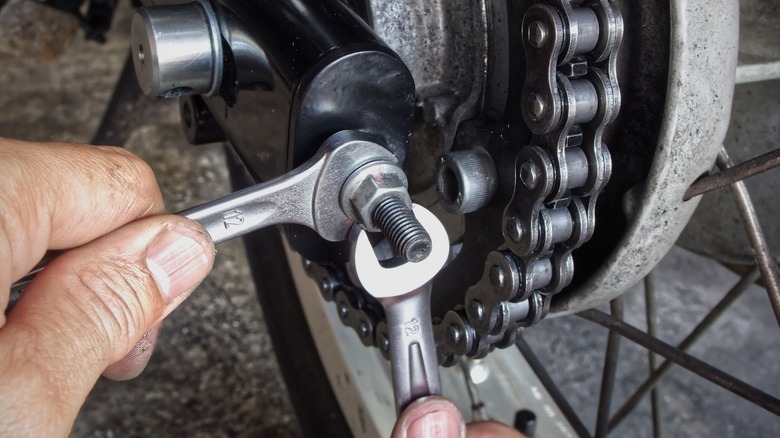
- Place the bike on a center stand and loosen the rear axle nut. Depending on design, you may need to hold the other end of the axle with a wrench. Just loosen the nut; don't remove it from the axle.
- Chain slack adjustment bolts on each side of the swingarm control the rear axle position fore and aft. The slack adjustment bolts are typically locked with jamb nuts. Hold the adjustment bolt with one wrench while loosening the jamb nut with another.
- Your motorcycle's slack adjustment pushes the axle forward or backward, depending on model. Once you've determined which way to turn the adjustment bolt, turn the adjusters on each side by the same amount. It's also good practice to lock them in place with the jamb nut every time. While scales on each side show relative position, don't rely on them to align your rear wheel.
- If your adjusters push the axle towards the rear, measure slack after each adjustment without tightening the axle nut. If your adjusters push forward, force the wheel assembly backward against the stops and retighten the nut each time.
- Once you've achieved the desired slack, tighten the axle nut and jamb nuts to the manufacturer's specs and enjoy the rest of your day.
That's it! Before you hit the road, check out our 12 tips every motorcycle rider should know.