Procreate Is Still The Best iPad Art App - Here's Why
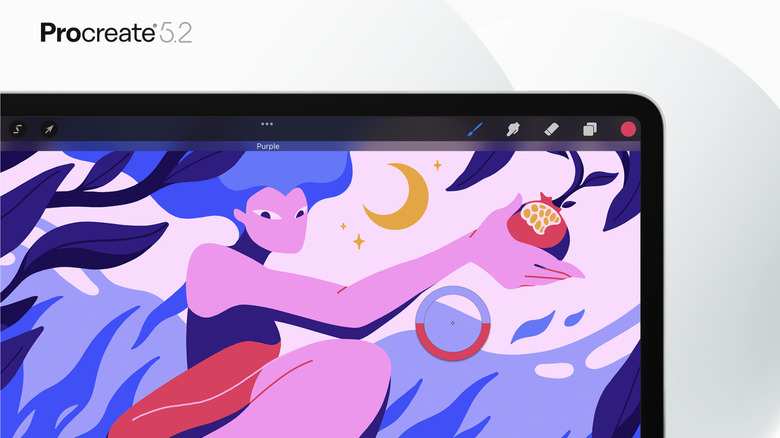
Procreate is an iPad-exclusive drawing app with a low one-time purchase price, and it offers a good selection of features. With 4.4 stars on the App Store from almost 50,000 ratings, it's one of the iPad's most popular art apps and is often regarded as one of the overall best. After all, it has won the Apple Design Award twice.
Because it's limited to one platform, the app makes full use of the iPad's gestures, hardware, and Apple Pencil, creating an almost first-party experience. It's known for its extensive library of brushes — all available to the user for the base price, along with exciting new features like Animation Assist and 3D painting.
If you want a detailed look at all of the features on offer before you buy, you can take a look at the Procreate handbook here. For now, let's look at the highlights that have kept this app a bestseller for over six years.
Painting on 3D objects
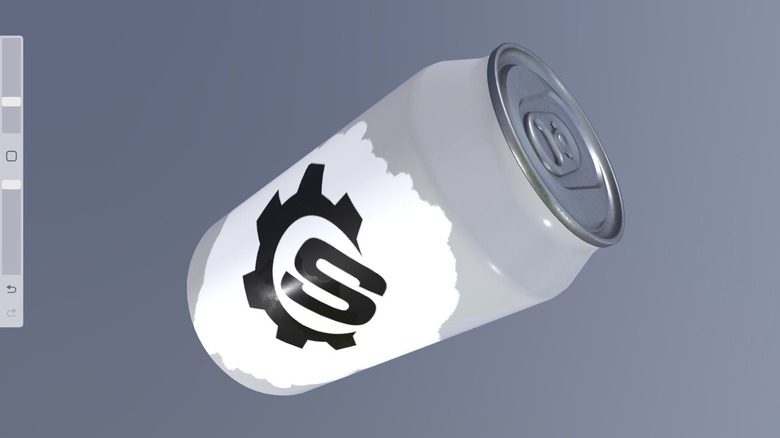
One surprising feature of Procreate is 3D painting. It lets you import any USDZ or OBJ file into the app and paint directly onto the file's 3D object. You can get files from the internet, make your own with software like Blender, or if you just want to try it out for fun, Procreate has a downloadable 3D pack with eight random 3D objects to experiment with.
3D objects can feel daunting to those who have only worked in 2D, but Procreate's interface is simple and easy to use — especially if you're already familiar with the app. Rotate the object with one finger swipes and pinch zoom with two. Each 3D object is split into different parts that you draw on separately. For instance, the drink can above is divided into the body of the can, the lid, and the tab. This lets you focus your illustrations on a specific part of the model without affecting anything else. Otherwise, everything works similarly — add layers and paint your designs with any of your brushes. You can't add text right now, but you can add photos to get around this if you really need to.
The textures on 3D objects like the metal on the can or the leather on the roller skate remain visible when you paint over them, so you get a nice natural look. It's a game-changer feature for some, and otherwise just a good bit of fun.
2D Animation Assist
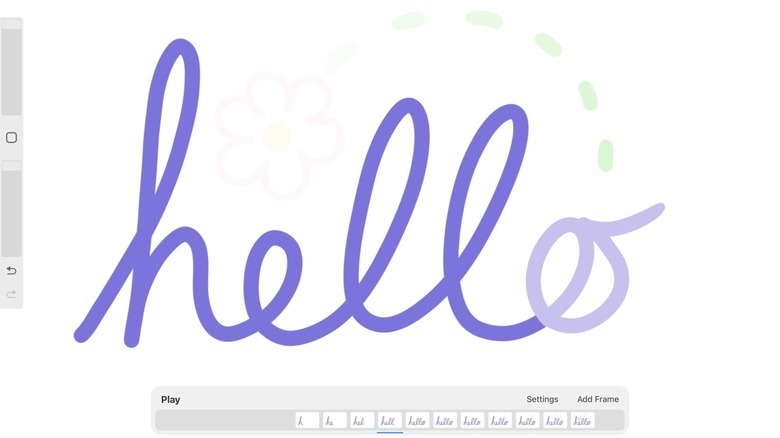
If you want to add movement to your art, Procreate also has a 2D Animation Assist mode. It's simple frame-by-frame animation, a little like a flipbook, but you don't need to fully draw each frame. Simply duplicate layers and draw in the new elements. After you turn on Animation Assist in the main menu, a small Timeline menu will appear, showing thumbnails of all the layers-turned-frames in your project. The playback options are Loop, Ping Pong (which plays forward then backward), and One Shot. You can set the playback speed from one to 60 frames per second.
You can also use Onion skin frames to help you keep track of where you are. When set to one frame, you'll see a low-opacity version of the next frame, and when set to max, you'll see low-opacity versions of the subsequent 12 frames. You can also adjust the opacity to your taste. If you need a collection of objects drawn on separate layers to appear together on one frame, you'll need to group the layers. Because this affects how you can edit the original artwork, it's best to make a duplicate first to keep a version with all its original layers.
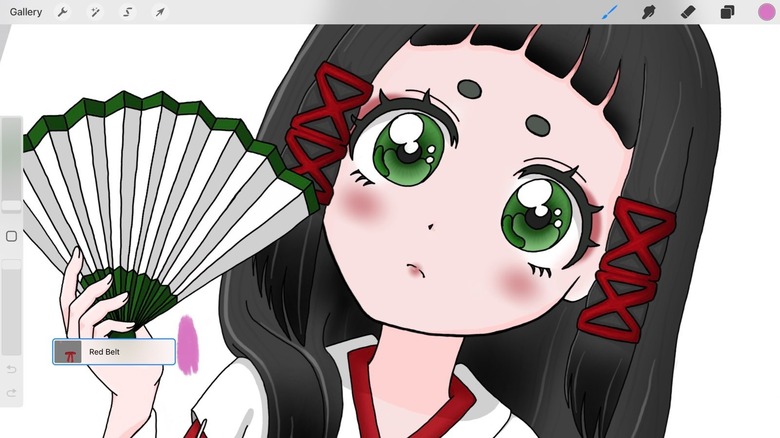
Brush library, imported brushes, and custom brushes
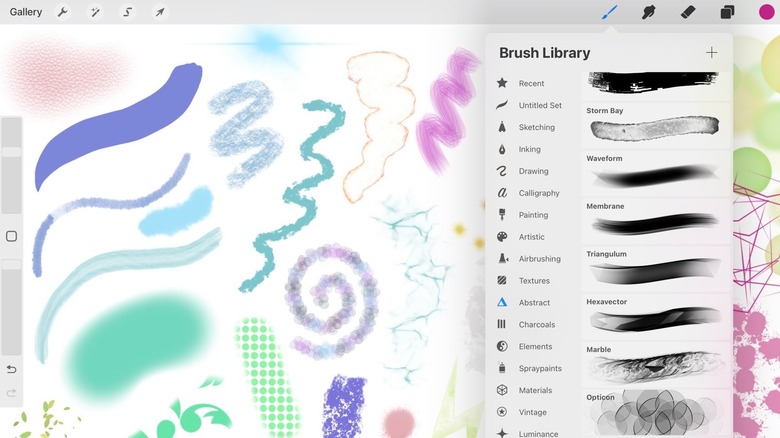
The Procreate app has many sets of unique brushes, covering everything from sketching and inking to organic and industrial themes. Instead of painstakingly adding a leathered texture to your character's jacket, for example, you can use the "Old Skin" brush under the Materials tab for an instant leathery finish. The Airbrush and Spraypaint tabs are great for painting gradients. Each brush is fantastic for adding unique touches to your artwork.
If preset brushes aren't unique enough for you, though, Procreate also allows you to import Procreate or Adobe Photoshop brushes. You can either import straight from the app or click on the brush online or in an email to bring up an "Import to Procreate" prompt.
If you can't find a brush online that gives you exactly what you want, you can try out the Brush Studio. Here, you can create your own brush by importing shapes and altering attributes such as the stroke path, stabilization, tapering, grain, and color dynamics. You can also adjust the roughness and add metallic characteristics if you want to use your brush on 3D objects. If you don't feel like playing with brush settings, there's one last brush customization feature available — Dual Brush. Simply select two existing brushes and combine them to make something new. If you want to combine default Procreate brushes, just make sure to duplicate them first. With all these tools at your disposal, the brush possibilities are limitless.
Standard tools done well
If you've used desktop art apps like Adobe Photoshop or Clip Studio Paint, the first thing you might notice about Procreate is how minimal and uncluttered the UI is. This is necessary for the touchscreen hardware, but it also makes the app extremely beginner-friendly. Instead of feeling overwhelmed by all of the tiny buttons, new users can start with the simple and obvious and slowly discover new tools and features — with the Handbook available whenever it's needed.
If you're new to digital art, one of the most significant differences from analog art is the use of layers, which allow you to add new elements without affecting existing work. It takes some time to get used to this new way of drawing, but Procreate has some great features to help keep things simple.
For example, accidental brush strokes happen all the time, but they can be quite difficult to locate and delete when you have 30 different layers. To prevent them from happening, you can lock layers when you're done with them to prevent any edits. If you forget, you can enable "Layer Select" in the gesture controls menu so that when you complete a certain gesture on the stray mark, the layer it's in will pop up. There's also Alpha Lock, which only allows edits within areas that already have paint on them. This is great for adjusting colors or adding airbrush effects without affecting other areas.
An easy-to-use color system
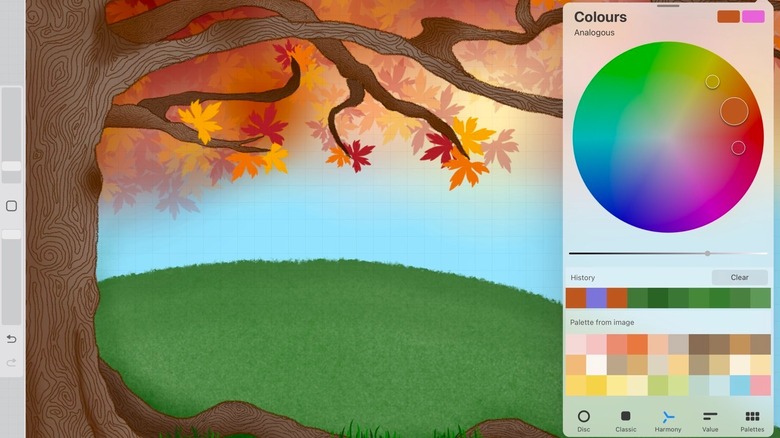
Color is arguably one of the most difficult aspects of drawing and creating art. Guiding a pen to create shapes, patterns, and characters is pretty separate from color theory and the science of shading, after all. Procreate has some nice features to help you out, though.
The app has all the normal stuff you'd expect — a color wheel, color picker, hexadecimal values, and RGB sliders. However, it also has a nifty feature called Harmony, which lets you borrow the software's knowledge of color theory to fill the gaps in your own. Whatever color you select, Harmony will show you complementary colors based on your chosen mode. There's Complementary, Split Complementary, Analogous, Triadic, and Tetradic. These sound complicated, but they're all explained simply and clearly in the Harmony section of the Handbook. When you're not sure what would be a good color to use next, Harmony can help you out.
Color Palettes are another way to get the colors you want and organize them easily. You can create a new color palette from anything you want — a photo in your library, a photo taken with your camera, a file, or by picking colors manually. When you use an image to make a palette, Procreate automatically pulls 30 colors from it for you to use. It's great for quickly getting your hands on colors you've found out in the wild without having to find values.