Five 3D Printing Tips Essential For Beginners & Experts Alike
3D printers are an achievement of science and engineering that humanity has been working toward for decades. With a single device and a few strands of thermoplastic filament, you can craft all kinds of nifty constructs, either whole or in pieces. While 3D printers are remarkable, though, they're not quite "Star Trek" Replicators. You can't just snap your fingers and get a masterpiece in a moment.
These printers are advanced, precision equipment, and must be operated with a careful hand and an educated mind. That's not to say you need a degree to use one, of course, just that it would help to have a few steadfast tenets in mind before you start it up for the first time. Whether you're the proud new owner of a 3D printer or have had yours for years, we've got a few pieces of advice to help keep your printer happy, healthy, and print-y.
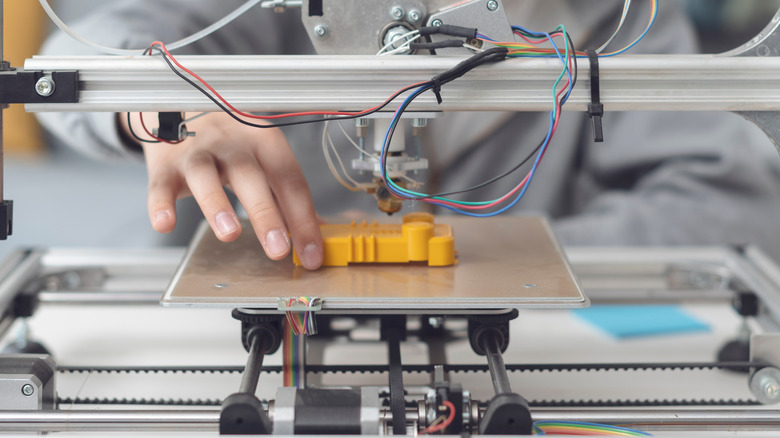
Keep the bed level and clean
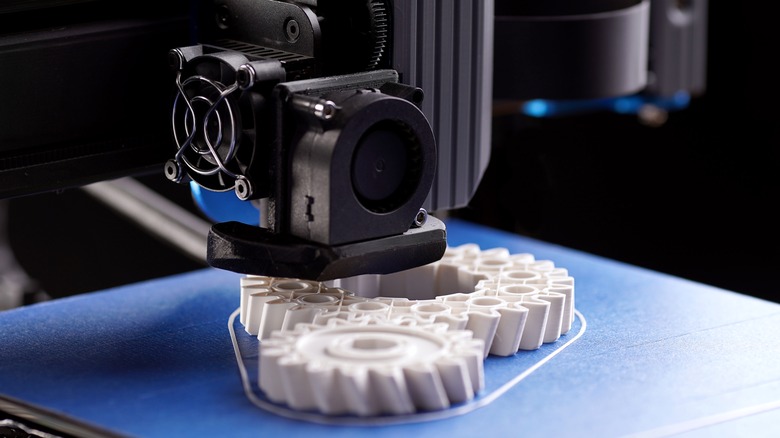
The printing process of a 3D printer operates on the assumption that the space above the bed is completely identical to how the computer needs it to be, so when it isn't, things get thrown out of whack. It's your job to keep the bed of the printer completely leveled out. To clarify, we don't mean the device itself, as the bed is maintained independently of the overall printer. Rather, you need to ensure that the nozzle can move to and from all points of the printer bed without rattling or destabilizing. Most 3D printers come with a calibration routine you can run to check this, moving the nozzle to a zero point before bringing it all around the bed. Just make sure you heat the nozzle up first. Hot metal moves differently than cold metal, after all.
As the printer nozzle dispenses plastic in the specified shape, it is important that the plastic stays exactly where it was placed. You can't very well print in 3D if your plastic is collapsing into a 2D pile of mush. To facilitate the proper printing environment, you need to ensure that the bed is not only cleaned of potential contaminants but also subtly sticky enough to hold everything in place. After every print, you should clean the bed with a paper towel wetted with 91% isopropyl alcohol. That kind is usually used as a first-aid antiseptic and can be purchased at your local pharmacy or supermarket. This process will prevent the buildup of plastic residue on the bed, which can mess with the surface. If you're having trouble restoring the bed's subtle stickiness, you can give it a very light brushing with a washable glue stick.
Utilize rafts
If you're using your printer to create smaller objects like the eyes or fingers on a model, you may find it a bit tricky to do so on the regular bed. Printing tiny things right onto the bed can result in warped shapes or collapsing due to a lack of surface area. To solve this problem, you need to provide some additional surface area without actually increasing the size of the object you're printing. This looks like a job for a raft.
A raft refers to a platform of dispensed filament designed to serve as a base layer for more precise projects when the bed won't suffice. It's a great way to optimize your work surface and keep your creations steady and level. The only downsides are that you need to expend some filament to make them, and the things you make might be a bit rough on the bottom where the raft is connecting. It's nothing you can't remedy with some nippers and sandpaper, though.
Clean the nozzle, prepare replacements
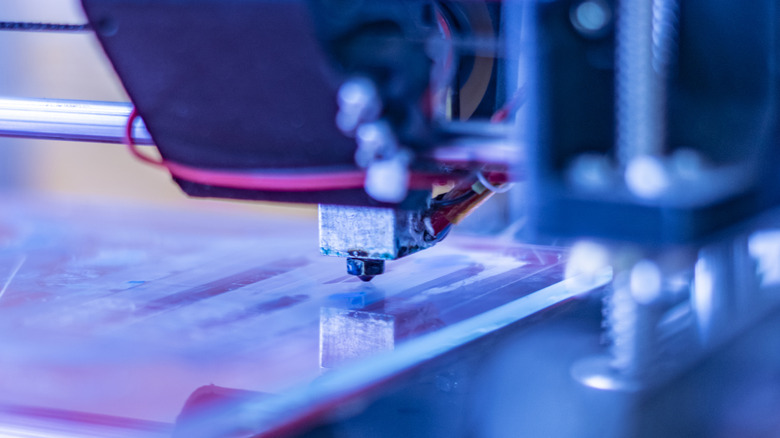
Much like any other piece of precision equipment, it's vital that you keep the moving parts of your 3D printer in pristine shape. The nozzle is the focal point of the printing process, which means you'll notice pretty quickly when something's wrong with it. If there's dirt or plastic residue stuck in the nozzle, it'll dispense filament in weird, twisty shapes, which you obviously can't use to print anything stable. You can clean the outside of the nozzle by heating it up, then scrubbing it with a brass brush.
On the other hand, if the inside of the nozzle is warped, it's officially dead. You never know when you'll suffer a nozzle failure, which is why you should always keep a pack of replacement nozzles on standby. If your nozzle dies on you and you're pretty sure you can't fix it, just swap it out for a fresh one. Make sure to check what kind of nozzle your printer uses; some use generic brass models you can get anywhere, while others require specific models that you have to special-order.
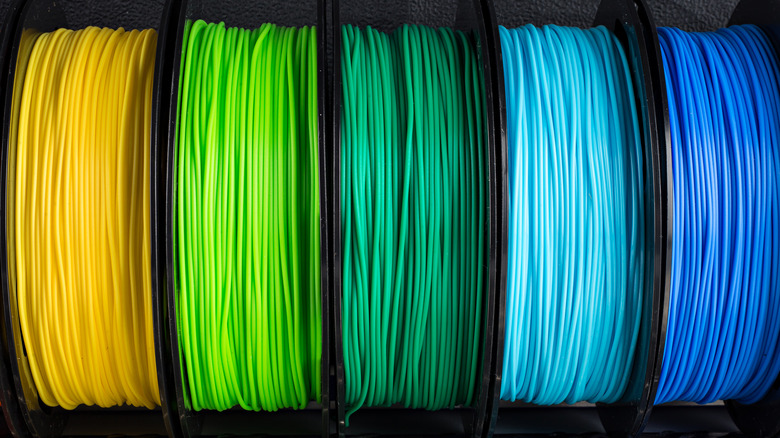
Store filament properly
Have you ever lost a Koosh ball behind the couch for a month, and then when you find it again, it's covered in dirt, hair, and other assorted grodiness? Well, that's what's going to happen to your thermoplastic filament if you don't store and handle it properly.
Dirty, tangled filament can cause jams and printing failures when used, which can lead to nozzle damage if it happens repeatedly. Make sure to keep your filament tightly wound around a proper spool and periodically clean it with a dusting sponge. Most thermoplastic filaments don't absorb moisture, so you don't need to worry too much about where you store it, so long as you don't just leave it on the floor. If you're feeling crafty, you can try attaching a little chunk of dusting sponge to the end of the filament line so it gets cleaned as you feed it into the printer.
Experiment with premade files
While 3D printing is a fascinating hobby, it does take some time to really get used to. As enticing as it is to immediately try to make a scale model of your favorite Gundam, you should start small to really get a handle on the process. Practice running the printer, ensuring the bed and nozzle are leveled and functional, and caring for your creations after the fact. To help with your training, you can try free 3D model files from various websites to perform test prints.
One of the most popular websites for this purpose is Thingiverse, which maintains a user-created database of printing projects simple and complicated. Files on Thingiverse are free to download, so look around for something that interests you and give it a spin. Once you've gotten some experience with a few simple prints, then you can start experimenting with your printer on your own to create something entirely unique.