Settings On Your Steam Deck That Are Ruining Your Experience
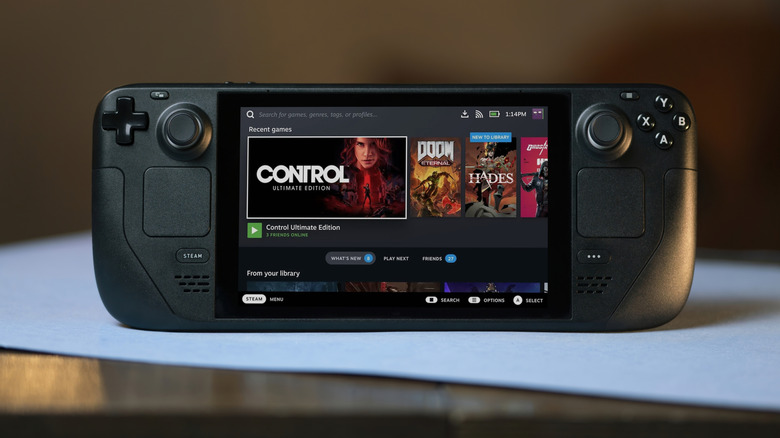
The Nintendo Switch line has several handheld console rivals, but none are as major as Valve's Steam Deck. Just like the Switch, it is meant to play games on the go but can also connect to an external display to become a full-blown gaming console. This way you can carry your Steam games wherever you go. However, unlike the Switch, the Valve Steam Deck is a lot more customizable, even letting you play retro games through powerful emulation. It is able to emulate games up to the PS2 era with ease, which is rare among most handheld consoles these days.
The Deck used to be in short supply when it launched, but thankfully, its dreaded waiting list has finally ended, meaning it is much more accessible to everyone. Now that gamers finally have their hands on the Deck, many of us wonder how we can make the most of it. As powerful as it is, there are many settings that hold the machine back. Tinkering with these settings not only boosts battery life but the console's performance as well. Note that your mileage may vary after adjusting your settings. This is because each game is optimized in a different way and may or may not be affected by changing these settings.
Game profiles
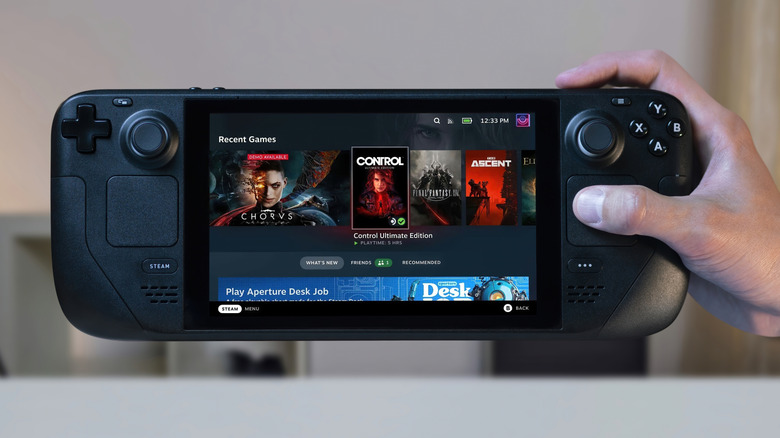
Although the Deck is nothing short of a proper gaming handheld, there are some titles that are just not optimized to run well on this machine. Some unsupported titles such as "Destiny 2," "Dead by Daylight," and "Dragon Ball FighterZ" run poorly, while demanding games like "Elden Ring" cannot hit 60 frames per second (FPS) anyway.
This is why it is good to have per-game performance profiles to remove inconsistencies and save precious battery life. For instance, you could put a 30 FPS cap (more on that later) for "Elden Ring" while continuing to play relaxing titles such as "Aperture Desk Job" at a full 60 FPS without having to fiddle with the settings each time.
You can also do a lot more with this feature such as setting up custom refresh rate levels, upscaling adjustments, and enabling particular features like TDP control and Half Rate Shading, all of which are explained later on in this guide.
To set up custom profiles, simply head over to Quick Settings by tapping the button with three dots below the touchpad. Navigate to the Performance tab and toggle "Use per-game profile." Now you can assign custom settings to each of your games through the Performance menu.
Setting FPS limits
As mentioned earlier, the Steam Deck is not able to run all of its titles at high FPS. Several AAA games such as "Elden Ring," "Cyberpunk 2077," and "God of War" require more hardware power than the Steam Deck offers to run at a smooth 60 FPS. These high-profile games also tend to suffer from performance dips and stutters for that reason.
While you can adjust graphics settings in most of these games to boost FPS, it is better to set an FPS limit on such titles to prolong battery life and ensure a consistently smooth experience. Plus, it makes little sense to have more than 60 FPS on a 60Hz screen (explained later). Not to mention, the Steam Deck does not have an FPS cap by default, so it will even run lighter games such as "Bioshock" at a whopping 200+ FPS on medium settings, which, undoubtedly, also kills the battery. To put it into perspective, you can go from 1.5 hours of battery with uncapped frames on "Bioshock" to a remarkable 3.5 hours of battery life with a 60 FPS limit.
To set up FPS caps, look for Performance settings by pressing the Quick Settings button. It should be labeled with a battery icon in the slide-out menu. Here you will see a Framerate Limit option, which lets you adjust between 15 FPS, 30 FPS, 60 FPS, or no cap at all. Applying a 60 FPS cap on games that can hit 60 or higher numbers is ideal while taxing games like "Elden Ring" or "Cyberpunk 2077" will benefit more from a 30 FPS limit. You can even go as low as 15 FPS for games that do not have much motion on-screen such as visual novels.
Adjusting the refresh rate

A screen's refresh rate determines how often the screen refreshes itself within a second to display the next image. It is expressed in hertz (Hz). The higher the refresh rate, the smoother the screen is. A higher refresh rate also reduces screen tearing and stutter. The Steam Deck has a 60Hz screen, which is why going above 60 FPS in games does not make any visible difference since the screen is not able to refresh as fast. Therefore, it makes sense to sync your FPS and refresh rate for the best results.
A higher FPS count does reduce input lag, but it is almost negligible if your refresh rate cannot keep up with it. Higher frames should only be used for competitive gaming since lower input lag is a must-have in that case. Just like frames per second, a screen's refresh rate also draws battery life. It is adjustable through Performance settings right below the Framerate Limit option. We recommend matching your hertz with your custom FPS limits to maintain battery life.
All of these settings should be saved individually through the per-game profile feature, so you will only have to do this once.
To check if your settings are actually being applied, you can turn on Performance Overlay at different levels to see your FPS, hardware temperature, and a lot more. Higher settings will even let you see the CPU clock speed, VRAM usage, etc.
TDP control and half rate shading
We are not done with performance settings just yet, as there are still several more options to look at, all for dear battery life. The features here will only get nerdier from now on.
Under Performance settings, there is another helpful feature called Thermal Design Power (TDP). Don't let the name intimidate you as it is nothing too technical. It only indicates the maximum amount of heat generated by a computer chip that a cooling system is designed to deal with. This setting can limit processor power in favor of battery life. Turning this on will let you decide the amount of wattage the console can draw from the battery. For AAA games, you should leave it at its highest value, but for older games, you can turn it down to keep playing for longer.
Another useful setting here is half rate shading, which is a form of variable rate shading that was introduced by Nvidia and AMD GPUs a few years ago. What this does is allocate hardware power at varying rates across the rendered image to save resources with a reduction in visual quality.
In simple words, it can allow the GPU to use more power for processing prominent visuals while saving resources on pixels that are far away or not in focus. It may reduce the overall quality for some games, making it appear as if they are running on low resolution. Hence, this should only be used when you really don't have a charger around as it can make some games look downright atrocious.
Turning on upscaling (AMD FSR)

AMD's FidelityFX Super Resolution (FSR) renders games at lower resolutions but upscales them to the native resolution of your screen to avoid any compromise in visual quality. Unlike traditional upscaling methods that simply increase the number of pixels, AMD's FSR tech delivers a significant improvement in visual quality by using sophisticated image processing techniques.
Fortunately for us, the Steam Deck is also able to take advantage of FSR technology since it is based on AMD's RDNA 2 GPU. This technology hits two birds with one stone as it not only boosts FPS but saves battery life, too.
Like other hardware settings, this one is also found in the Performance section of Quick Settings and is labeled as Scaling Filter. For most 3D games, you can set the slider all the way to FSR for the best performance, but you can tone it down to Integer Scaling for 2D games and retro titles. Right below this slider, there is another one called FSR Sharpness. As the name says, this will determine the sharpness of the image quality in games. This should be left as it is to favor visual quality. But if you prioritize battery time over eye candy, you can turn it down to lower values as you please — but remember that your game may end up looking awful if you decrease it too much.
Unlock full VRAM

Video random access memory (VRAM), simply known as video memory, is a particular type of memory that is designed specifically for GPUs. It is made to perform better than a system's main RAM, but only for tasks that the graphics card is responsible for.
More VRAM does not mean better performance, but it does enable faster load times and improved image quality. It also allows a GPU to run games at higher resolutions. For instance, if you are trying to run older competitive titles such as "Dota", "CS:GO," or "League of Legends," then 4GB of VRAM is typically enough for 1080p gaming at 60Hz. But if you want to experience 4K resolution for modern AAA titles such as "Cyberpunk 2077," then you need at least 8GB VRAM.
The Steam Deck comes with 4GB of VRAM, but it is not able to use its entire memory bandwidth by default. However, a clever used named CyroByte33 discovered a way to bypass this limit, letting the Deck use its entire pool of VRAM. This resulted in perhaps the biggest situational performance boosts yet.
This will let you boost performance significantly in memory-limited titles such as "Grand Theft Auto 5." Note that this method is a bit technical and sophisticated as it requires you to do a configuration change on the Steam Deck. It creates a special Linux SWAP file through the TRIM command. Luckily, CyroByte33 has a comprehensive video on his channel to explain everything you need to know.
Disable non-critical notifications

One of the annoying aspects of modern-day gadgets is the sheer amount of notifications you get. These can easily be ignored on smartphones or laptops, but they can be quite aggravating on gaming machines since they can throw off your focus and ruin your games. Nobody wants to see a random pop-up notification or get a message right when they are about to beat a boss in "Elden Ring."
Luckily, Valve gives you an easy way to disable notifications on the Steam Deck to keep your gaming sessions completely seamless. To turn off notifications, go to the Steam Menu by simply pressing the Steam button located below the left trackpad. This will bring up a slide-out menu on the left. Here you need to go through Settings and Notifications. This will show you multiple options to choose from. You can either "Disable non-critical notifications" to get rid of them completely or only "Hide non-critical notifications when in game." You can also disable other notification types individually such as a friend joining a game or a friend coming online, etc.
This is especially useful for streamers or YouTubers that need to be recording their screen at all times. It can also come in handy for those of you with an active friend list on Steam.
Adjust brightness
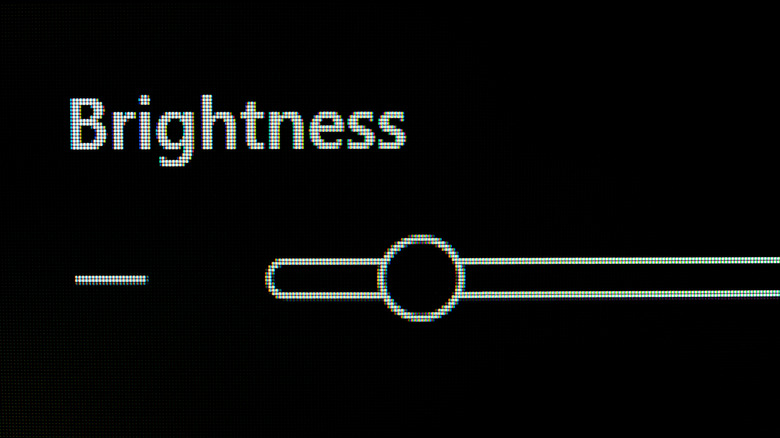
It is no news that high brightness levels chew away at your battery. It is even worse on LCDs since they have to light up the entire panel at the same time instead of individual pixels like OLED screens. Not to mention, high brightness is also quite unnecessary in darker environments.
Unfortunately, Steam Deck has an LCD panel that comes with a high brightness level out of the box. But of course, it is also adjustable like most other settings on this device. Keeping it at lower settings should keep your Deck running longer than usual.
Summon Quick Settings by pressing the button under the right touchpad and tap the cogwheel icon on the slide-out menu. You can manually adjust brightness by moving the slider back and forth, but there is also a shortcut for it so you don't have to go into setting each time. Hold the Quick Settings button on the right, or the Steam button on the left and flick the left joystick up or down to adjust brightness on any menu or game.
We recommend against using the Adaptive Brightness feature since it tries to dynamically adjust your screen brightness too often in real-time. This could leech on battery life rather than save it. Remember to turn the brightness back up outdoors during the day, especially for cheaper Steam Deck variants with reflective screens. You can also use Night Mode to keep your eyes from stinging at night.
Battery life improvements

For those situations where you need even more battery life out of your handheld, there are further settings that you can toggle to ensure longevity. If you are headed out with your Deck and forgot the charger at home, these settings should come in handy.
Under the Quick Settings menu, there are a few options to look at such as Airplane Mode, Game Rumble, and Steam Haptics.
Airplane Mode, like most other devices, will turn off Wi-Fi and Bluetooth to save battery. But the drawback here is that you will no longer be able to play online games anymore, so make sure to only enable this setting when you want to save battery on offline titles such as "Control," "God of War," "Hades," etc. Game Rumble and Steam Haptics can also be found a bit below Airplane Mode. These features give you vibration feedback and make the entire machine rumble in games for more immersion. Since the vibration feedback is not that strong anyway, it is better to leave them off for more battery unless you really care for them.
Conclusion

Last but not the least, it is worth mentioning that not everyone needs all of these settings for the best experience. Personal preference varies between people and these features should only be used based on your needs rather than dipping a thumb in every pie.
Most would not care for unlocking full VRAM usage or tinkering with TDP or refresh rates, but settings like FPS cap and game profiles should benefit everyone since battery life is precious to all. Hence, use these recommendations at your own discretion.
Some of these may also be fixed in the future such as poor adaptive brightness performance or lackluster rumble features. But most other core settings are likely going to stay the same for the years to come.