This Underrated iPhone Feature Makes It Easy To Scan Documents

Scanning important documents can be quite an endeavor if you don't have the right equipment to do it. Normally, you'd need a scanner or a rigged out printer that has scanning capabilities. However, not everyone has either of these machines these days, and prefer to just make the occasional errand to a nearby store that offers imaging and printing services. Most people have a smartphone, though. Is it possible to scan documents with an iPhone?
Sure, you can easily take a picture of a document with your iPhone camera, but it won't quite produce excellent results (via Xerox). Certain camera features affect the quality of the final document image, such as lighting, focus, and aspect ratio, to name a few. Normally, these features make images of people and sceneries pop out beautifully, but they do not improve captures of documents or recapturing old photographs. Instead of opting for the easy way out and simply taking a picture of a document, there's an iPhone feature that you can utilize that has document-scanning functionality.
This default iPhone app is essentially a portable document scanner
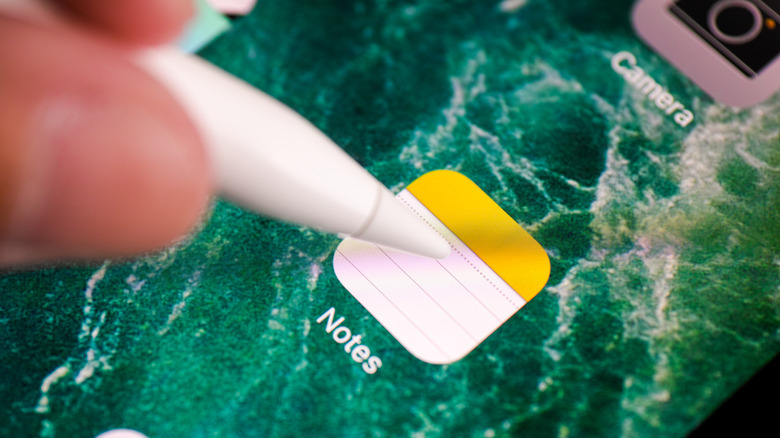
If you own an iPhone, you can use its built-in Notes app to do a number of things, like create checklists and reminders. What most people may not realize is that you can also use the app to scan physical documents, and even digitally sign them. The feature was first included in iOS 11 and can be done with an iPhone, iPad, or iPod touch, if you still have one (per Apple).
In order to scan a document using your iPhone, launch the Notes app and follow these steps:
- Tap the "Camera" button, and then select "Scan Documents" from the options provided.
- Make sure your document is placed on a clean, flat surface and is centered within the iPhone's camera frame.
- The iPhone should capture the page and scan the contents automatically. In case it doesn't, tap the circular shutter button or either of the volume buttons to manually initiate the scan.
- Adjust the selector edges by dragging the corners until only the document is encased
- Tap "Keep Scan."
- If you have more pages to include in the batch, repeat the same process for the succeeding scans.
- Tap on the captured scans in the bottom-left corner of the screen to make necessary tweaks to cropping, coloring, or rotation. You can also delete scans. Hit "Done" when you're satisfied with your edits.
- Hit "Save" when you're done scanning.
The document you just scanned should be available on the Notes app's main screen, where you can always access it on your iPhone or share it with others.
Things to consider when using Notes' document scanner feature

By default, the Notes app will have the camera function on "Auto," which means as long as it detects a document while in "Scan Documents" mode, it will keep capturing automatically. If you prefer to have more control over when the scan function is triggered, tap "Auto" in the top-right corner of the capture page until it says "Manual." This way, the Notes app will only scan documents when you tap the shutter button.
Even though the document scanning function of the Notes app was first introduced as an update on iOS 11, Apple recommends that you have an updated version of the operating system on your iPhone so that you can use all the latest features developed for the app without a hitch. Captured scans are saved in PDF format by default. You can send it as a PDF attachment so others can access it without the Notes app by tapping on a captured page within the scanned document and hitting the share button. You can also choose "Save to Files" from the share options to export the file, have a backup of the document on your iPhone, or potentially send it to others. If you need the scanned documents in a different file format, you would need to use a third-party converter or photo-editing app.