10 Best Uses For Old Hard Drives
If there is one rule of personal computers, it's that today's impressive hardware is destined to become laughably outdated in short order. Before long, you're likely to need an upgrade to your RAM, your graphics card, and just about every other component. At a certain point, you might as well just upgrade the whole thing and start the cycle over again.
Depending on what you use your computer for, one of the first things you might need to upgrade is your hard drive. What would have seemed like an endless supply of storage space just a few years ago can fill up quickly if you're saving large files. With the seemingly infinite cascade of content available online, that's a more likely outcome than ever before.
So, you pick up a new hard drive and slot it into your computer and now you're left with the old one sitting on your desk. It has served its purpose and now it is fated for a drawer or the landfill, but it doesn't have to be that way. With a little creativity, you can give your old hard drive a second life with renewed purpose.
Turn your internal drive into a portable drive
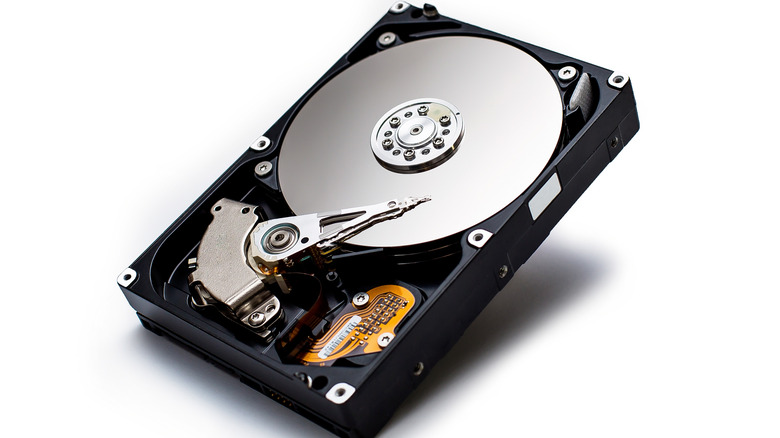
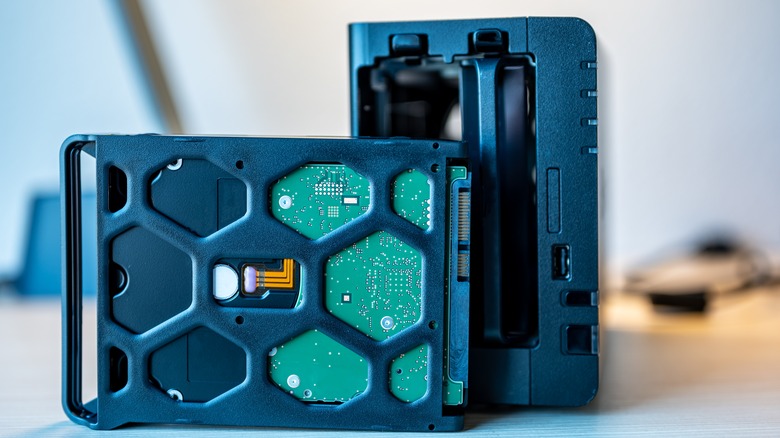
As long as it's still working properly, you can pull your old hard drive out of your computer, place it inside a case, and make it portable with a minimal investment of time and money. It's worth noting that each hard drive has a limited shelf life and, depending on how old it is, it might be running on borrowed time (via Newegg). Keep that in mind when reusing your old hard drive in its initial capacity.
Keeping that in mind, converting the hard drive from your computer or laptop into a portable drive is a relatively simple endeavor. When inside your computer, your hard drive relies on the tower casing to keep it safe. A removed hard drive is like a turtle without a shell. Making it portable largely involves giving your hard drive a new shell.
The first thing you'll want to do is figure out the size of the disk. They typically come in either 2.5 or 3.5 inches. Next, remove any of the peripheral hardware like brackets and screws, then simply slip it inside its new shell. You can find hard drive casings online for relatively cheap — or if you want to have a little fun, you could put your hard drive in an old Game Boy.
Provided it doesn't need any additional formatting — and if it was already working in your old computer, it likely doesn't — then you're off to the races.
Turn it into a desktop sander
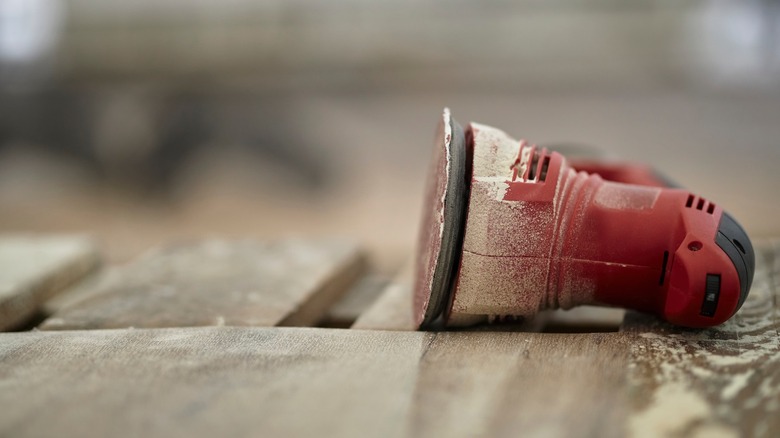
Even if your old hard drive isn't holding files anymore, it still has moving parts you can put to good use. For this project, you'll utilize the hard drive's motors and spinning platters to make a desktop rotary sanding tool.
A word of warning, this project is only intended for hard drives with ceramic platters. Glass platters could break and cause injury. Check the Instructables project for how to check the platter material before you proceed. It's also important to note that using your hard drive off-book, especially when placing your hands near exposed moving parts, is potentially dangerous. Proceed with all appropriate caution.
The materials you'll need are relatively common and affordable. They include a speed controller, two banana terminals, some sandpaper, and an old hard drive. To get started, you'll first need to open up the hard drive and expose its inner components. You might need a specialized screwdriver for this task, take a look at the screws on your drive to identify the right tool. While you're at it, take a minute to inspect the drive for hidden screws, there might be some tucked away beneath the labels.
Once it's open, you'll wire up the speed controller and attach sandpaper to the platter. With your newly abrasive platters spinning, you can grind the rough edges off just about anything.
Use the magnets for a knife block
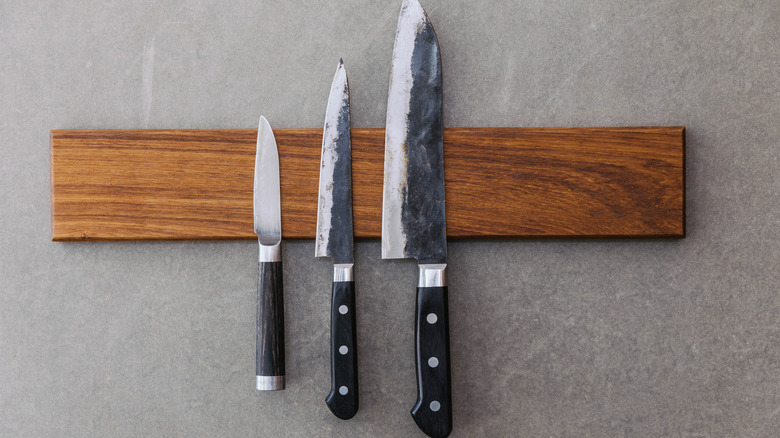
Turning your hard drive into a magnetic knife block is relatively simple and can be accomplished using only common hand tools, although having access to more advanced tools will make the job easier. There's nothing too high-tech going on here, all you're really doing is mounting the magnets from inside your hard drive behind a block of wood and using the magic of physics to suspend knives precariously over your kitchen counter.
As in the previous project, the first step in creating a magnetic knife block is to disassemble your hard drive to get to the powerful neodymium magnets inside. To get the best results out of your knife block, you'll probably need the magnets out of more than one hard drive so that they can be spaced out evenly across a long enough length of wood. Call your friends or buddy up to your local IT specialists.
Once your magnets are liberated, they can be glued to the wood or screwed in using the original housing from the hard drive. If you've only got one hard drive to spare, this might not be the best project for you, but there's no shortage of fun to be had with a powerful magnet. If you're looking for another use with fewer magnets, stick them to the bottom of a tray and use them to keep your loose screws and other tools in place while you're working on other projects.
Make a network attached storage server
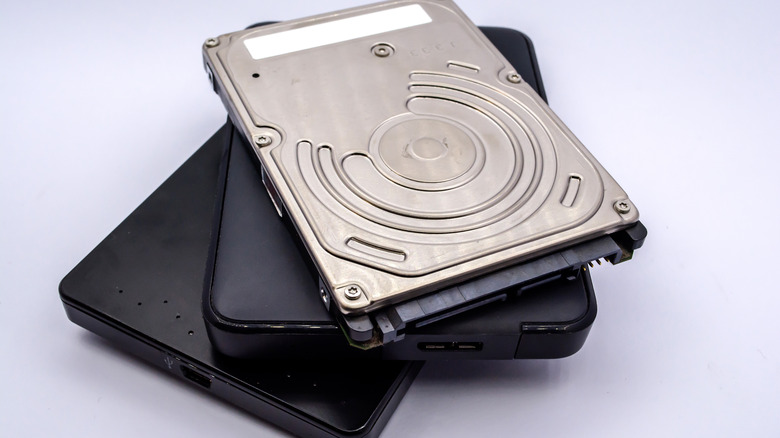
Using your old hard drive as a portable drive, as described above, certainly gives it a new life but it requires that you lug it around and manually attach it to whichever machine needs access to its precious files. Turning your newly portable drive into a network attached storage (NAS) server will make those files wirelessly accessible to any machine on your network.
To get started you're going to need a couple of additional components, including a router and a NAS adapter. It's likely you already have the first one, but you might need to buy the adapter. With those three pieces of equipment in hand, the setup process is moderately simple.
First, you'll plug in the NAS adapter and connect the hard drive to into its USB port. Next, you'll attach the adapter to the router using an ethernet cable (via Wondershare). The rest of the process takes place on your computer. Once your setup is connected to the router, it should automatically detect the IP address and allow you to set up login and password credentials as well as create user profiles.
Any files stored on the old hard drive will be accessible to any computer on your network from a shared network drive, provided the user has the appropriate login credentials. You'll never have to carry the drive from room to room again.
Repurpose it into a cyberpunk clock
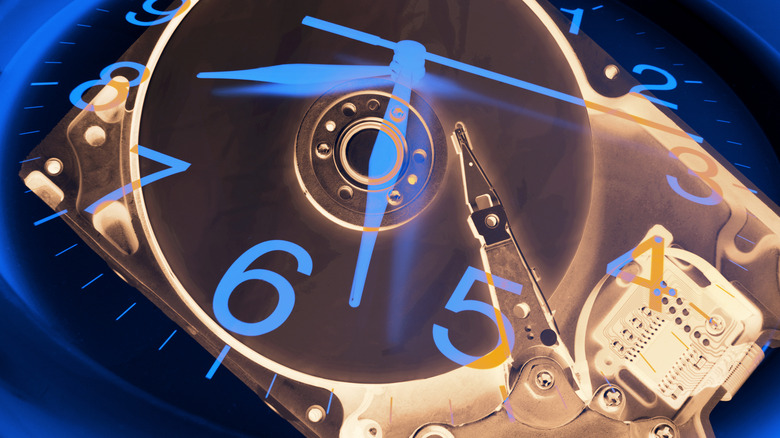
With a little disassembly, a few additions, and a handful of moderately common tools, you can transform your old hard drive into a clock the Rocketeer would be proud to display on his desk.
Break out that trusty Torx screwdriver and start unwinding screws to get to your hard drive's insides. Now that you're inside, you need to liberate the actuator. There should be a couple of screws holding a magnet in place. Take that off and set it aside, then you should be able to get the actuator loose by removing one more screw.
The next steps involve modifying the motor assembly using a vice grip, a hammer, and a drill. Those aren't tools you typically want to use on your hard drive but we're not expecting this to work when we're finished. Make sure you've transferred any important files before you get started. The aim here is to transform your hard drive parts into a shell for holding a clock movement kit. We're going for aesthetic, not function.
With that portion completed, you'll attach a clock movement motor through the hole you drilled. You can buy a clock kit online for a few dollars. Follow the kit instructions to get everything working correctly. If this clock project wasn't hard enough for you, check out this one which is somehow more retro and even cooler.
Turn it into a rudimentary speaker
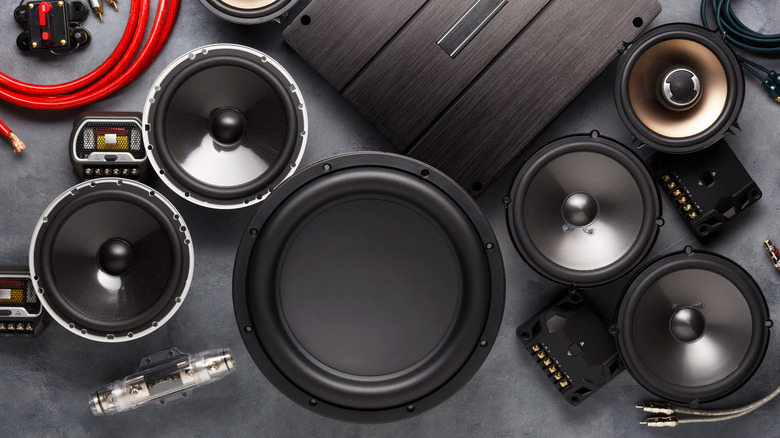
Believe it or not, hard drives and audio speakers are close cousins, utilizing many of the same components for wildly differing functions. With a few minor modifications, you can turn your old hard drive into a working speaker to play your favorite tunes (via Hackaday).
In terms of tools, all you'll need is a soldering iron, wire cutter, a Torx screwdriver, some wires, and an amplifier to connect to, in addition to your old drive. Using the torx screwdriver, remove all of the screws and open the casing. You'll want to remove the magnet, the headlock, and the head of the HDD.
Next, connect wires from the HDD to the amplifier, then all you have to do is send a signal an audio signal and you're ready to pump up the jams. It's recommended to use the thinnest wires you have available, to allow for free movement. If everything is wired up correctly, the signal from your amplifier will travel to the hard drive, causing it to vibrate in a similar manner to a speaker, producing sound.
Full disclosure, the audio quality isn't great, and it sounds like music being played by a sentient bucket of nails. We recommend '90s industrial music for the best effect.
Hide your valuables in plain sight
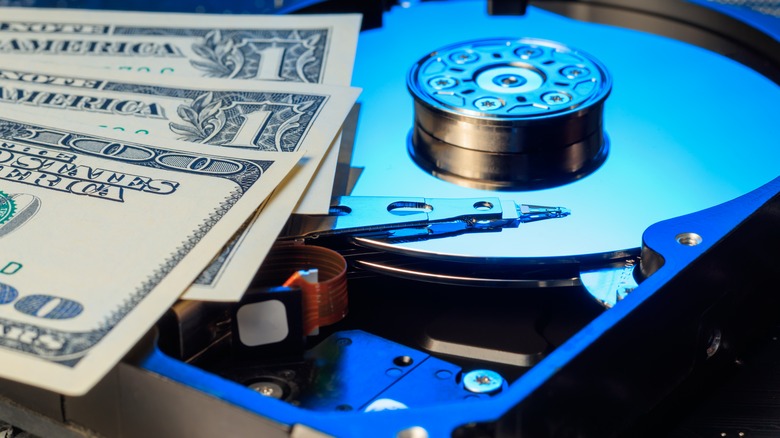
This is the easiest project on the whole list, as it doesn't require any electronics knowledge. You're basically opening up the hard drive, removing all the guts, and making some slight modifications so that it looks normal while hiding your deepest secrets.
Using a Torx screwdriver, remove all of the screws so you can get inside, but make sure to save the screws. You're going to need them later. Choose a screw hole at one of the corners to leave unaltered, this is going to be your hinge to open and close your new hard drive safe. Remove all of the insides, leaving you with an empty casing to store your valuables.
Using a drill bit, drill out the rest of the external screw holes to widen them. Then take all of the screws you saved and slide them into the newly widened openings, using a bit of super glue to keep them in place. This will keep the casing in place when it's closed, without you needing to screw and unscrew everything each time you want to use it. Finally, screw in the hinge screw, leaving it loose enough that the casing can lift and turn freely. Now you can keep your money or other valuables safely tucked away where no one will suspect them.
Give your pet hamster a wheel upgrade
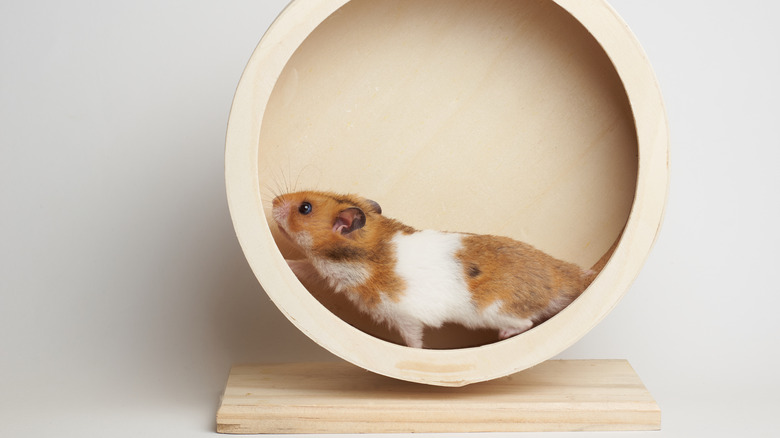
Removing the spindle from your old hard drive makes it available for a number of fun projects, including an improved running wheel for a small animal. Attaching it to a store-bought wheel or one made from found materials will result in an exercise device that spins seamlessly.
You're going to need your hard drive, a Torx screwdriver, a large can, metal scissors, hot glue, and zip ties. Open up your drive with the Torx screwdriver and remove the platters. A few more screws should liberate the spindle, otherwise known as the motor which sets the drive spinning, this is the crucial element of your new hamster wheel.
Trim your can down. You'll want one large enough that your hamster can comfortably run along its interior surface. You'll use metal scissors to do this but be careful as cut metal can be pretty sharp. Attach the spindle to the underside of the can, making sure to align it properly so it doesn't spin out of kilter. Add some padding to the inside of the can and the cut edge. Use the zip ties to attach it to a wall of the hamster cage and you're done.
The project creator at Dangerous Prototypes also attached some wires to the spindle so they could measure the speed at which their hamster runs. You could also use it as a generator to reclaim some energy from your hamster, but it won't be a lot. It's a hamster.
Make your own pizza cutter

This is the perfect project if, in addition to an old hard drive, you also have an old paintbrush, a spare bit of metal, and an uncut pizza. It isn't the most high-tech option, but it is certainly an option. As previously mentioned, the spindle and platter of your old hard drive spin like nothing else on this earth and, with a few minor modifications, you can put that to work cutting perfect slices into a fresh pizza.
Measure the width of the metal you'll use to attach the spindle to the paintbrush handle and carve out a seat for it. Drill a couple of holes into both ends of the metal and use them to screw it into the paintbrush handle where you carved out the seat. The other end will be used to attach to the hard drive spindle and platter.
Next, gut your hard drive and take out the spindle and platter. This is going to do the heavy lifting of cutting your pizza, but first, you're going to have to sharpen it. No one wants a slice of pizza with dull edges. Once your platter is sharpened to a nice point — making sure to clear off any stray bits, ceramic doesn't make a good pizza topping — you're almost done. Attach it to the other side of the metal and you're ready to start cutting.
Create moving images through optical illusion
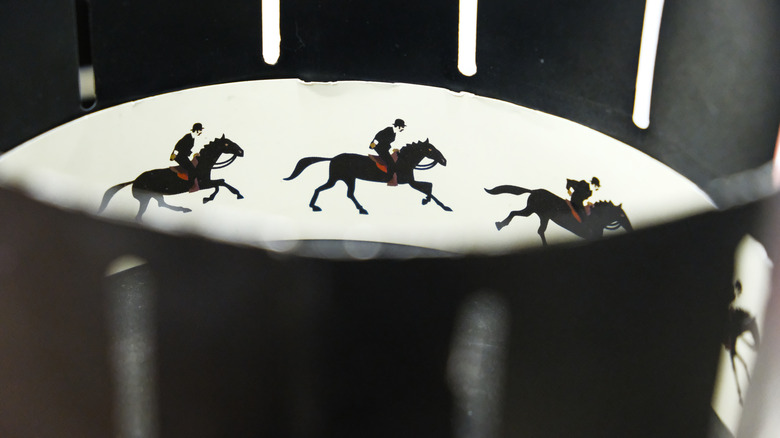
This is one of the coolest but most labor-intensive things you can do with an old hard drive. It requires a decent understanding of electronics and coding or the ability to closely follow moderately complex instructions. The philosophy behind this project is similar to that of a Zoetrope. The illusion of a complete image is achieved by the rapid rotation of the spindle and platter, revealing light from behind it.
You're going to need to make some significant modifications to the hard drive, including installing LED lights, applying a more reflective background, and attaching a motion sensor. To do all of that, you'll need glue, LED lights, an Arduino, and a handful of other materials. For a full accounting of materials and step-by-step instructions, check out the project page on Instructables.
Using a band saw, you're going to cut a thin slice into the platter that will serve as your viewing window and reveal a complete picture once it's spun up. The project creator used theirs to display the time as well as some colorful test images, but the possibilities are limited only by what you can program the lights to display.