How To Use Your iPhone's Built In VPN Feature
Whether you're trying to shield your browsing history from data-hungry advertisers or connect to your workplace's network to check your email, virtual private networks or VPNs have become a daily habit for some internet users. However, if you've ever used a VPN, chances are you used it on a laptop or desktop. These tools haven't gained the same popularity on mobile platforms that they enjoy on other devices.
Despite that, you can still take advantage of the privacy benefits associated with VPNs through built-in features on your iPhone. For instance, Apple introduced Private Relay for iOS in 2021 as a new element of its iOS 15 release package. This tool gives your Safari browsing data some of the same protections associated with VPNs — specifically protecting your DNS records and IP address.
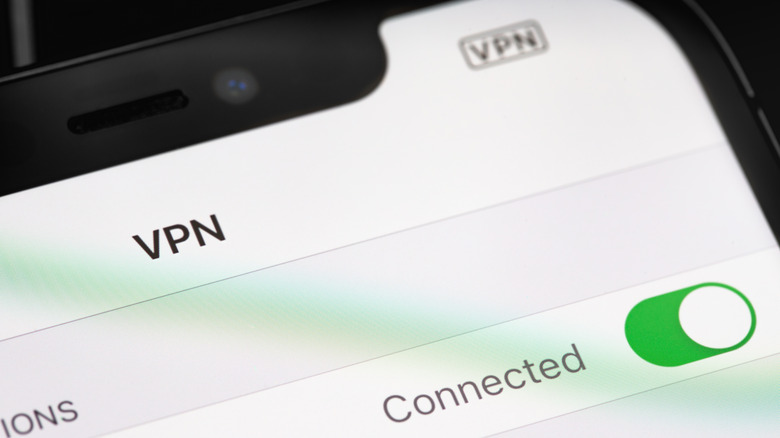
However, if you're looking for a traditional VPN experience on your iPhone, you can also set up your existing VPN in your iPhone's settings, according to Apple. This method will give you the same online protections you're used to when browsing with your VPN on a laptop computer, so it's the perfect option for your iPhone if you already pay for a VPN service.
How to use Private Relay on your iPhone
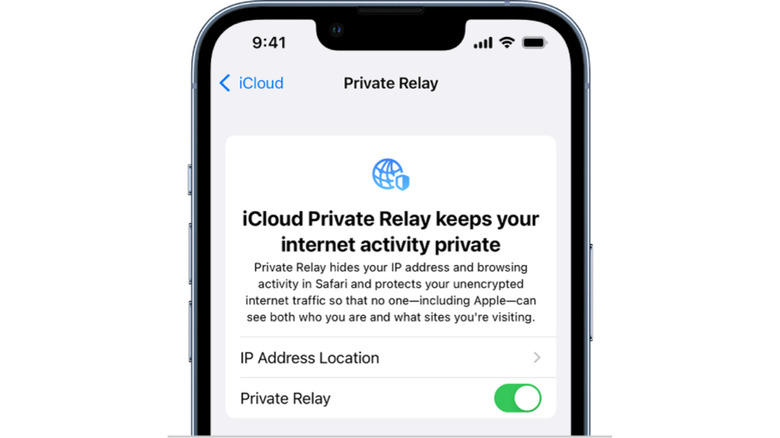
Private Relay is a free service for all Apple and Mac users. While it doesn't offer the same protections as a traditional VPN, it's still an excellent option for online privacy enthusiasts. When toggled on, Apple takes steps to hide your IP address and encrypt your DNS records when you browse on Safari. This process means that advertisers and third parties cannot build profiles around your browsing history — freeing you from the constant strain of intrusive ads.
To access this feature:
- On your iPhone, navigate to Settings > [your name] > iCloud > Private Relay, according to Apple.
- Toggle the Private Relay switch to on.
- Choose whether you want your IP address to reflect your general location (region and state) or only your time zone and country. Choose the first option if you still want to receive localized content and ads from websites.
While Private Relay offers protection and privacy from targeted advertisements built from website history, it only covers your Safari browsing sessions. When you switch to another app like Facebook or Twitter, you will lose all privacy protections, so it's essential to be aware that advertisers can still access your browsing data if you use other apps or browsers.
How to use an existing VPN with your iPhone
If you're already paying for a VPN subscription for your laptop or desktop, you'll be pleased to learn that you can also use your VPN service on your iPhone. There are a few ways to do this; however, you should check if your VPN offers an app on the App Store.
- Open the App Store and search for your VPN service.
- If your VPN offers an app, download and install it.
- Open the app and log in with your credentials.
While using your VPN through its app is an easy way to take advantage of your subscription, there is a chance that the AppStore won't carry it. As a result, Apple offers a built-in way to activate a VPN through your iPhone's settings, according to McAfee.
- On your iPhone, navigate to Settings > General > VPN & Device Management > Add VPN Configuration.
- Select Type and choose the VPN type you are using.
- You will also need to enter a few required fields, such as description, server, remote ID, username, and password.
- Tap Done, and double-check that the switch is toggled on the previous page.
When your VPN is activated, all network activity on your iPhone will be protected under your VPN umbrella — including apps like Facebook and Twitter.