Replacing The PS5's Cooling Fan Isn't As Scary As It Sounds
We may receive a commission on purchases made from links.
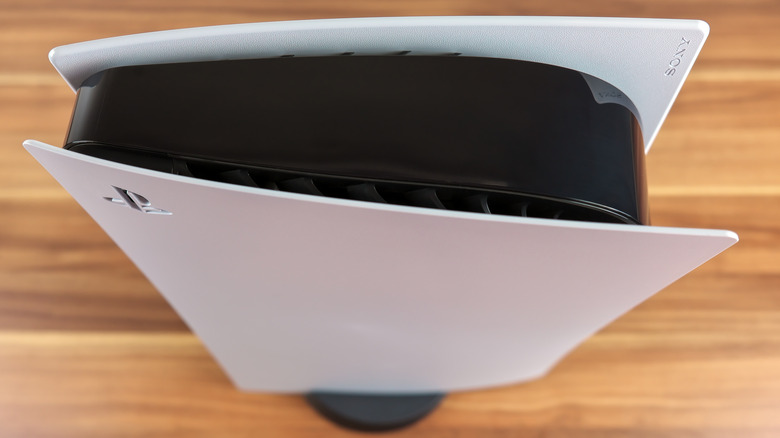
Hidden beneath the PS5's sloping white shell is a large fan that serves one very important purpose: it keeps the hardware inside of the console from overheating. Whether the fan has adequately served its purpose during the months or years you've owned your PlayStation 5 is another matter. Sony uses three different cooling fan models in its consoles, and each is a little different — not just in specs, but also in noise levels, with the Nidec version known for being particularly noisy and bothersome.
While a broken fan is the most obvious reason someone may plow ahead with replacing their own PS5 fan (the manufacturer's warranty has long since expired for many owners of the original console), the noise level is a compelling reason — some third-party manufacturers sell fans they claim are quieter than the OEM component. Then there are two other, more frustrating reasons: the console may be overheating even though the fan is functional (due to dust, perhaps), or you may have accidentally broken the fan's cable while cleaning your PS5.
With my PS5 console officially a few years old and the manufacturer's warranty nothing but a faint memory, I was faced with two choices: pay someone too much to replace my console's cooling fan or save money by taking on the risk myself. The upside of paying someone else to replace the fan is that they're likely trained and responsible for any damage. I decided to take the leap regardless, and as it turns out, replacing the PS5's fan is very simple.
Wait, there three different PS5 fans?
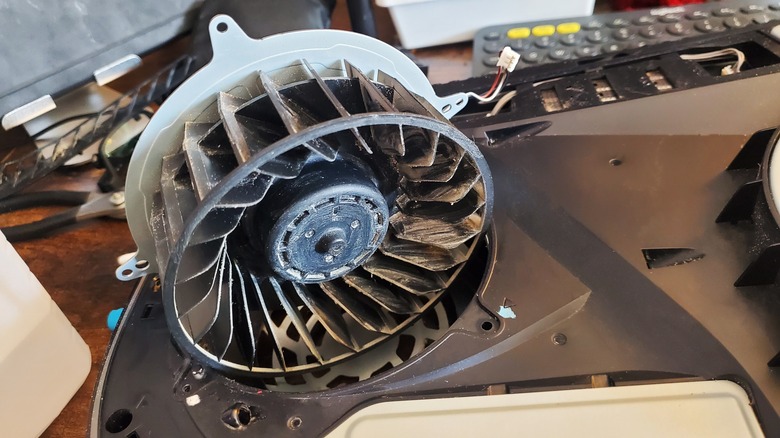
If you're going to replace your PS5's cooling fan on your own, that means you need to first purchase the replacement component from a third-party seller. iFixit is a popular source for aftermarket DIY parts, but before you can add the fan to your cart, you must choose the model that matches the one shipped with your console. Not sure which you need? Simply remove the PS5's shell and look at the fan — its specs are printed on top of the unit and will match one of the following: 17 blades, 1.9 amps; 23 blades, 2.15 amps; or 23 blades, 2.4 amps.
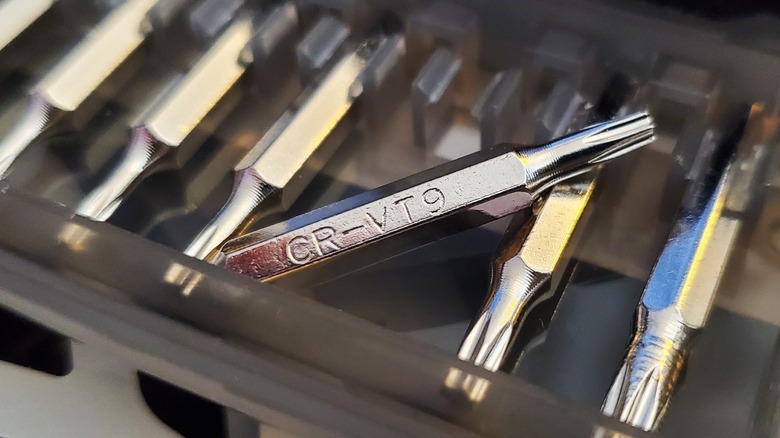
Prices vary between sellers, but using iFixit as our example, the 2.4-amp model is priced at $64.99 at the time of writing, while the other two are cheaper at $59.99. Keep in mind, though, that the price covers the fan only — if you want (or need) the tools that help complete the job, you can pay a bit extra for the bundle. Speaking from experience, the bundle with the included tools is overpriced — the only thing you likely need to buy for the repair is the TR8 Torx bit, which is used to remove the screws that fasten the fan to the console. You can get a TR8 Torx screwdriver on Amazon, most priced at around $5.99. However, if you regularly go the DIY route with your electronics, you'd be better off spending closer to $10 for a set of Torx screwdrivers.
Keeping track of the screws is the hardest part

It requires very little effort to replace the PS5's cooling fan. With that said, you need to approach the project prepared for what you'll encounter, and the least obvious of those involves the screws. While they all feature the same TR8 Torx design, they're not all equal lengths — two of the four screws measure 23.3 millimeters, while the third clocks in at 31 millimeters, and the fourth is very short at only 11.4 millimeters. You need to label which screws go in which holes before removing them, otherwise you may damage the console when you attempt to jam a 31-millimeter screw into an 11.4-millimeter hole.
How you organize the screws and holes is up to you. Personally, I used washable chalk markers to mark each one with its own color; the markings are hidden from view under the PS5 console's outer shell if you decide to leave them, and they will come in handy in the future, assuming the fan will need to be removed again at some point. If you want something permanent, you can use a dab of nail polish. Alternatively, for a messy-free option, you can use colored dot stickers instead — or just memorize which screw goes in which hole, but it's always ideal to have a backup just in case.
Be gentle with the fan's cable connector
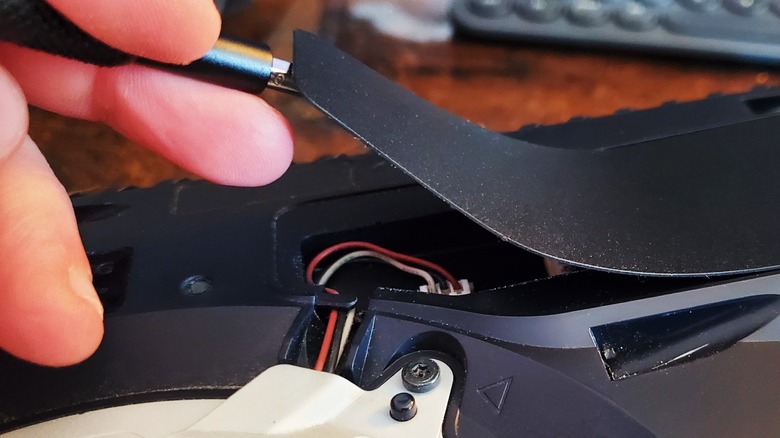
The only hard part about replacing the PS5's cooling fan — and really, it's not hard at all — is prying up the connector that connects the fan with the console's board. You can't just tug on the connector, as the cable isn't capable of withstanding any kind of direct force. Instead, you need something flat like a small spudger, a small flat-headed screwdriver, or even a wood popsicle stick, to gently pry the connector up out of the housing.
Once that's out of the way, unscrew the screws (after you've properly labeled them, of course), lift the fan out of the housing, and slide the replacement fan into the now-empty hole. Replace each of the screws into their correct holes, then plug the fan's connector into the same spot where you removed the previous fan's cord.
Give the console a nice dusting while you have it open, then close the console back up, reattach the base (if you use it), and turn the console on. Put your ear up close to the console and listen; if you hear the fan whirring, it's safe to put the PS5 back on its shelf. With that out of the way, you can then — if you're so inclined — take a deep dive into some of the console's best hidden features you may not know about.
I hit a couple of snags along the way
If you're wondering whether there are any surprises you might encounter, the answer is yes ... maybe. This marked the first time I'd removed my PS5's side panels, and it took a lot more pushing to get them to pop loose than I'd expected. I found that once they were removed the first time, though, they were much easier to remove a second time, which is good news for those who have already installed one of Sony's colorful PS5 console covers.
The second snag involved removing the screws, two of which were ratcheted down so tightly that my Torx bit kept slipping. One screw ultimately came out with nothing more than very firm pressure, but the last one put up such a fight that it stripped slightly. As a result, I had to wedge a flat-head screwdriver bit into the Torx screw and try several times to get it to catch on a pair of the non-stripped ridges. This worked, and the screw released just enough that I was able to use the Torx bit to finish removing it.
Finally, much to my surprise, one of the screws holding the fan in place took a Torx size TR9 bit rather than a Torx TR8 like the others. The reason for this was unclear — perhaps the screw head was slightly warped during manufacturing — but it would have been a frustration regardless if I hadn't had a full set of Torx bits on hand. Keep this in mind when deciding between a full set of bits or only a single Torx screwdriver.