How To Install The Arduino Create Agent
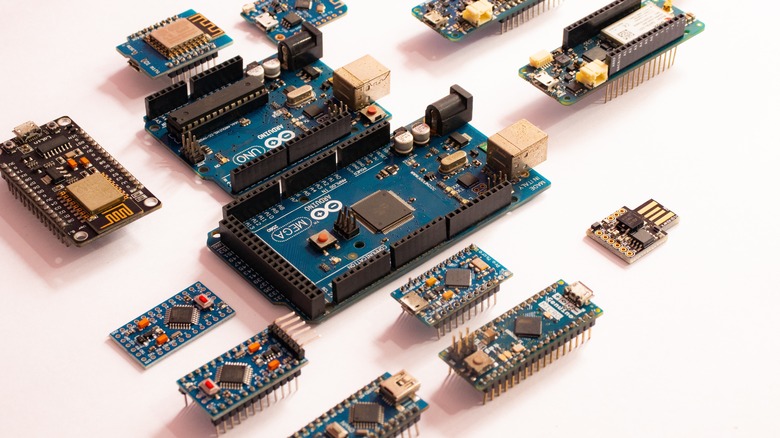
The Arduino open-source platform is an excellent way to create your own home and hobby electronics projects from scratch. The logic boards sold under the Arduino brand are receptive to all kinds of stimuli and inputs, allowing you to create Arduino projects ranging from air monitors to robotic arms, and the simple interface makes it great for introductory electronic and coding projects. However, before you can actually use an Arduino board to accomplish all of these wondrous little tasks, you need to set it up to understand inputs. In order to do that, you need to do some programming work in the Arduino Create Agent.
Arduino's Create Agent is the brand's proprietary application for connecting your physical Arduino boards directly to your computer, as well as Arduino's cloud systems. With the Create Agent, you can view, create, and edit sketches, then send them to your Arduino boards to grant them their functionality. The Arduino Create Agent is compatible with Windows, MacOS, and Linux, and can be easily downloaded and installed on most modern systems.
Downloading and installing the agent
Downloading and installing the Arduino Create Agent on PC or Mac is as simple as visiting the Arduino website and grabbing the necessary files. It's free to download, and you don't even need an Arduino board on standby to install it.
-
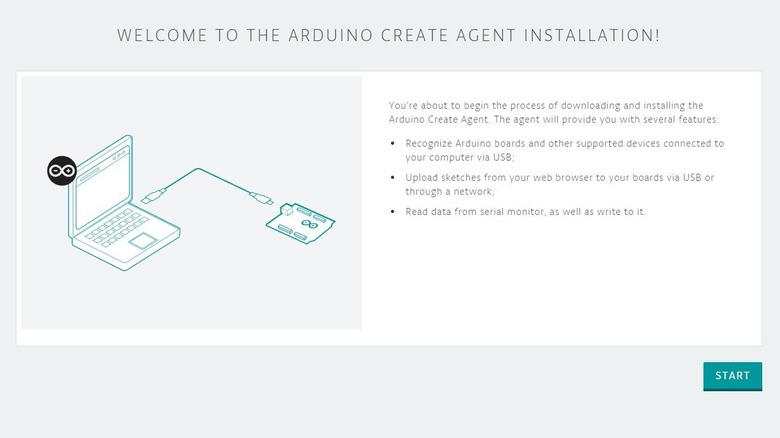
Visit the Arduino Create agent installation page.
-
Click the Start button in the bottom-right of the page.
-
Click the Download button.
-
Let the download run, then find the installer in your designated downloads folder.
-
On Windows, double-click the .exe installer, click "Yes" when prompted for permission, and follow the instructions. On MacOS, double-click the .dmg file, then drag the ArduinoCreateAgent.app into the Applications folder shortcut. On Linux, extract the .tar.gz archive, double-click the .run file, and follow the instructions.
-
Open your web browser and visit the Arduino Installation page again to let it detect the agent on your computer.
-
If it's detected, click the Next button to finish the installation process.
With all that settled, you can now freely access the Arduino Create Agent on your computer, as well as both the Arduino Cloud service and the Cloud Editor.
Troubleshooting Arduino's Create Agent
While the installation process is fairly simple, there are a couple of potential hiccups you may encounter. Firstly, when installing, make sure that you have administrative permissions for your computer, and that the agent installer isn't being blocked by your computer's antivirus firewall. In the latter case, you can add the installer to your whitelist to ensure it gets by unbothered.
If you're specifically using a Mac and this is the second time you've installed the Arduino agent on your computer, there may be an outdated installer somewhere in your files, which can prompt the error "Old agent installation of the Arduino Create Agent found, please uninstall it before launching the new one." This can be easily remedied with a few steps.
-
Open Finder.
-
Navigate to your user folder.
-
Open the Applications folder.
-
Find the ArduinoCreateAgent folder.
-
Either manually delete the entire folder or run the uninstaller inside it.
After you dump the old folder, run the installer again, and it should work.
Installing Arduino Cloud on a Chromebook
If you're using a Chromebook or other device running ChromeOS, you can't download the agent installer like on the other platforms. You can still use the Arduino Create Agent via Arduino Cloud, you just need to do it through the Google Play Store.
-
Visit the Arduino Cloud for Chromebook page on the Google Play Store.
-
Click the Install button.
-
Choose the device you're installing to, then click Install.
-
After it's finished installing, open the Launcher.
-
Find and click on the Arduino Cloud app.
-
Log into your Arduino account.
Keep in mind that the Chromebook version of Arduino cloud isn't compatible with all Arduino boards. You can only connect one of the following board models: Arduino UNO R4 Minima, Arduino UNO R4 WiFi, Arduino UNO (R3 and older revisions), Arduino MKR WiFi 1010, Arduino Nano 33 IoT, Arduino RP2040 Connect, and Arduino UNO WiFi Rev2.