Why Your iPhone Screen Recordings Don't Have Sound (And What You Can Do About It)
It cannot be understated just how useful the Control Center on the iPhone can be. By simply swiping down from the top-right corner of the screen, you are presented with an invaluable selection of widgets that allow you to do things ranging from adjusting the brightness and volume of your iPhone to turning on your iPhone's flashlight to accessing a remote to control your Apple TV. Among the many widgets and applications available for you in the Control Center is the ability to screen record what is playing on your iPhone display.
By simply clicking the screen record button — indicated by a symbol of one circle inside another — you can quickly capture the video and audio of what is playing on your screen. Well, that is at least the way it is supposed to work. No matter whether your mute switch is turned off along the side of your iPhone, the system audio will be captured along with your screen. However, there are occasions where you may open up your Photos app to view your latest screen recording, only to find that just the video has been recorded and not the audio. Let's break down why exactly your iPhone screen recording may not be capturing audio and how you can fix it.
Why your iPhone screen recording has no audio
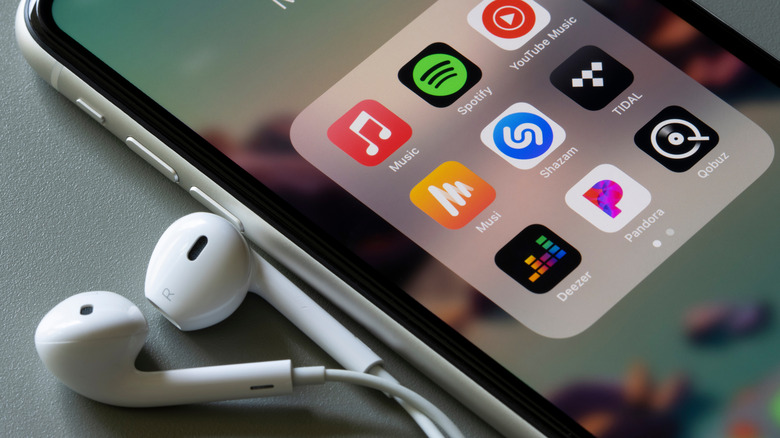
The reason you are unable to capture audio during a screen recording may just be because of what you are trying to record. For instance, if you are trying to screen record a video call with FaceTime or WhatsApp, iOS will let you record the video but not the audio, as recording a phone call without consent could be illegal depending on where you live, and Apple doesn't want there to be a possibility of it being held responsible. Another legal reason you may not be able to capture sound is because the audio is DRM-protected. This means that it is a piece of media protected by copyright, and it cannot be downloaded or distributed. For example, if you are attempting to record a song in Apple Music, the audio will be muted because it is copyrighted material, and recording it would technically be a form of piracy.
You cannot circumvent these video call or DRM protections without investing in third-party software that could end up putting you in some legal trouble. However, if your issues are merely with software, there are other ways to screen record with audio.
There might also be another simple answer — you may not be using the most recent update of iOS. Keeping your iPhone software up-to-date is paramount in making sure all of its features continue to work. If you're sure you're using the latest updates, and you're not trying to record a video call or copyrighted music but still can't record audio, it might be time to bring your phone to the nearest Apple Store.
How to screen record audio with your microphone
If you have already performed the standard troubleshooting methods of restarting your iPhone or updating iOS and that hasn't restored audio to your screen recording function, you need to move onto other tactics, which can vary a bit in how well they work. What has been discussed thus far has to deal with internal audio recording, but external recording is also an option. You can actually utilize your iPhone's microphone to record audio while you are screen recording. Instead of capturing the iPhone's system audio, it will pick up the sound of your iPhone through its speakers. Plus, it will capture all the sound you and your environment make as well. Here's how to screen record with your microphone.
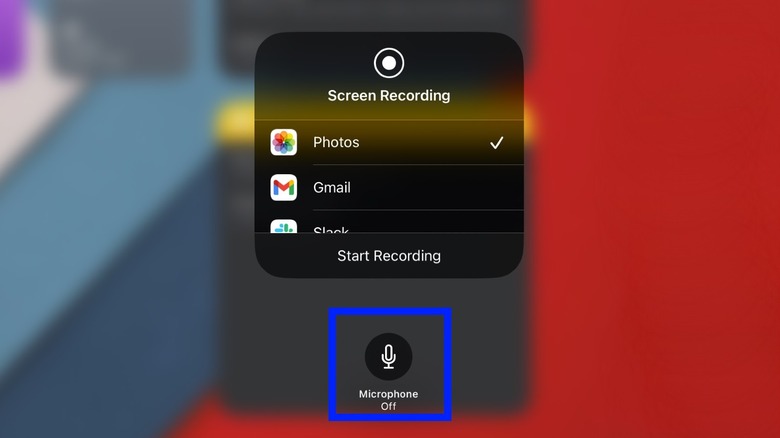
- Open your iPhone Control Center by swiping down from the top-right corner of the screen.
- Press and hold on the Screen Record icon.
- At the bottom of the screen, select the Microphone icon, where it should turn red and read "Microphone On."
- Return to the Control Center and select the Screen Record option to test.
If all you want to hear is your iPhone's sound, you will have to crank up the volume on your speakers for it to be the only thing that gets picked up, but that will probably result in less than ideal audio quality. This microphone solution is a great trick if sterling aural fidelity isn't your primary focus. If this method does not work, then you could have an issue with your iPhone's microphone, which should be diagnosed at an Apple Store.
How to screen record your iPhone with your Mac
Although it seems counterintuitive, you do not necessarily have to screen record your iPhone on your iPhone itself. If you are in the Apple ecosystem and have some version of a Mac, you can also screen record your iPhone with audio on that device utilizing QuickTime Player. Here's how you can accomplish that.
- Connect your iPhone to your iMac or MacBook with a lightning cable.
- Open the QuickTime app on your Mac.
- In the top toolbar, select File, followed by selecting New Movie Recording.
- Next to the record button, select the downward facing arrow.
- For the Camera and Microphone options, select your iPhone.
- Select record to start your screen capture.
- Select record again to stop the capture.
- Go back to the top toolbar and select File, followed by Save.
- Give your recording a title and select a destination for it to be saved.
It should be noted that this method will save your screen recorded video to your Mac. You will then have to add it to your Photos library and have it connected to your iPhone with iCloud if you want to be able to access it just like you would a traditional screen recording. It is also possible to AirDrop it to your iPhone from your Mac. Though it may be a bit of a hassle, it is an effective method for screen recording.
How to use a capture card for screen recording

QuickTime isn't a great solution for every screen capturing scenario, particularly if you are looking to capture gameplay from your iPhone or if you don't utilize a Mac computer. Well, just as you can use a capture card and OBS to record gameplay as many streamers do, you can do this with your iPhone as well. Here's how you can set this up.
- Make sure you have OBS downloaded on your computer.
- Connect your capture card to your computer with a USB-C cord.
- Connect an HDMI cable from your capture card to your iPhone by using an HDMI to Lightning adapter.
- Open your OBS and change the source of the capture to your iPhone.
This will then allow you to screen record directly from your iPhone. Like with the standard iPhone screen recording and through QuickTime, you will still not be able to capture DRM protected material, but if all you're after is a proper screen recording of your iPhone with the internal audio intact, this will do the job. Once again, you will have to manually add this recorded video back onto your iPhone if that is where you wish to watch it, which can be done through an AirDrop if available or through a wired connection to your computer.