How To Unprotect An Excel Worksheet

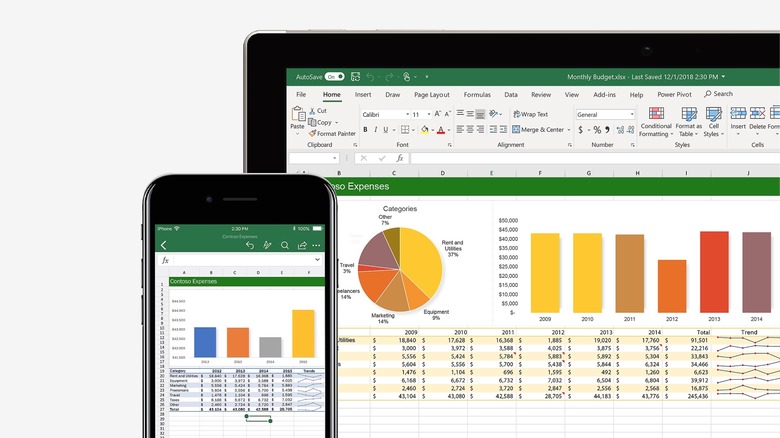
Over the past several decades, few workplace applications have become as indispensable as Microsoft's versatile spreadsheet editor, Excel. The tech company debuted the spreadsheet editor in 1985, and it's become the spreadsheet app of choice for small businesses and major corporations alike, not to mention a prominent feature in the Microsoft 365 suite. The application is so popular it's even been made available for use with both Microsoft and Mac devices.
If you're unfamiliar with what Excel does, the system organizes information into columns and charts that can be formulated to perform mathematical functions. Such functionality obviously makes it easy for users to enter and study large amounts of quantitative data and then alter it as new data comes in. Of course, that data can be just as easily corrupted as even one miss-entered figure or decimal point can throw an entire column out of whack.
Understanding the possibility of such issues, Microsoft built safety provisions into the application to prevent users from altering information in an Excel spreadsheet should the need for such protection arise. Microsoft has made it easy to protect your data by locking down files with whole sheets and even individual cells if needed. The company has also made it easy to remove those protections. Here's how to unprotect a Microsoft Excel worksheet.
How to unprotect an Excel Worksheet when using the app
For the purposes of this article, we're assuming you've already got your Excel spreadsheet on lockdown. However, if you need some guidance on password-protecting your file, we've got you covered with an easy-to-follow Excel tutorial. For Microsoft Windows users who need to remove security provisions from an Excel file, follow these steps:
- Open Excel on your computer.
- Select the Excel file you want to unprotect.
- Navigate to "File" from the drop-down menu at the top of the document.
- Scroll to and select "Info," then click "Unprotect."
- The same measures can be taken by selecting "Review">"Change">"Unprotect Sheet" in that order.
If the file is password-protected, you will be required to enter said password in the pop-up "Unprotect Sheet" dialog box to open the document up for editing. Once you've completed those steps, your Excel document should be ready for editing by outside parties. If you aren't able to edit the spreadsheet after following the above steps, contact Microsoft's Excel support team for help.
How to remove Excel Worksheet protections when using a web version
For those who want to unprotect a spreadsheet using a Web version of Microsoft Excel, here's how you do it:
- Open Excel on your computer.
- Select the file you want to unprotect.
- Select "Review" from the drop-down menu at the top of the screen.
- Click "Manage Protection" from the drop-down menu.
- In the "Manage Protection" task pane, click the "Protect Sheet" button to "Off."
You can also pause protections on an Excel file to edit a locked selection of cells while continuing protection for other users. To pause protections on an Excel file, follow these steps.
- With the correct Excel file open on your computer, select "Review" from the drop-down menu at the top of the screen.
- Choose the range of cells you want to unprotect.
- Select "Pause Protection" in the menu. The file should then be open for editing on the selected range of cells.
If the file is password-protected, you will be required to enter said password in the pop-up "Unprotect Sheet" dialog box to open the document up for editing. Once you've completed those steps, your Excel document should be ready for editing by outside parties. If you cannot edit or pause protection on the spreadsheet even after following these steps, contact Microsoft's Excel support team for help.