How To Replace Your Car's PCV Valve (And Why You Might Want To Every 4-5 Years)
Car engines require a lot of parts working in unison to properly function. There are thousands of explosions happening every minute when your car's engine is running, hence the name "internal combustion." As a result of that combustion, a lot of gasses are produced around the engine. One such vital part that helps deal with gas that finds its way into the crankcase is the PCV valve — or positive crankcase ventilation.
According to J.D. Power, the PCV valve has been a part of just about every car engine since 1961, and it helps control emissions. As with any part, the PCV valve wears out, and since it's exposed to the hostile environment of the engine, it can get fouled up with burnt up debris if it isn't replaced.
Fortunately, it's an easy part to replace and fairly cheap most of the time, depending on your car. The tool list is also short, requiring good lighting, potentially a set of combination wrenches, and patience. Here's a step-by-step guide on how to replace the PCV valve. The engine used in this guide is a 4.9-liter inline-6 in a 1991 Ford F-150. This engine is also referred to as the Ford 300.
Finding and removing the PCV valve
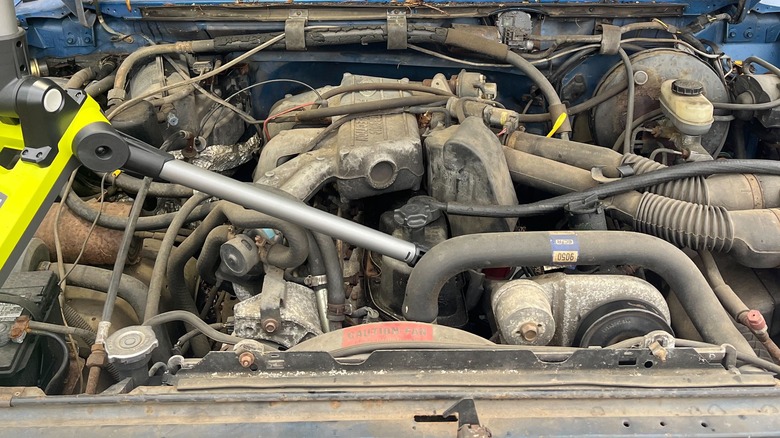
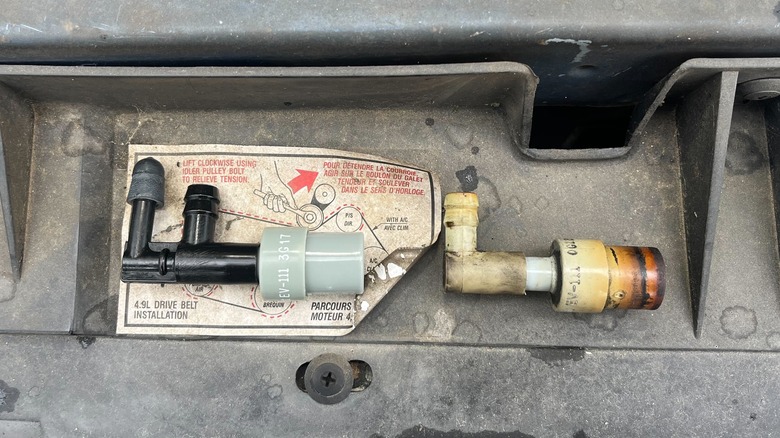
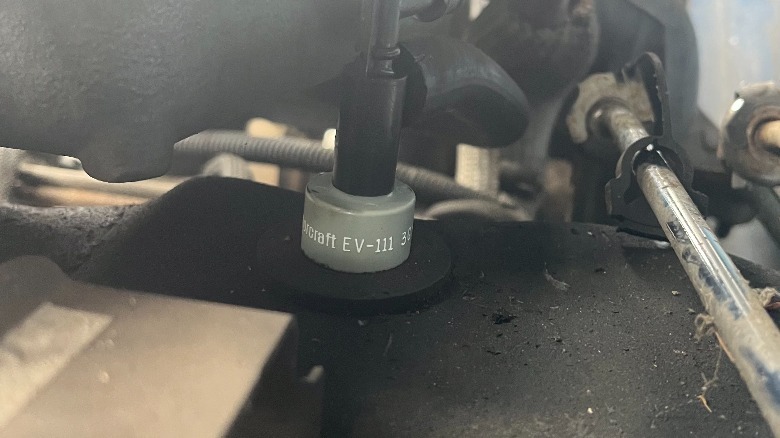
First, you need to find the PCV valve. Most of the time, it's installed directly into the top valve cover of the engine. If you have a V8 or V6, it's on one of the valve covers, and depends on the manufacturer for which specific cover. On this Ford 300, it's on the back towards the firewall, tucked underneath the intake. It will look like a little plug fit inside a grommet with a hose coming out of it. On older cars, the engine diagram inside the engine bay can clue you into its exact location.
 Alex Hevesy/SlashGear
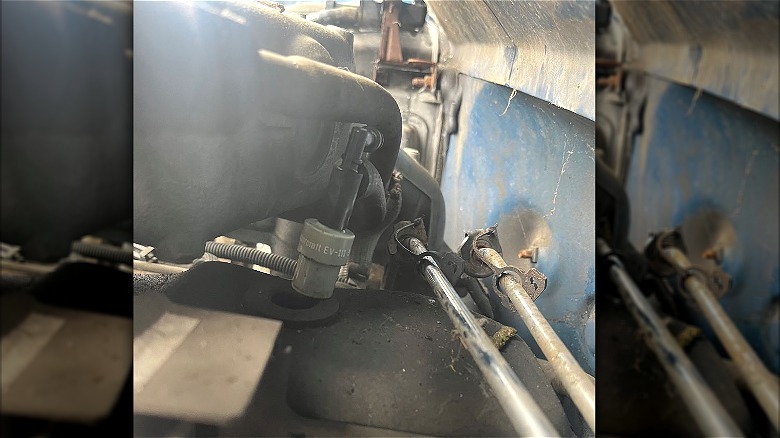
To remove the valve, you either need to unscrew it or, in some cases, pull it straight up. For the Ford, it's only held in by the tension of the rubber grommet, so it does not require any specific tools to remove. If the valve screws into the valve cover, you may need to use a combination wrench to get the valve loose. Either way, it's a straightforward process to remove on most cars.
Once it's removed, you need to take the hose off. If it's stuck, you may need to use a pair of pliers to gently remove the old valve from the hose. You don't want to damage the hose in this process. Although you case use this time to check if the hose and the grommet are dry rotted or otherwise needing to be replaced.
Replacing the PCV valve
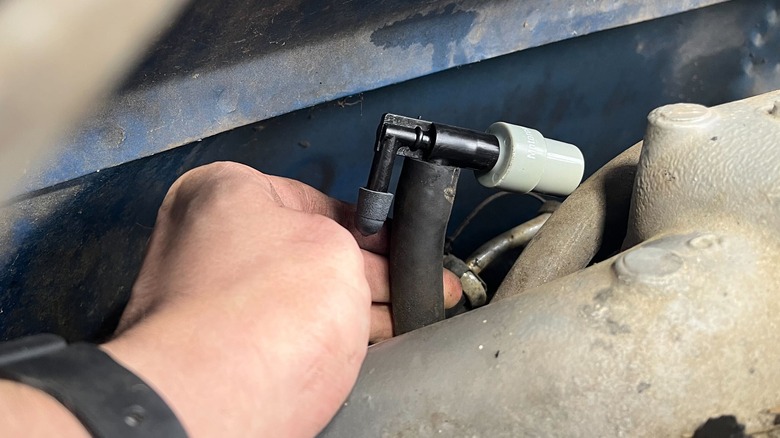
After the hose is free and the old PCV valve is properly disposed of, it's time to install the new one. If the hose and grommet are up to snuff, simply push the new one back into the valve cover until it is properly seated, and re-install the hose until the end of the hose is covering the end barbs of the valve. After that's all in place, it's off the races.
 Alex Hevesy/SlashGear
As for when you should replace your PCV valve, about every 30,000 miles is the recommended interval for the valve installed in the Ford. That can translate to roughly ever 4-5 years depending on how often you drive and how well you maintain other parts of the engine ecosystem. In a more literal use of the term, your mileage may vary and your vehicle's owner's manual can clue you into specifics. When in doubt, you can always consult owner's forums, Facebook groups, or subreddits for your specific car to get some more advice.