3 Things You Need To Know Before Painting Your Brake Calipers
Giving your car's brake calipers a fresh coat of paint is an easy and low-cost way to customize your ride. Painted brake calipers look fantastic when peering behind some awesome-looking wheels. Furthermore, cleaning, prepping, and painting the caliper surface offers year-long protection from contaminants like caked-on brake dust, dirt, rust, and corrosion.
Then again, anything that has to do with spray paint sounds fun, but painting the brake calipers has more to do with preparation than the actual paint. For starters, anything near the wheels is sure to be dirty and covered in mud or grime, including the brake calipers.
If you know anything about paint, you probably know that applying paint on a dirty surface is a big no-no, especially on something that reaches a scorching 280 degrees Fahrenheit (138 degrees Celsius) on a typical day. Before reaching for that can of spray paint, here are other things to know before painting your car's brake calipers.
Isolating the caliper makes things easier
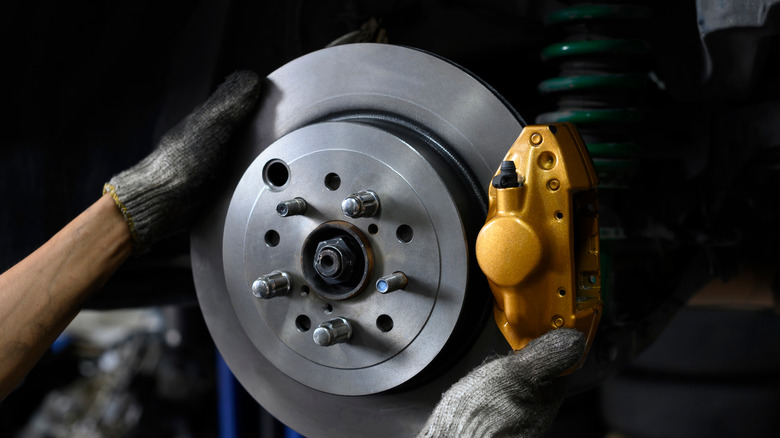
The ideal way of painting the brake calipers is to remove the caliper from the hub and disassemble the brake pads. But for a quick DIY fix, isolating the caliper from the wheel hub (without removing the pads) is better than painting the entire thing without removing it from the disc assembly.
The least you can do is grab a socket set, loosen a few bolts, and remove the calipers from the hub before prepping and painting. Doing so makes it easier to mask the areas from overspray, like the brake discs and suspension parts. Moreover, isolating the caliper allows for cleaning and painting the entire assembly, ensuring all surfaces have equal coats of paint.
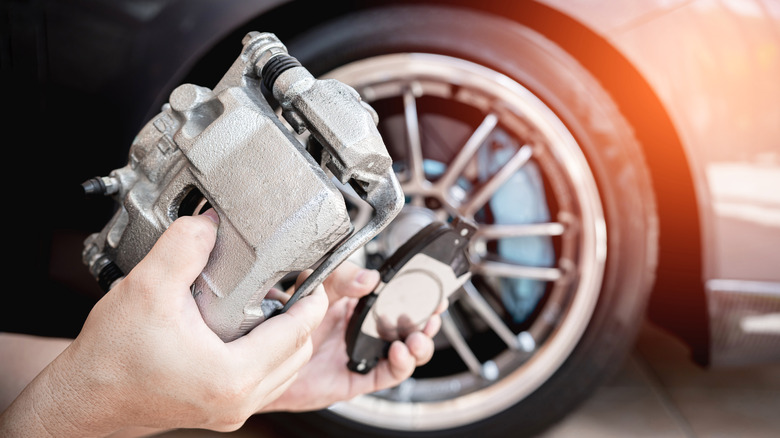
Supporting the vehicle with jack stands after jacking it up and removing the wheels will make the job safer and more accessible. You can remove the brake calipers from the brake line or remove it from the wheel hub — it's all up to you. The point is not to paint the calipers while it's affixed to the disc.
Cleanliness matters
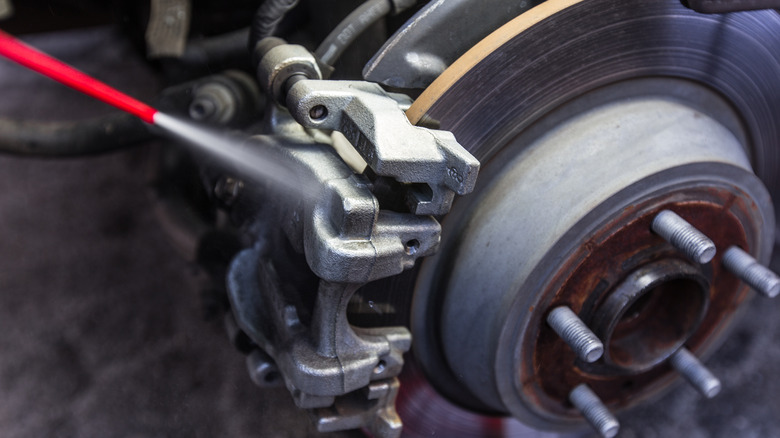
After removing the caliper from the wheel hub, the next best step is to clean it thoroughly using brake cleaner and some isopropyl alcohol before painting. Don't be surprised if the caliper has greasy dirt or caked-on brake dust. After all, its job is to squeeze the brake pads onto a rotating disc, emitting tons of brake dust that attach to the calipers and your car's wheels.
With that in mind, cleaning the brake caliper is the next crucial step before painting. Cover all rubber parts with masking tape before liberally spraying brake cleaner on the calipers and wiping with a lint-free towel to remove dust and dirt. You may need to do this repeatedly for excessively dirty calipers.
In addition, have a few pieces of 200 and 400-grit sandpaper on hand if the brake caliper has thick rust or corrosion. Lightly sand all rough spots and finish by spraying with brake cleaner. Rubbing the entire area with a paper towel moistened with rubbing alcohol should be the final step before painting.
Only use high-temperature paint
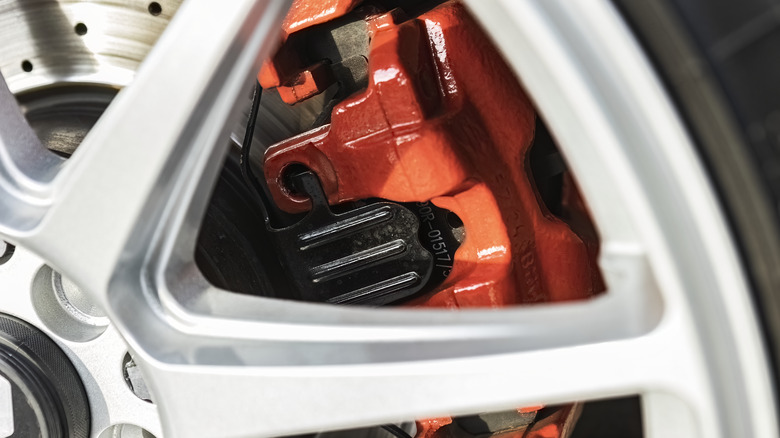
We finally arrive at the most exciting part: coating the brake calipers with paint. The best thing to remember here is to use high-temperature spray paint instead of ordinary paint. Remember that the brakes get very hot, and using paint not designed to withstand extremely high temperatures will result in premature bubbling, cracking, or fading.
Before spraying, ensure that all rubber parts — especially piston seals — are masked with tape. Moreover, it's a good idea to cover the surrounding area with a plastic garbage bag to prevent unwanted overspray on the fender liners, discs, and suspension dampers.
Spray two to three light coats of paint, remembering to allow the surface to dry between each coat. Let the paint dry for 20-30 minutes after spraying the final coat. The last step is to re-install the brake caliper on the hub and affix the wheels. If the weather is nice and dry, drive for about 15 to 20 minutes to "bake" the newly painted calipers.