6 Tips & Tricks To Edit iPhone Videos Like A Pro
Few pieces of technology have opened up the worlds of cinematography and videography quite like the iPhone. Because Apple's smartphone has become something of an omnipresent product in the world, the company has made it a point to continue to improve the cameras on its devices to always make it an appealing product. There have been multiple lenses added to the phone in order to give different focal length options. 4K recording is now supported across a number of different frame rates. You can even alter the camera's depth of field and exposure settings with a simple drag of your finger.
When thinking about the iPhone as a tool to shoot videos, much less is said about how the iPhone has the ability to act as its own editing suite as well. If you are creating a feature film with an iPhone, this isn't the best method, but for nearly everything else, the iPhone's editing capabilities are surprisingly robust that there's a solid chance you did not even know that the iPhone could do some of them. We are going to look at six different video editing features that the iPhone can do to help turn your raw iPhone shooting into something polished with punch, momentum, and style.
Trimming
The most basic form of editing is taking the footage you have shot and selecting the portion of that footage that you wish to use, either by posting that specific clip to your desired social media app or by adding it to a longer piece made up of a series of clips. Because it is the most basic form of editing, it is also rather easy to perform on your iPhone.
- Open your video in your Photos library.
- Select the Edit button in the top-right corner menu of the screen.
- Towards the bottom of the screen, you will see a timeline of your video that will have arrow symbols at the beginning and end of it.
- Tap and drag each arrow to adjust the beginning and end points of your footage to your desired start and end points.
- Click Done in the top-right corner.
It will then ask you to either save the video or save the video as a new clip. Selecting the former will overwrite the current file on your iPhone, whereas the latter will obviously make a new clip of its own with the trimmed footage. Both methods have their benefits. If you want to use that original footage to create multiple clips, creating new files for each trim is beneficial, as is the chance that you want to redo the clip you trimmed because you weren't happy with the results. If you are fine with your trim and want to save storage space, overwriting may be better for you.
Color grading
It does not matter what kind of camera you have, be it an iPhone, an Arri Alexa, or a 70-millimeter IMAX film camera. Once you have shot your footage, it will need to be color-graded. You will almost never see raw, ungraded material out there if the aim is to have a professional, distinct look to what you shoot. For some, this just means slapping a preset filter on what they have shot, and while one of those may get you close to what you want your image to look like, there are so many more ways to manipulate the colors, shadows, and texture of your image to get it to exactly what you want it to look like.
- Open your video in your Photos library.
- Select the Edit button in the top-right corner menu of the screen.
- At the bottom of the screen, you will see four options to choose from, where you will select Adjust.
Once you have selected that, you will have a selection of 15 options in a horizontal menu that you swipe through, and all of them alter what your footage looks like in some way. They include things like Exposure, Saturation, color temperature, tinting, and more. With each option, you will have a slider that you scroll to the left or right to meet the needs of what you want the image to look like. Of course, if you want to stick to the preset filters, you are more than welcome to do that, but they won't be as specific as your eye can be.
Adjust your slow-motion
This next tip is a bit more specific than the previous two. When you open up your camera app, one of the options you can choose from is Slo-Mo, which is a mode that massively increases the frame rate of your camera in order to shoot slow-motion material. If you have never used this camera mode before, you may think that this means every single second you shoot will then be in slow-motion. That is not the case. In your video, you can specify exactly which parts of your footage you want to be in slow-motion and which you don't.
- Open your video in your Photos library.
- Select the Edit button in the top-right corner menu of the screen.
- If this is a slo-mo video, you will see a bar below the traditional video timeline filled with many parallel vertical lines.
- Slide the two tallest lines left and right to adjust when the slow-motion portion of your clip begins and ends.
When the vertical lines on this bar are very close together, that part of the video plays at normal speed, and the part where the lines are very spaced out is in slow-motion. You very well could make the entire video slow-motion if you wanted to or just a brief moment within the clip. Importantly, you cannot retroactively change the frame rate you shot the footage in. That can only be changed in the Camera app before you hit record, whether you want it shot in 120 frames per second or 240.
Download iMovie
The editing tools within the Camera and Photos apps on the iPhone are rather impressive, but ultimately, they are rather limited when it comes right down to it. These tools are best for working with short videos made for quick internet publication and consumption. If that's all you want, great, but if the image capabilities of the iPhone cameras are at a certain level, you very well may want to create videos that are more expansive and complicated. This is where the built-in editing tools fall short.
However, you don't need to leave your iPhone just yet because Apple has made a version of its own video editing software for iOS devices. If you were unaware, iMovie is an app available in Apple's App Store, and while this is still fairly basic software, it affords you a tremendous amount more than the standard tools. Most notably, it gives you the ability to create full sequences of different clips put together. Without downloading this app, you would not be able to take multiple videos you have shot and make them one cohesive whole.
There's an important note about iMovie, though. Despite vertical videos on iPhones being so popular, it is only designed for traditional widescreen videos. So, if you want a vertical video in iMovie, you will have to have your vertical clips in the center of the frame and crop out the black bars on the left and right in the Photos app after you have exported the video.
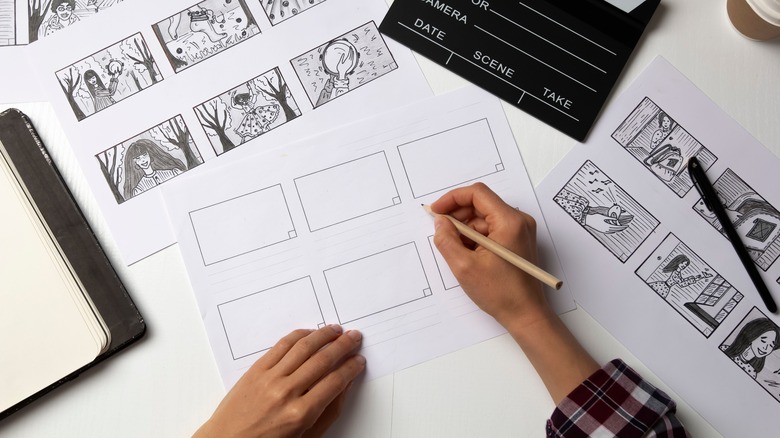
Create iMovie storyboards
For many people, shooting a bunch of footage and figuring out how to cut it all up and assemble it afterward is a perfectly fine process. For others, it could seem incredibly chaotic and overwhelming. You have a plethora of choices in front of you and don't really know where to start. It doesn't have to be this way, and you can make your editing process far smoother with the work you do before you ever hit record on your camera.
When you open iMovie, you will see three options under the Start New Project tab. The first is Magic Movie, where you import a bunch of clips and pictures from your Photos library and have it randomly make a video. The third is Movie, which is your traditional editing software. The second is Storyboard, and this is where iMovie makes it very easy for you to keep a handy list of the shots you want to film before you film them.
Once you select Storyboard, you will be given a selection of options to choose from of what kind of video you are making, including a film, a makeup tutorial, a day in the life vlog, and more. Whichever you select, you will be given a list of shot types — like close-up, two-shot, and establishing shot — that you can rearrange and add to in order to work out the sequencing of shots in your video. You also can import reference material from your Photos library to correspond with the different shot types.
Download editing software on your computer
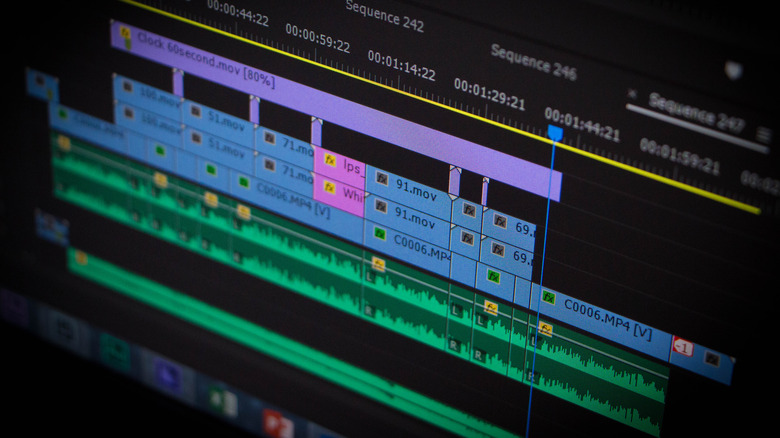
Whether it's through the Photos app, iMovie, or any other third-party app you may download, the iPhone offers a good deal of video editing options. However, when it comes right down to it, the best options for video editing are not going to be on your phone. They are going to be on your computer with a high-quality, professional, industry-grade editing suite like Adobe Premiere Pro, Avid, or Final Cut Pro.
These are the programs that professional editors use to edit feature films, television shows, commercials, and all your favorite top-shelf YouTube videos. They offer the most flexibility, the easiest organization, and the most amount of features. Plus, they can work seamlessly with other programs like Adobe After Effects or DaVinci Resolve for your visual effects and color grading needs. Yes, they are quite pricy, all costing hundreds of dollars (either in an upfront cost or recurring annual service charges), but if you are making videos that are more than simply social media posts, there truly is no other way to work in a detail-oriented, efficient way. Practicing on a program like Adobe Premiere Pro also lets you build up your skills as an editor, which helps you constantly evolve how you approach editing your work.
It takes a certain person with certain circumstances to invest in an editing suite, so if you aren't looking to be a professional — which happens to be most people — there's no need. The iPhone still gives you a good deal of options for your videos.