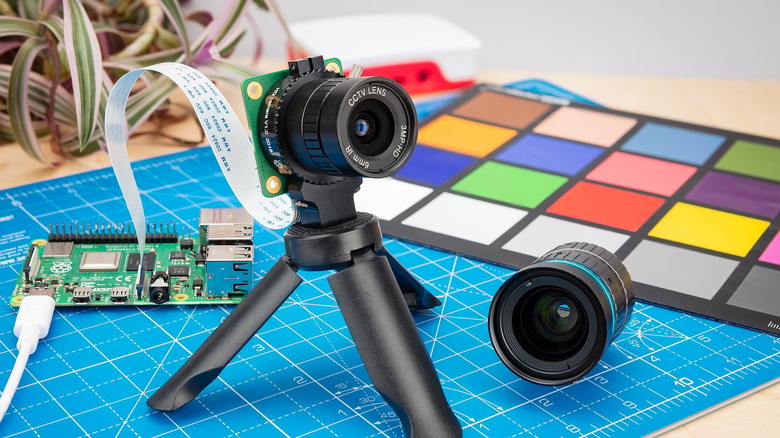
6 Cool Projects You Can Do With A Raspberry Pi And Camera
Unlike an Arduino board that requires external components to be functional, a Raspberry Pi is a powerhouse by itself right out of the box. It is, after all, a computer. This means that by simply connecting it to a touch display (or an HDMI monitor with a keyboard and mouse), you can already perform a whole range of tasks, from watching movies to playing games. But Raspberry Pis are also capable of things beyond these basic computer functions. With electronic components and accessories, you can transform a Pi board into various other devices, such as a drone, a hydroponics system, or even an alarm clock.
If you're specifically interested in projects that use the Raspberry Pi with a camera, you'll come across a host of them online, too. However, for your convenience, we've compiled six of the best Pi-plus-camera projects you can try out. Some of these are beginner-friendly Raspberry Pi projects with minimal or no coding required and are perfect for a quick weekend activity.
Smart doorbell
You're bound to have someone knock on your door now and again, whether they're a friend or the Amazon delivery guy. Unfortunately, there are times when they come when you're not home (or maybe just too comfy to get off the couch). That's exactly why you should get a video doorbell, or in this case, build one yourself.
This DIY smart doorbell from Hacker Shack makes sure you can check who's at the door without so much as moving an inch. Once the button on the doorbell is pressed, it plays a sound (like traditional doorbells do). The Pi then opens a web browser and starts a virtual meeting room using Jitsi Meet, an open-source video conferencing platform that doesn't require an account to start or join a meeting. You'll also receive an email containing the link to said meeting, allowing you to chat directly with your visitor. The call is configured with the base programming for this project to stay active for only 60 seconds, but you can always adjust this duration in the code.
Speaking of the software, it's based on Python and is pretty straightforward, with fewer than 200 lines. If you're already familiar with Python, you can easily tweak the code to add features like enhanced security or a door-opening mechanism to let guests in remotely. On the hardware front, you'll need the Raspberry Pi, a momentary push button, a USB mic, an LCD screen, a camera, and a speaker to build this project.
Automatic plant watering with timelapse
Having plants indoors is calming, refreshing, and pleasing to the eyes. However, keeping them alive isn't always the easiest thing to do. Your schedule can sometimes be so packed that you forget to water your green friends. Fortunately, there's a DIY solution to this dilemma: a Raspberry Pi-based automatic plant watering system with a bonus timelapse camera, so you can document your plant's growth.
You can thank YouTuber Christopher Barnatt for this project. A soil moisture sensor is inserted into the potted plant and turned on every 15 minutes. If it detects that the soil is dry, it will then trigger the solenoid valve, which controls the water supply. The plant receives water for 12 seconds, after which the valve, along with the soil moisture sensor, is turned off. At the same time, the timelapse camera is activated, takes a snapshot of the plant, and saves it to the Pi's local storage.
This project's code is written in Python and is very beginner-friendly with only 59 lines. You can easily customize the waiting interval and watering duration to suit your plant's needs. Hardware-wise, aside from the Raspberry Pi, solenoid valve, and sensor, the project also requires a relay HAT for controlling the valve and a battery for powering the entire system.
Security camera
If you're looking to build a useful Raspberry Pi project for your home, this DIY security camera from YouTube SpaceRex is a great idea. Not only is it easy to make, but it's also pretty inexpensive as it doesn't require too many components. All you really need is the single-board computer itself and a camera (can be one of the official Raspberry Pi cameras or any old USB camera you already have lying around). The system operates on motionEyeOS, an open-source security camera software that you're free to download and use. Since you're working with an already functional OS, you won't have to read and tweak codes, making the setup process relatively quick and straightforward. Simply connect the two components together, flash the motionEyeOS to your Pi's SD card, connect the board to the internet, and configure the motionEyeOS to suit your needs.
Although the system looks simple and easy to build, it's not lacking in the features department, as motionEyeOS is highly customizable. You can enable the FTP or Samba servers, allowing you to view your recordings and images remotely on your computer (as long as you're connected to the same network the Pi is using). You can also upload them to Google Drive, Google Photos, and Dropbox. Another nifty feature is the motion-triggered recording and image capture. Instead of continuously recording and taking pictures that use up precious storage space, the system will only start a video and snap a photo when it detects motion in the frame.
Photo booth
Photo booths are one of the best ways to entertain guests at parties, especially during downtimes at weddings and birthdays. However, even the rental ones can cost you a pretty penny. If you often host parties or know friends and family who do, it might be more cost-effective to just build one yourself.
This Raspberry Pi-based photo booth from Anthony Sabatella works like the basic photo booths you'll find on the market. It continuously runs an app that waits for a button press. Once it receives that signal, it snaps three photos spaced three seconds apart to give you time to strike a different pose. After all the photos are taken, the system displays a preview of the images laid out in a premade template. You then have five seconds to hit the button again to confirm that you want to print out the photo.
To customize the photo booth to fit your event, you can easily replace the premade template with a design of your own. Just rename it to template.png and move it to the Photos/Template folder. However, if you want to modify the code too, you need intermediate programming skills in Python and Pygame (which the photo booth app is based on) as the code is almost 500 lines long. As for the hardware materials, you have to prepare a Raspberry Pi, camera, photo printer that's compatible with the Raspberry Pi OS, spotlights for the lighting, HDMI monitor, large push button, 12V transformer for the push button, and the casing for the photo booth.
Smart mirror with face ID
Want to spruce up your personal space? A smart mirror like this one from YouTube Eben Kouao is one of the best Raspberry Pi projects to add to your bedroom. This DIY system is made of an infrared touch frame, a two-way mirror, and an HDMI monitor, outfitted with several other main components (Raspberry Pi 4, camera, Amazon Alexa speaker, and some LED strips). Like commercial models, it's designed to display noteworthy data on the screen, such as today's weather, the week's weather forecast in your location of choice, and your agenda for the day. The smart mirror can also be controlled via touch and voice commands, allowing you to shut down or restart the system, play or pause the Spotify interface, and even control the Alexa-supported smart devices in your home. With the integrated camera, the mirror can recognize different users through face ID, which you can also configure to activate specific smart home appliances remotely.
Although the system sounds complex, you might be surprised to learn that there's no coding required. The project uses an open-source software called MagicMirror that's highly customizable. It can display other data like news, flight schedules, global earthquake data, and real-time dollar prices and can be incorporated with other functionalities, such as gesture control and auto-brightness. You do, however, need to be comfortable with using the Raspberry Pi terminal to install and configure MagicMirror.
Polaroid camera
While taking selfies on your smartphone is the norm nowadays, there's still a certain charm about using Polaroid cameras. That's where this Raspberry Pi Polaroid-style camera from Nico Rahardian Tangara comes in. Unlike official Polaroid cameras, this particular project doesn't have a built-in printer. You'll need to transfer the photos from the Pi to your PC or phone in order to print them. However, what makes the device stand out is its E Ink display. Instead of turning off when the system is shut down (as regular LCD or LED displays do), the E Ink is designed to keep showing the last picture on the screen. This essentially turns the camera into a black-and-white picture frame you can place on your shelf.
Going back to the camera functionality, this project can be configured to display a premade wallpaper image when not in use. Then, when you want to take a photo, simply press the first button. A live feed will show on the display, along with a five-second countdown. Once the timer is up, the photo is automatically taken. It's then saved as and subsequently displayed on the screen for you to see. To clear the photo, simply press the second button.
Aside from the E Ink display, you'll only need two other main components for this project: the Raspberry Pi and a camera module. As for the Python code, the developer used ChatGPT to create and edit the program.