Samsung Gear VR Teardown (mini)
What follows is not a full teardown of the Samsung Gear VR. We're not going to go through all the steps involved in finding the right screwdrivers, spudgers, pins and all that. Instead we're going to go through the basics for two groups of people. First, the people that own Gear VR units that want to get inside without destroying their device. Second, for people who want to see what this device is made of. To the untrained eye, it's certainly not made of a lot, that's for certain.NOTE: The following images have been provided to us by a skilled, experienced gear fiddler. Do not attempt this with your own Gear VR unless you KNOW what you are doing.
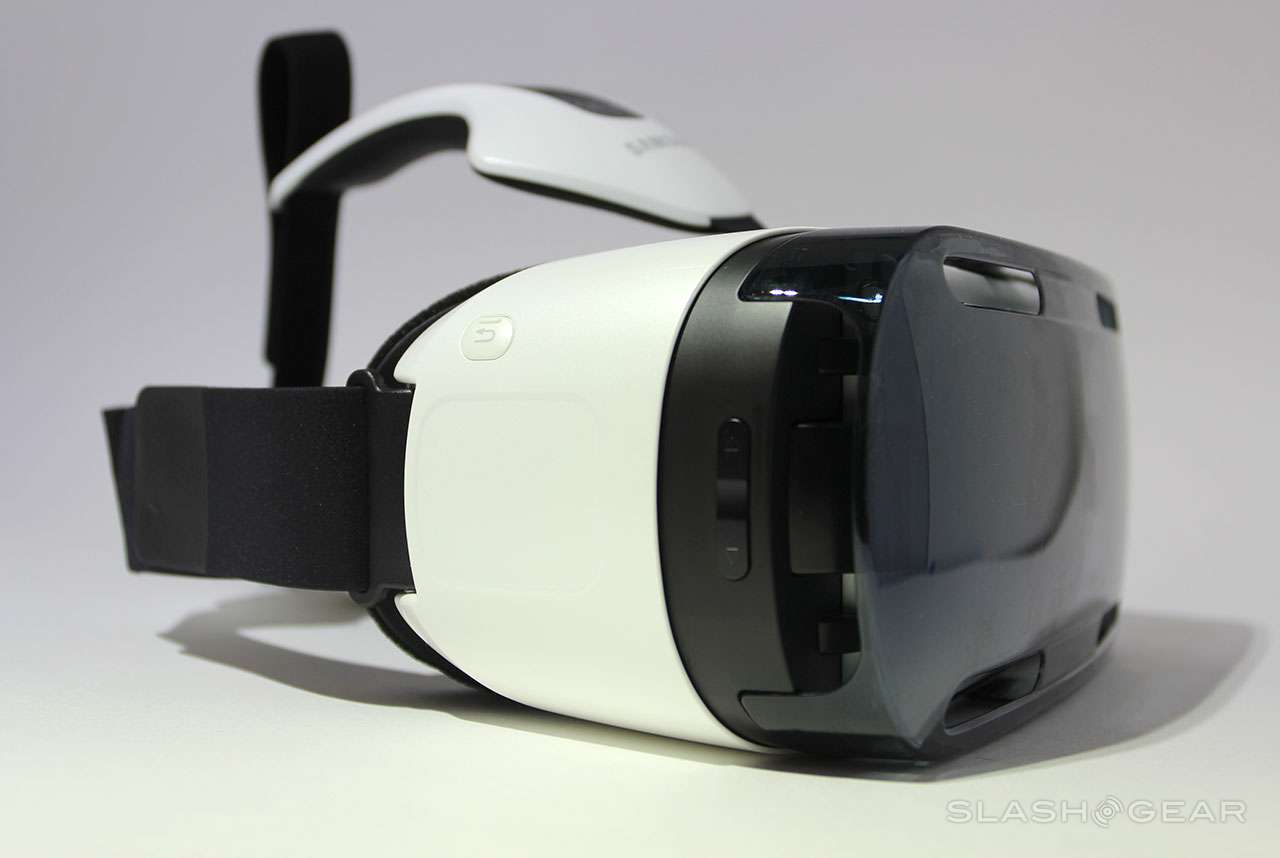


First, those adventurous enough to want to take their Gear VR apart will need to remove four screw covers from the front of the device – they are held on by force alone, so using one's fingernail is perfectly fine. Before they remove these covers, they'll need to remove their Samsung Galaxy Note 4 and the cover over the top of the Note 4 – if they're there, that is.

Once the covers over the four screws are removed, the screws must be removed. They are very, very tiny.

The front panel will not come off at this point. One will have to unscrew the front using the focus adjustment instrument on top of the Gear VR. Strange how that works, isn't it?

Before one removes the front panel after unscrewing, there's a cord that needs attending to. This cord connects the computing unit of the device to the microUSB connector for the phone (which you've placed aside for later viewing). Here you must pay VERY CAREFUL ATTENTION so as to not destroy this wire.

If you destroy this wire, you're done for.
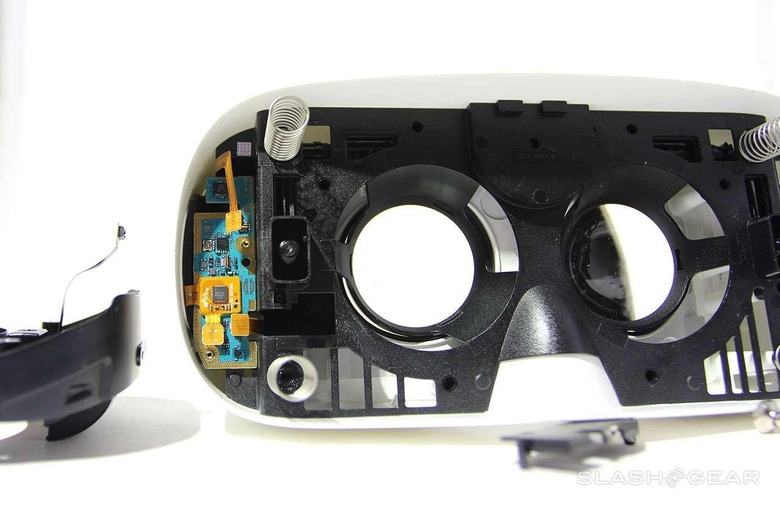
At this point you'll have to do some balancing. And you'll need a very super teeny tiny philips head screwdriver with which to take out two of the tiniest screws in the universe.
Once these screws are out, a cover for the board remains in place.

This cover is held in with a couple of clips which you'll be able to un-hinge with the same screwdriver you've used to unscrew the tiniest screws in the universe.
From here, you'll be able to detach the controllers for the back button and the proximity/light sensor.

The sensor you're detaching here can be found at the back of the headset. This is that little rectangle with circles in it that sees whether or not you're near it.
When your face isn't in the headset, your smartphone screen will be black. When you enter the headset, your sequence resumes.
You'll also be able to detach the USB unit, which is helpful if you don't want to have to worry about breaking the wire while you continue.
The large orange unit here is connected to your touch controller. On the back of this unit is a bit of glue holding it down to the board. Unless you want to fiddle with glue, (and we definitely do not recommend it), you'll want to keep this bit down and connected to the board.

In the center of this amalgamation you'll find the name MELFAS BUNO83C 1433. This indicates Samsung is using a Melfas touch panel. If you check iFixit for that term, you'll find several devices (all Samsung) which use touch panels made by the same company:
• Samsung Gear 2
• Samsung Galaxy S III
• Samsung Galaxy Nexus
• Samsung Gear Fit
Above you'll see a unit with the following markings: 32F401 A5009V0 TW 435 A. This is an STMicroelectronics microcontroller, aka an STM32 32-bit ARM Cortex M4 MCU from the STM32F4 series.
And that's about it. You can remove the eyepieces if you want, but beyond here there's really nothing more than the touch controller (a flat piece of plastic) and wires reaching the other bits we've already seen. Quite a simple machine for being capable of so much!
Again, we suggest you don't take your own unit apart unless you're prepared to make mistakes. If you wreck even one tiny bit of one wire, you could destroy your whole Gear VR experience. And we don't want that.