Nexus 6 Teardown: Screwed And Glued, But Easy To Fix
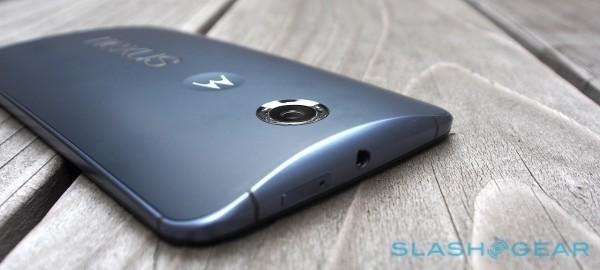
Now that the Nexus 6 has been out for a bit, it's time for a teardown. As they almost always do, iFixit is here to gently pry open and disembowel the latest from Google and Motorola. Like a surgical procedure for the technologically macabre, a teardown gives a good look at just what's going on beneath the screen. The teardown also provides some important details on what components are under the hood, and how best to repair or replace them.
What did the iFixit team find inside? All the good stuff we already knew about, really. On a positive note, the tiny LED we thought was in there is actually an LED light and not some sort of anomaly. It's purposeful, but why would Google/Moto keep it a secret?

ABOVE: The "secret" LED.
The possible pitfalls are scattered throughout. The rear cover has screws aplenty, and the battery is actually glued to the rear cover. There are also various components soldered straight to the motherboard, like the SIM slot and USB port. The digitizer is also fused right to the display, making screen repair costs potentially a touch higher.
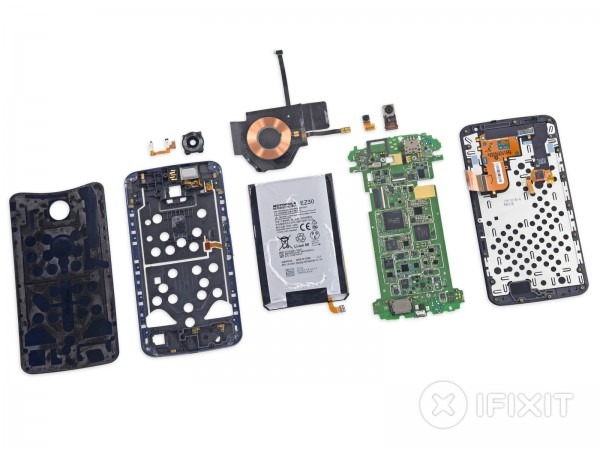
Like any phone, the Nexus 6 has pros and cons. How does it stack up for repairability, though? A decent 7 out of 10! Though there are a "legion" of screws, that just makes it a tedious process rather than a frustrating one of negotiating clips or the like. Pressure contacts on key components like the cameras and headphone jack make replacement a breeze.
Source: iFixit