Google Wallet App Hands-on [Video]

Though the update for the masses isn't technically released until Friday, we did some jimmy-rigging and honest finagling to get that Nexus S 4G Android 2.3.7 Gingerbread from the streets so we could bring you Google Wallet before it's even fully activated. You know basically how it works already – you enter your cards in, activate the card you want to use, and tap the console at your local participating store. Now you can see the interface as your humble narrator holds it.
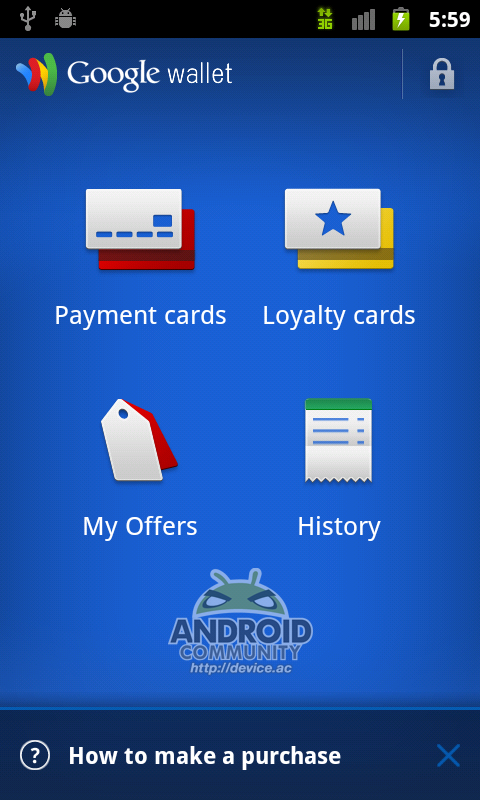
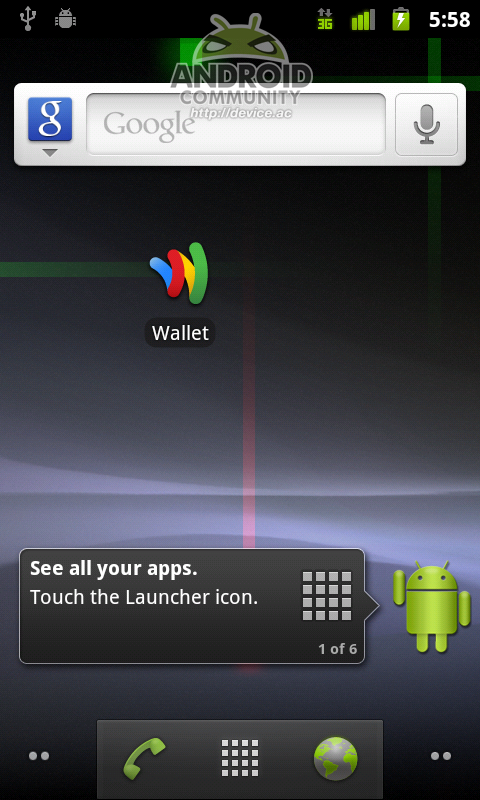
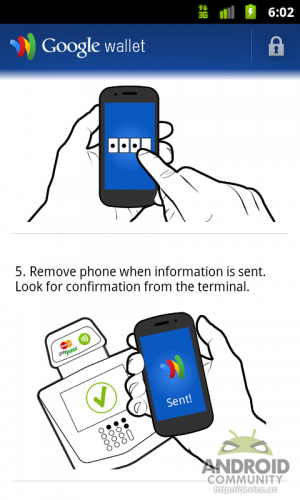
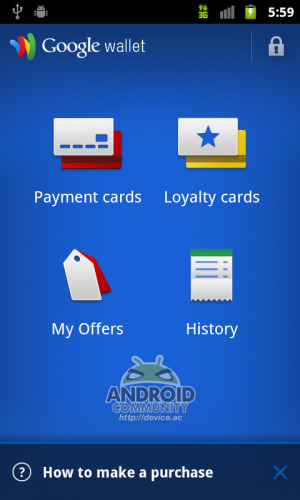
What you're seeing here is the Wallet application that's automatically added to your device once you've updated to version 2.3.7 Gingerbread on your Nexus S 4G. Upon opening this application for the first time, you'll be prompted to add a PIN number of four characters – numbers only. Once you've done this, that PIN is kept secret and the app (and its functions) can only be used by those who have that number. Inside the app you'll see a rather familiar view with the Google Wallet title up top next to a lock icon (to let you know that, aesthetically, you're secure), below which you'll find Payment cards, Loyalty cards, My Offers, and History. Below THAT there's a simple "How to make a purchase" guide that we recommend everyone take a look at before anything else.
Inside Payment cards you'll find, like most screens here, sparse options. You'll want immediately to activate your Google prepaid card as all early-adopters are given a $10 credit right out of the box. You can use this to test your Google Wallet before entering in any sensitive information if you like, this alleviating all of your fears, of course. Next to this there's a Citi Mastercard (the only card able to be activated right at launch) and gift cards. Each of these are activated by entering in simple information and confirming, at which point your card is linked to your account quite simply.
[vms c67822bcf3679d04369f]
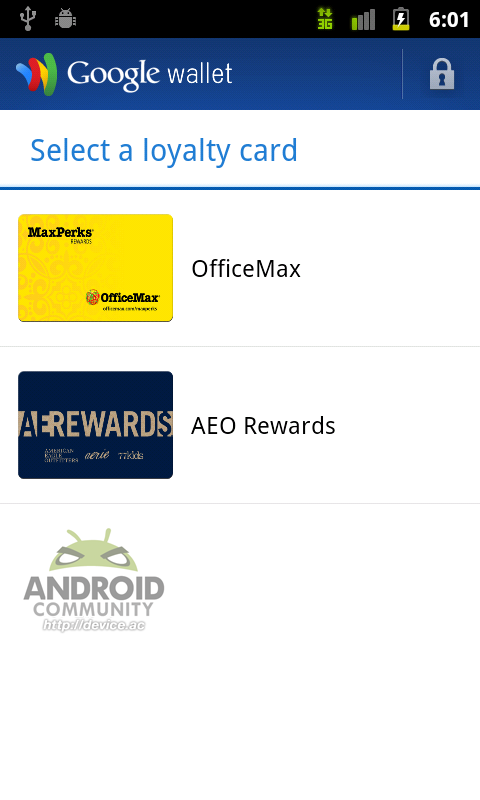
The Loyalty Cards screen contains a single PLUS sign the same as the cards in Payment cards did, only here there's some different options: AEO Rewards and OfficeMax. All cards, once entered correctly, have a button underneath them that allows you to simply activate or de-activate them. Just tap and go for it. You'll be able to select a default card from your Payment cards, everything else is selectable or works automatically.
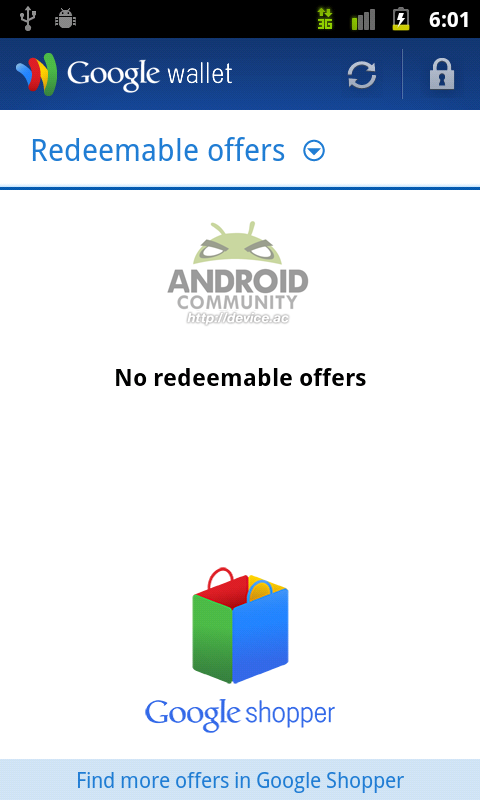
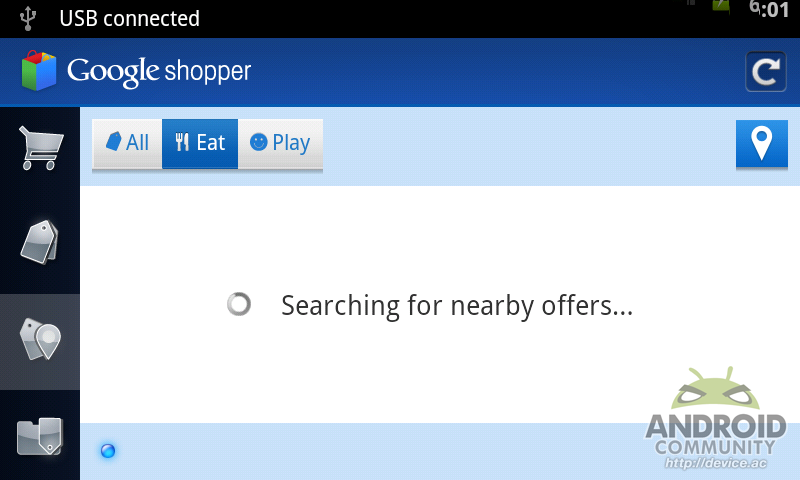
My Offers will contain coupons galore offered up by groups all around you, these coupons working like any other paper coupon would, having an expiration date, starting time, and value. You can look for Redeemable offers as well as browse through Used and expired offers. This part of the app connects with Google Shopper which we don't go into too deeply, but is able to be activated directly from the My Offers screen. Here you'll find offers by selecting (manually or automatically) your physical location, finding coupons around the area that you can redeem.
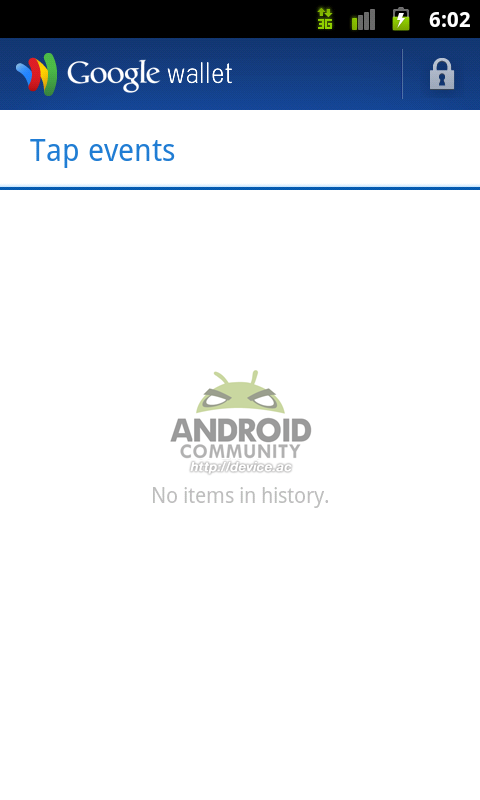
History is last, but most important if you plan on balancing your credit cards, as all information related to your past actions is listed here in easy to expand form. Below History is the simple use guide which we also go over in the hands-on video.
Sound like something you're going to pick up and use once you've got access?